If you’re looking to install vinyl flooring, one of the things you’ll want to be sure of is that the subfloor is flat and in good condition. You don’t want to lay your new floor on a surface that has bumps or irregularities, as these will only subject it to quick wear and tear.
One way to ensure that your vinyl sits on a flat surface is to use a plywood underlayment. Plywood provides a smooth, even surface for laying vinyl so your floor can last longer. Here is a step-by-step guide on how to lay vinyl flooring on plywood.
Table of Contents
Materials Needed to Lay Vinyl Flooring On Plywood
For this guide, we assume that the plywood has already been laid. Here are the tools and materials you will need for the rest of the job.
- Tape measure: This should be a regular tape to help you calculate the distance between two opposite walls so you can find the perfect center of the room.
- Pencil: Use this to mark the center of the room.
- Straight line or level: Use this to draw a straight line between the marks on the plywood.
- Razorblade: Not quite necessary but you may require it if there are tiles that need to be cut to fit.
- A damp piece of cloth: Use this to clean the plywood. You could also use a primer to seal the dust instead.
6 Easy Steps To Lay Vinyl Flooring On Plywood
Once you have everything ready, follow these steps to install your vinyl floor on plywood.
Step 1: Clean the Plywood
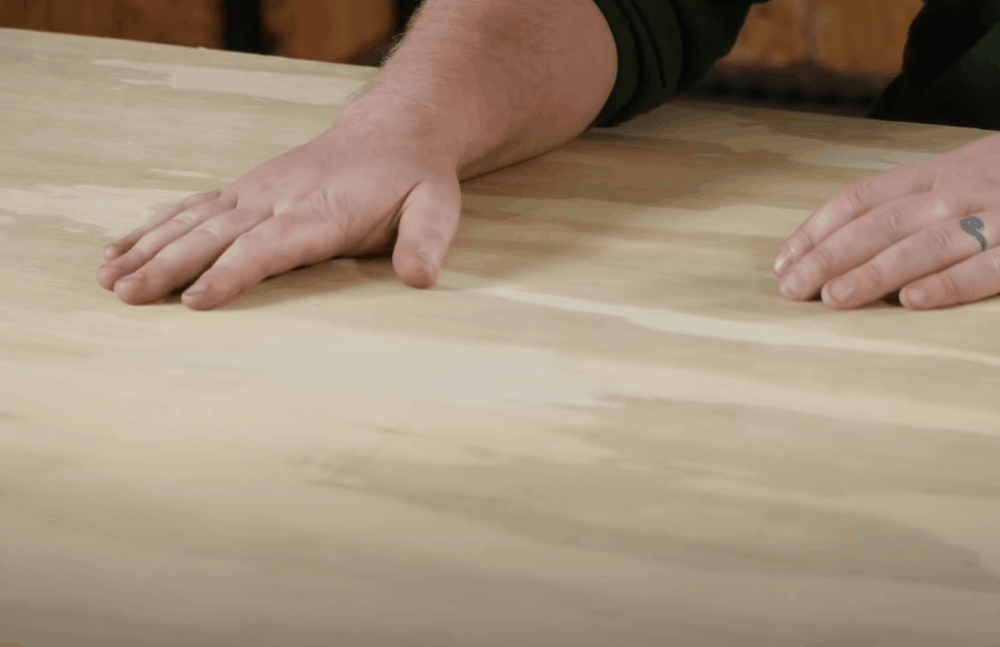
The first thing you will want to do is ensure that the plywood you are going to lay your vinyl on is as clean as possible. If it is dusty and dirty, the adhesive on the vinyl flooring is going to collect all that filth and won’t stick properly to the board.
Use a damp piece of clothing to wipe off any dirt from the plywood and make sure to let the plywood dry before installing the vinyl.
If the underlayment has too much dirt and cleaning it involves using tools that may result in scrapes, use a primer to seal the dirt instead.
Step 2: Find the Center of Your Room
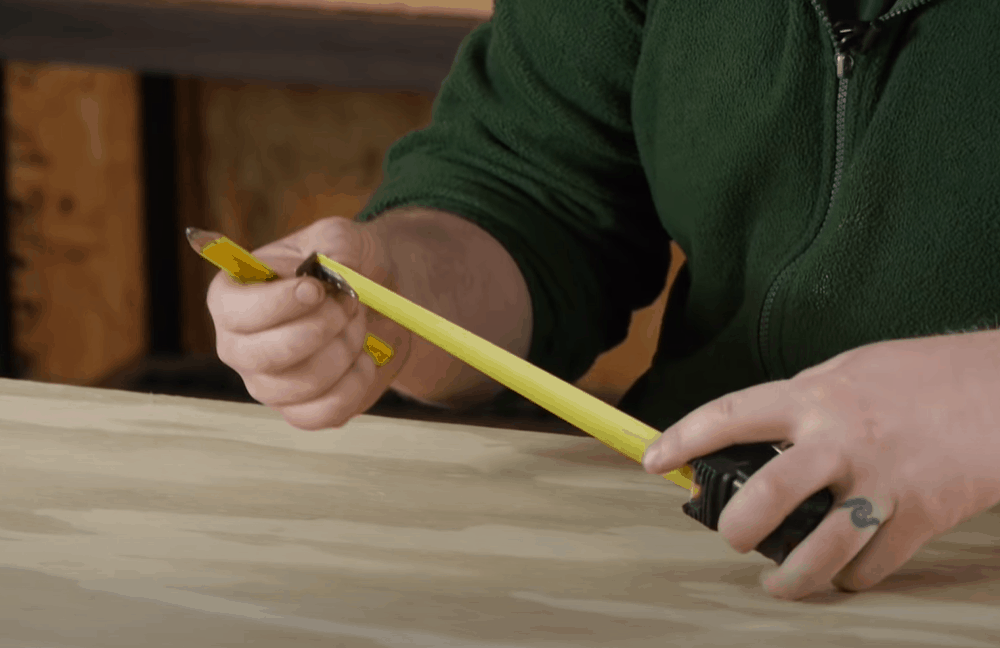
Starting your installation from the middle of the room ensures that the vinyl planks or tiles run nice and straight so you don’t lose some of them into the wall.
To get started, grab the tape and measure the distance between the opposite walls, then divide the measurements by two to find the center.
Step 3: Mark the Center of the Room
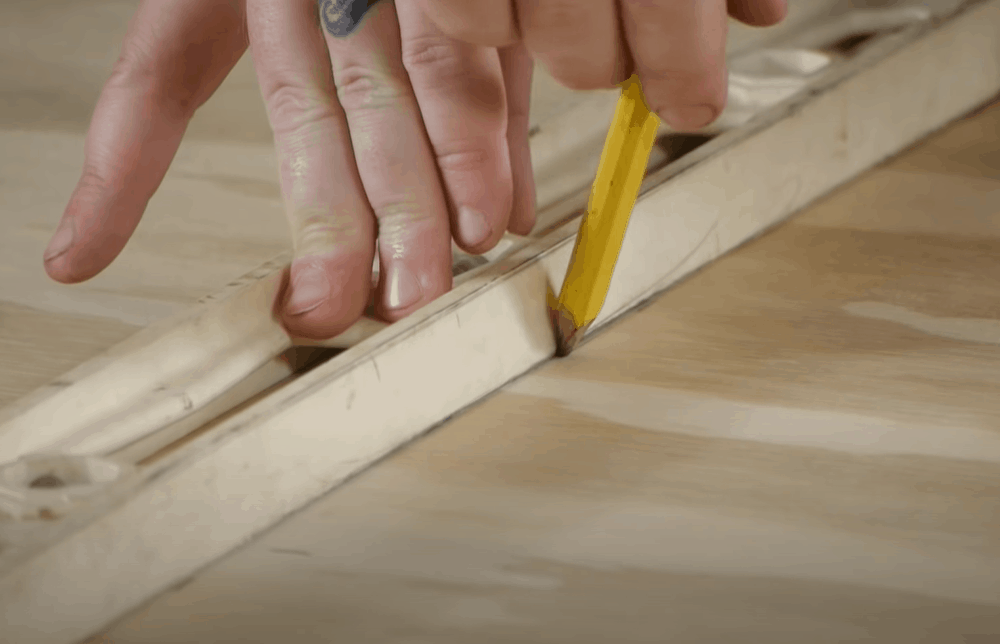
Use the pencil to mark the center of the room. Put several marks across the plywood to make it easier for you to align the vinyl.
Next, place your straight line or level over the top of the lines you just marked and make a straight line that runs between two opposite walls. Assuming that the room has four walls, you should have two straight lines, each running from one wall to the opposite wall, and intercepting at the center of the room.
Step 4: Peel the First Tile
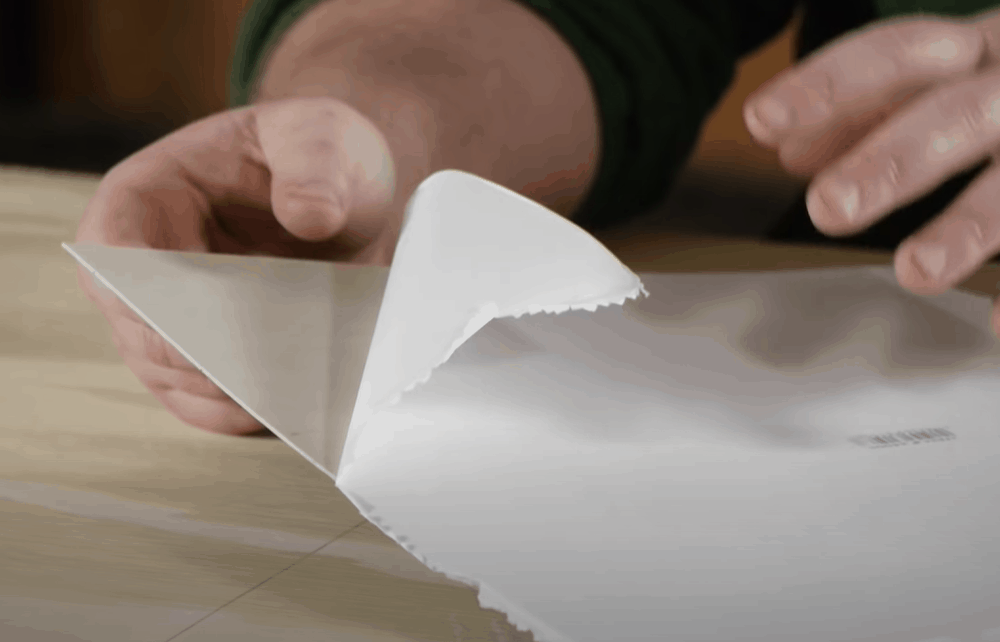
Peel the tile you wish to start with. Do not remove this cover before you have prepared the ground on which the tile will be laid, as this may cause the adhesive to dry up. Also, do not peel the tiles all at once.
Step 5: Lay the Tile
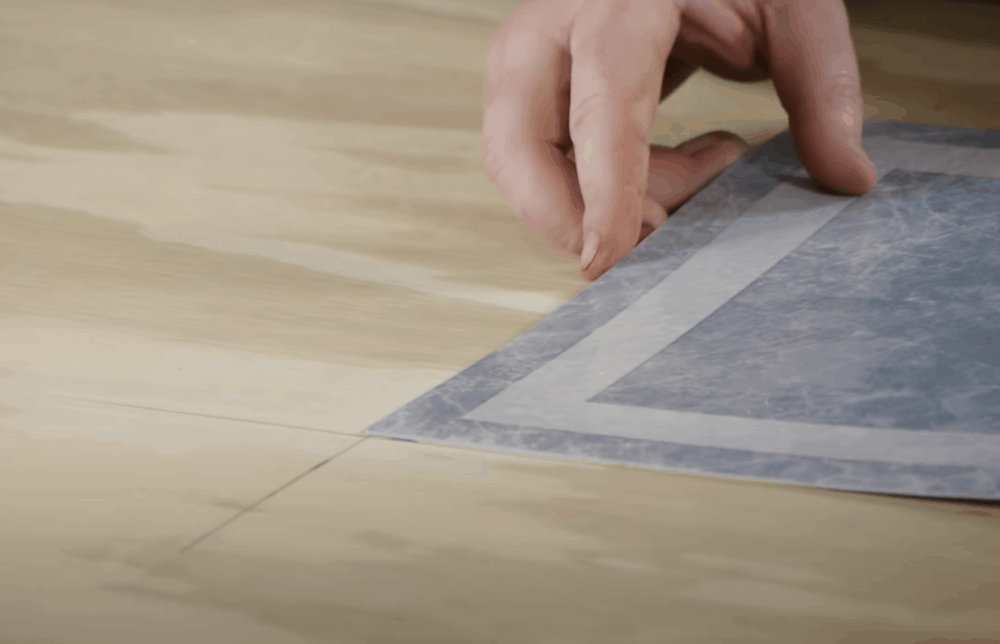
Install the tile such that its corner is laid right at the point where the two lines intersect and you can see just a little bit of the lines that run along the length and width of the tile. This first tile is very important, as it is going to set the pace at which all the rest will be laid.
Now, push the tile down with your hand. Apply a little bit of force to do this so that the tile can stick firmly onto the plywood.
Step 6: Lay the Rest of the Tiles
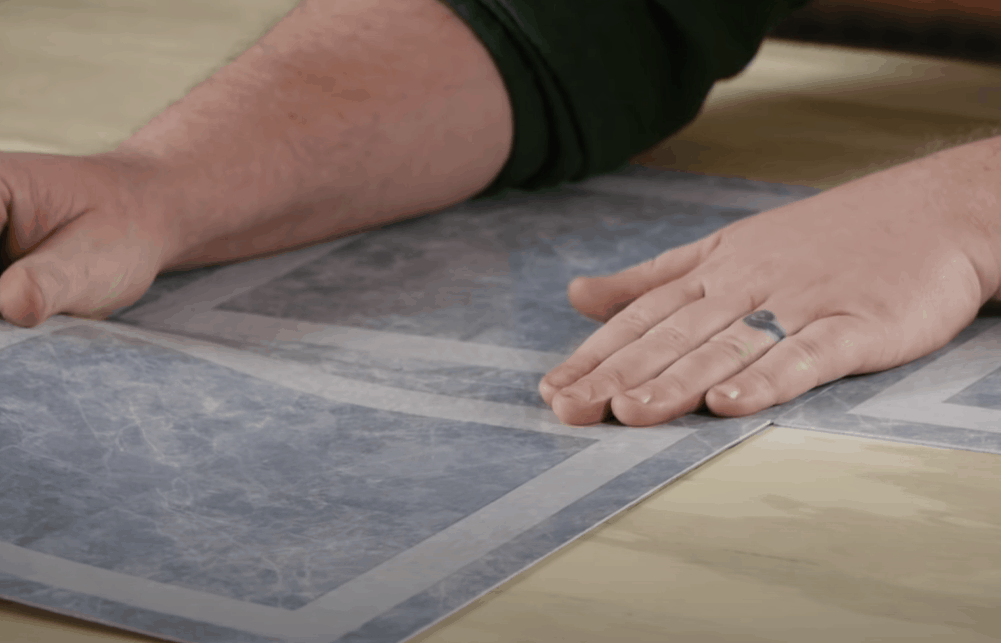
Peel and stick the second tile, making sure its corner meets the first tile at the point of intersection. Push the tile down into place so it can attach firmly.
Next, squeeze the two tiles together to ensure that the crack between them is as tight as possible. This will prevent any water from getting in and ruining the adhesive or creating mold on the plywood.
Use the same process to lay the third and fourth tile with their corners fixed at the point of intersection. Then continue with the rest of the tiles. Note that most vinyl tiles will come with arrows pointing in a specific direction. For best results, make sure all your arrows are going in the same direction.
As you can see, laying vinyl flooring on plywood is a very easy process. This video shows you exactly how to perform the above steps to make the process even more effortless.
Additional Tips for Laying Vinyl Flooring on Plywood
Before Installation
While laying vinyl flooring on plywood may be a straightforward process, if you are not well prepared, you may not get the desired results. Here is how to prepare for the installation.
- Read instructions
Before you begin laying your vinyl flooring, make sure to read all the installation requirements so you can do things right.
- Examine your vinyl flooring
Do not lay your vinyl flooring without first inspecting it for flaws under good light conditions. You want to make sure your planks or tiles are not damaged. Most companies will not give warranties for flooring with visible flaws once it has been installed.
- Give your vinyl some time to acclimate before laying it down
No matter how badly you want to begin installing your new floor, do not lay the vinyl immediately after bringing it home. Leave it in the room for 48 hours so it can acclimate. Failure to do this may cause the floor to expand, shrink, or deform and get spaces between the seams.
- Gather your tools
Laying vinyl flooring on plywood will require a number of tools. Gather these before you start and you will have saved yourself plenty of time. Some manufacturers will have all the materials you need listed in the instructions.
- Assess the plywood to ensure it is smooth and clean
For your vinyl flooring to stick to the plywood, the plywood itself must be smooth and free of wax, oil, grease, dust, or any other form of dirt. Loose plywood must also be nailed and the nail heads driven down below the surface. Additionally, make sure that uneven boards, cracks, or holes are filled, scraped, or planed using a self-leveling compound.
During Installation
- If you are installing glue-in tiles instead of peel-and-stick, wear a mask so you don’t inhale the adhesive fumes. Glue fumes are toxic and can cause headaches, nausea, or allergies to people with respiratory problems.
- When cleaning the plywood, the cloth you use must be soft to avoid scratching the board, as this could make it difficult for the adhesive to stick.
After Installation
Your job doesn’t end after laying the flooring on the plywood. There are more things that you should do to ensure the floor stays in good shape and serves you for a long time. Here are a few.
- Do not clean your tiles with water immediately after installation, as water could seep into the adhesive and keep it from sticking to the plywood.
- Place protective pads under furniture and any other objects that are likely to exert excess pressure on the flooring to avoid scratches.
- Have doormats at all entrances to avoid bringing in dirt that may discolor the floor. While at it, avoid using rugs that have a rubber back; they too may stain or discolor the vinyl. You will also want to sweep your new floor regularly; it will help keep grit and dust at bay.
- Be careful of shoes with sharp heels or pets with unclipped nails, as they may chip, scratch, or damage the vinyl.
- Do not let your vinyl flooring get exposed to direct sunlight for an extended period of time, as this could lead to a sudden expansion of the vinyl, which could cause it to warp and leave the seams open. Use blinds or drapes to block sunlight especially during peak hours.
- Clean any spills right away; you don’t want them to stick and discolor your new floor.
- Only use mild cleaners and other recommended vinyl care products. Avoid wax, polish, and abrasive cleaners, as they may distort the finish and cause the flooring to lose its shine.
The Takeaway
Installing vinyl on plywood is not as difficult as many homeowners may think. If you have the right tools and have read the installation instructions to know what is needed, you should be good to go.
With this guide, you not only now know how to lay vinyl flooring on plywood like a pro but also how to prepare for the procedure and what you can do to keep the new floor looking brand new, longer.