Are you planning to install vinyl flooring? This is an excellent way to uplift your floors without breaking the bank. You do not have to be a pro to install this type of floor, but you need to understand the staggering technique, which creates an eye-catching pattern and a stable floor.
Vinyl planks come in the same size, which can make it challenging to stagger the pieces. However, racking a vinyl floor is entirely possible with a bit of planning and forethought.
In this guide, we will show you how to stagger vinyl plank flooring. This process is relatively challenging, so you will need to be patient until you get the gist. Further below, we’ll give you some expert tips to help you make the most of this project.
Table of Contents
Tools and Supplies You Will Need
- Tape measure
- ¼ inch spacers
- Pencil
- Utility knife
- Mallet
- Tapping block
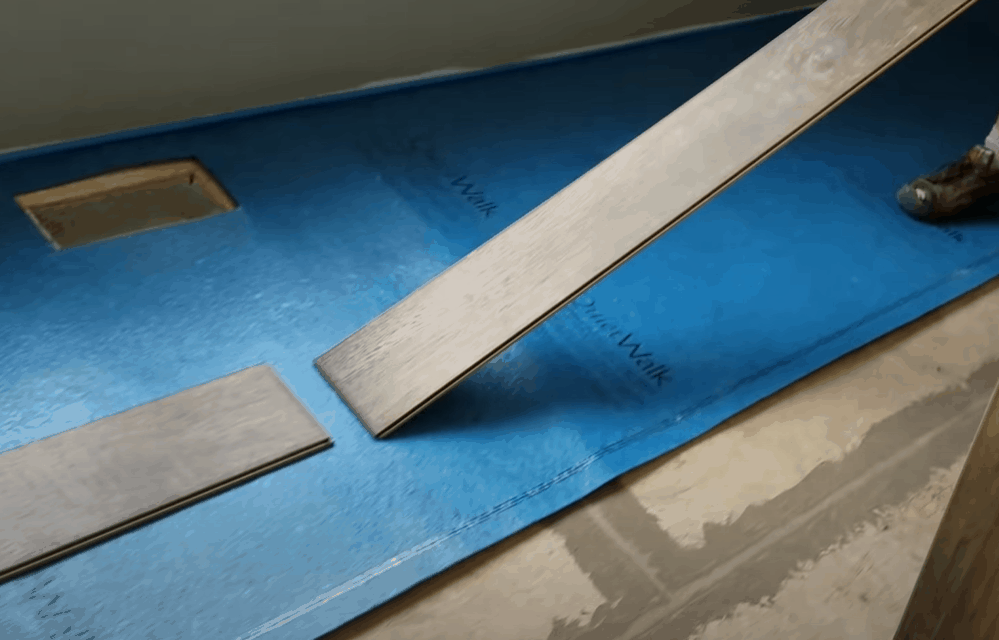
- Insulation
- Vinyl planks
Step-by-Step Guide To Stagger Vinyl Plank Flooring
Follow these steps to create a staggered pattern for your new vinyl floor.
Step 1: Get familiar with H-joints and step patterns
When racking or staggering planks, you want to lay down the pieces as randomly as possible to avoid the formation of step patterns and H-joints. These two patterns are the most common rookie mistakes when it comes to installing vinyl flooring.
An H-joint occurs, for example, when an end joint in the first row planks coincides with an end joint in the third-row planks. This results in the formation of an H pattern. This pattern takes away from the floor’s aesthetics, and it will be evident that the floor was not professionally done.
An H-joint can also create a weak spot on the floor and increases the risk of the planks loosening and coming apart at some point in the future.
Another faux pas to look out for is the step pattern. The pattern occurs when the spacing on the first and second row is repeated on the third row. This creates a regular pattern instead of the random, staggered pattern that you are after.
Step 2: Understand the spacing rules
Staggering is all about spacing the planks correctly. Once you determine how much space there should be between the end-joints of adjacent plank rows, you will have solved half of the challenge of racking vinyl planks.
Generally, it is recommended that the space between the end-joint of adjacent rows be about 6 inches, but this will depend on the size of the planks. Vinyl planks are typically 2 to 3 inches wide, so the 6 inches spacing rule would apply.
However, if your planks are wider, you can increase the spacing to a maximum of 10 inches, although 8 inches is ideal. Making the spacing to be more than 10 inches increases the chances of creating an H-joint.
Step 3: Determine the number of planks you need
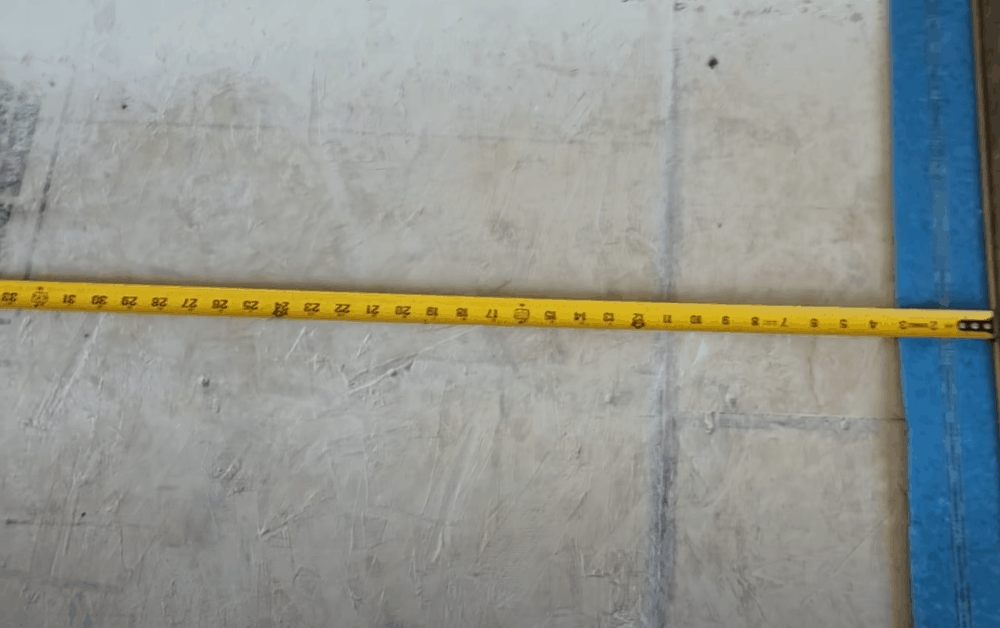
Use a tape measure to determine the width and length of the room where you want to install the vinyl planks. Divide the room’s width by the width of the planks to determine the number of planks needed to cover the entire floor.
Using this calculation, you will also determine the correct size of the planks in the first and last rows—these need to be the same size for a proper staggering pattern. If you find that the planks on the final row are set to be smaller than those in the last row, you will have to trim the first row planks to the size of the last row planks.
Step 4: Determine the appropriate stagger spacing
In addition to finding out the number of planks you will need and the size of the first and last row planks, it is also essential to establish the minimum spacing between the end-points of the planks.
Use a tape measure to find out the length of the room. Divide this number by the length of a full plank. If the result is greater than the ideal stagger spacing of 6 inches, you will need to start the first row with a whole plank. If the result is smaller than 6 inches, cut 12 inches or 1/3 of the entire plank and start the first row.
Step 5: Mix up the planks
Remove the planks from their boxes and mix them up. This ensures an even floor color shade instead of having planks of the same color shade installed on one end and the other shade installed on the other end. Mixing up the boards helps with staggering planks of different color shades for a more natural look.
Pro Tip: Leave the planks in the room for at least 48 for acclimatization.
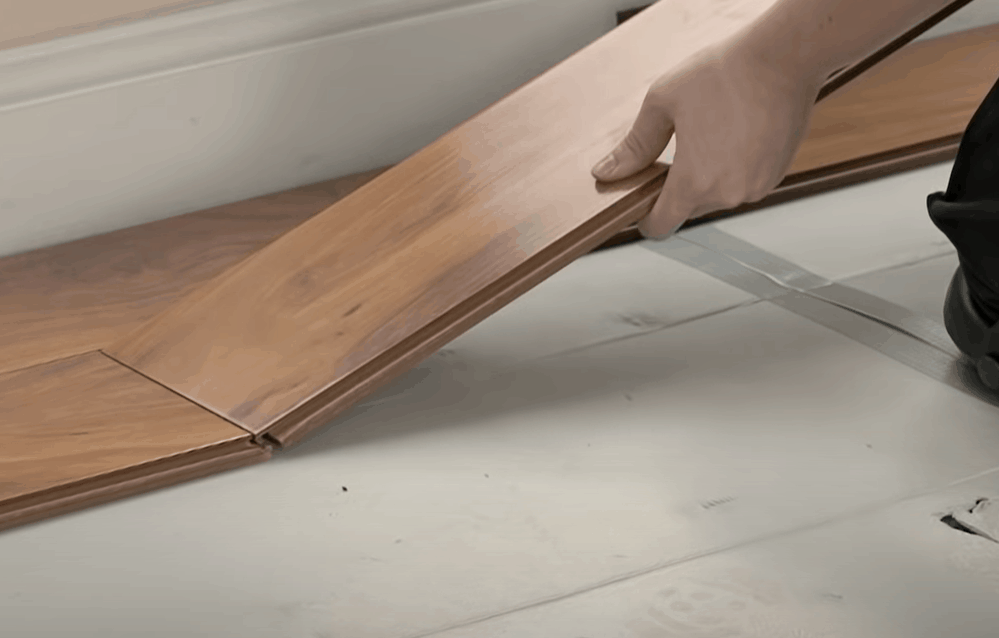
Step 6: Install the first board
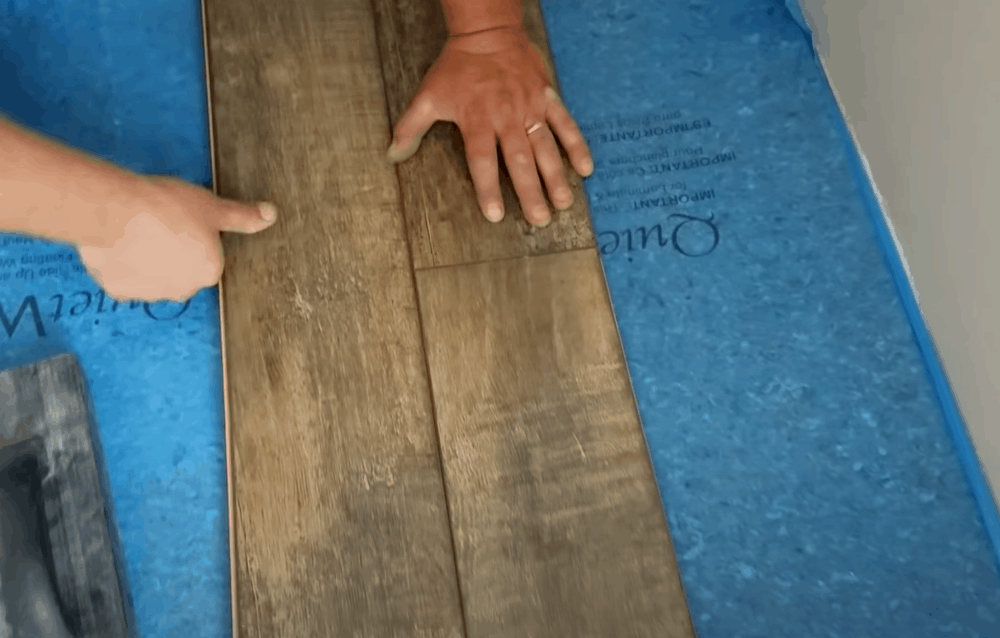
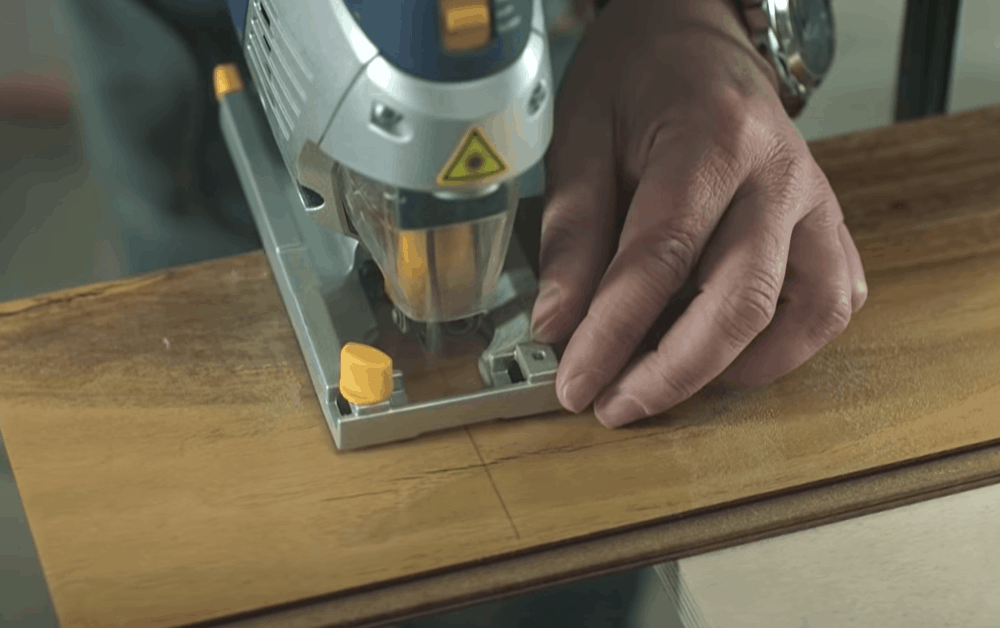
Pick up the first board from the stack. Then, use a utility knife to trim off the tongue. Lay down the plank with the tongue side facing the wall.
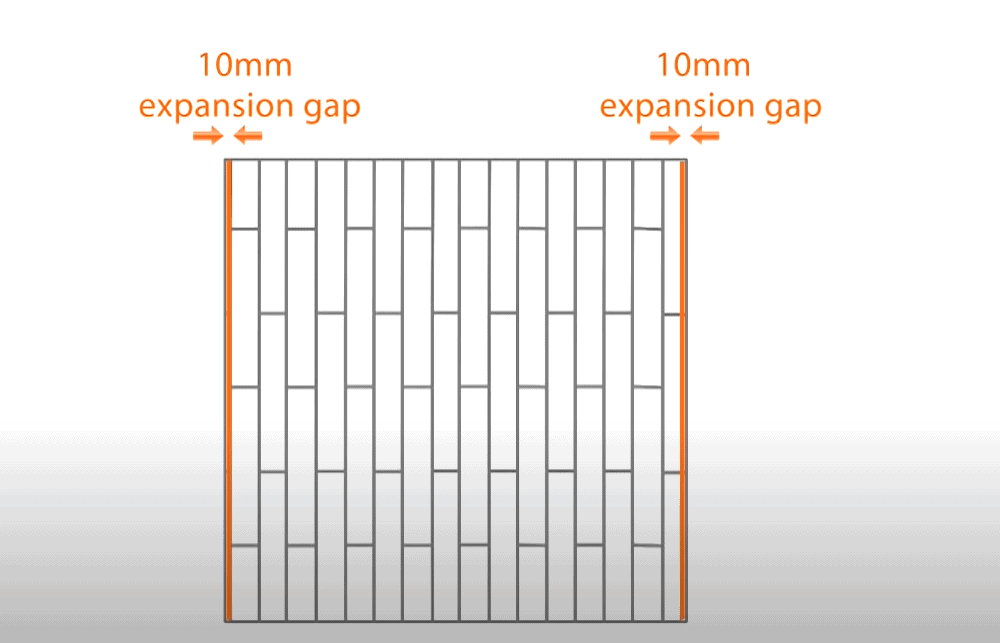
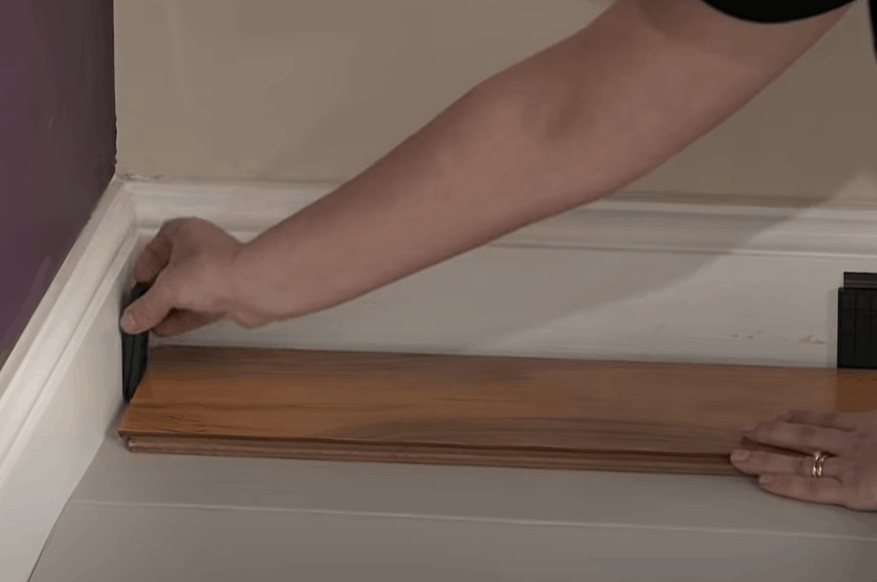
As you install the vinyl planks, be sure to leave a ¼-inch space between the walls. This space allows the planks to expand and contract without buckling.
After laying down the first plank, lay the next one and the next one until you cover the entire length of the wall. If the last plank in the row is less than 6 inches, cut off a bit of the first plank to allow the last piece in the row to be longer than 6 inches. Keep the offcuts and use them to start subsequent rows.
Step 7: Install second-row planks
Use the offcut plank from the first row to start the second row. Lay down the plank, ensuring that its end is at least 6 inches from the closest joint in the first row. This layout allows you to stagger the first and second rows and the other rows that will follow.
When you get to the end of the second row, you can cut the plank to fit. Don’t use the offcut to begin staggering the third row, as this will create a similar pattern, resulting in the step pattern that you are trying to avoid in the first place.
To start the third row, pick up a whole plank and cut it into a random length that allows a minimum spacing of 6 inches from the closest joint. Be careful not to create an H-joint.
Start the fourth row with the offcut from the second row. You can use the offcut from the third row to start the fifth row. To start the sixth row, cut up a new plank at a random length. For the seventh row, use the offcut from the fourth row. Continue with this pattern until you fill-up the entire room with the vinyl plank flooring.
That’s all there is to staggering vinyl floor planking.
Extended Tips
- If you are installing vinyl planking on an existing floor, be sure to prepare the subfloor adequately to ensure that the planks adhere properly and do not easily come apart. Fill in low spots, sand down elevated areas, and vacuum to remove dirt and debris.
- Prepare the room by removing baseboards and other casing flanking the walls. This allows you to leave a space between the floating vinyl floors and the wall itself. You should also plan to trim door jambs to make it easier to install the flooring in all parts of the room.
- When installing vinyl planks on concrete, installing water and thermal proof underlayment is an excellent idea to protect the planks from moisture. Ask your manufacturer about the best insulation.
Staggered Vinyl Planks Make for a Stable Floor
Vinyl flooring is strong and stable on its own, but staggering can add to the floor’s structural strength. Racking the planks also improves the floor’s aesthetic appeal.
The trick to stagger vinyl plank flooring successfully is to play around with the minimum spacing and laying down the planks randomly. After a few rows, you should get the hang of it. Happy flooring!
Very informative thank you I’m 70 yrs young n diy bath vanity room updating floor sink n vanity. I’m studying how to get the first n last row correct n the pattern correct