Are you dealing with a gouge in your vinyl plank flooring? Whether the gouge is from furniture feet, toys, the refrigerator, kids, or any other mishap, repairing vinyl floors can be tricky. But don’t worry – we’ve got you covered!
In this blog post, we’ll walk you through the steps of fixing minor scratches and gouges in luxury vinyl planks and tiles. We’ll also provide tips on how to repair damage as often as you can, without having to replace the entire plank or tile. So, read on to learn more about repairs for LVP flooring and how to get your living room back up to its original shine!
Table of Contents
What is Vinyl Plank Flooring?
First, let’s look at what vinyl plank flooring is and why it is so popular in homes today.
Vinyl plank flooring is a type of luxury vinyl tile that consists of planks of vinyl shaped like hardwood boards.
It’s an affordable and stylish alternative to traditional hardwood floors and can be installed in almost any room of the house. Not only that, but it’s very durable as well.
Vinyl plank flooring is also resistant to moisture and heat, which makes it perfect for bathrooms, kitchens, and even basements. There is just a lot this manufactured product can do, all the way around!
What You’ll Need to Fix Gouges in Vinyl Plank Flooring
Scratches in your planks can be super frustrating. Before attempting a repair, you’ll need some supplies. There are a few ways to fix these issues, but here is a general list of tools and materials that you might need:
- Repair kit
- Patch
- Sponge
- Vacuum cleaner
- Warm water
- Clean cloths or rags
- Extra plank
- Dish soap
- Paper towel
- Utility knife
- Cold weld bonding glue
- Plunge saw
- Gloves
Instructions on How to Fix a Slight Gouge in Vinyl Plank Flooring
Now that you have all your supplies ready, let’s get started on fixing minor imperfections in your luxury vinyl plank flooring:
Step 1: Vacuum and Wash the Area
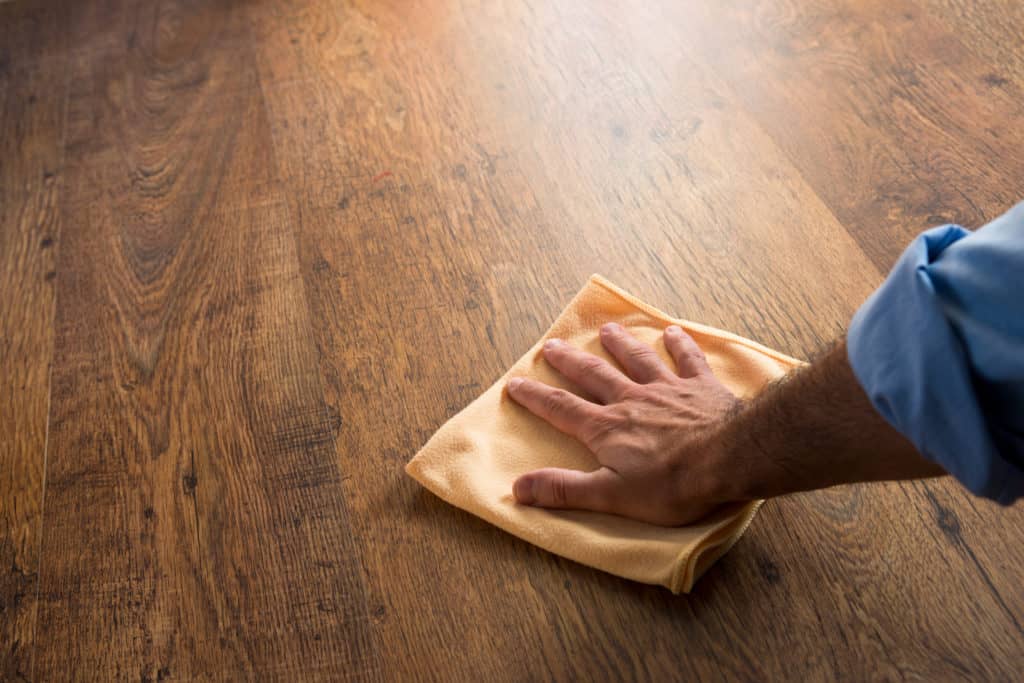
Start by vacuuming the affected area and removing any dust, grease, debris, or excess wax from the gouge. Also use warm water in a damp cloth or sponge and mild dish soap to gently wash and rub the area in small, deliberate circular motions so that the scratch is completely clean and ready to be repaired. Dry with a paper towel so that no moisture is left behind.
Step 2: Apply a Repair Kit
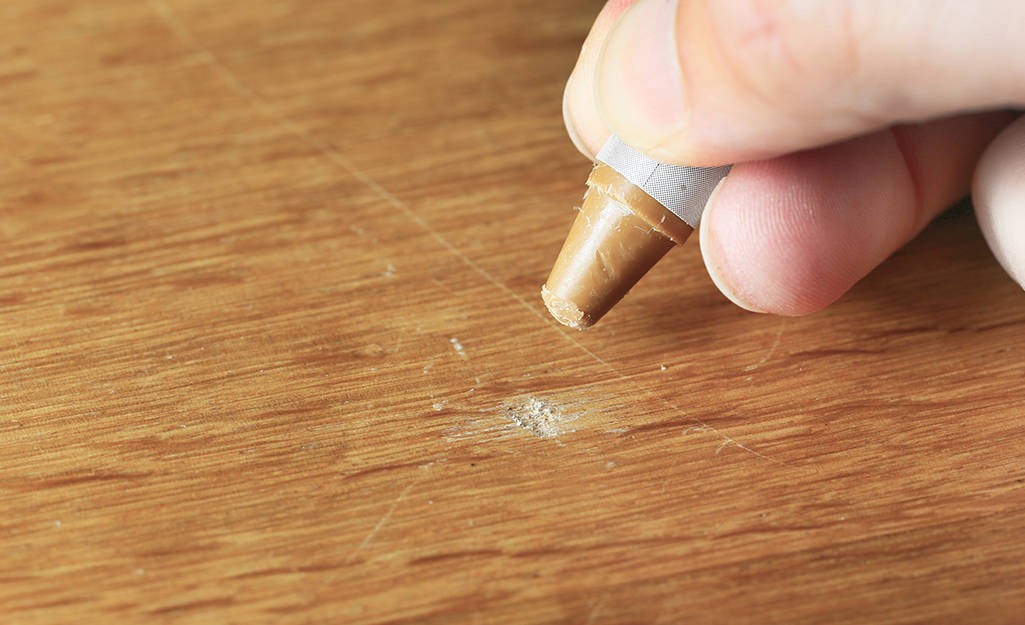
Once the area is free of debris, use a vinyl floor repair kit to fill in any gouges or damaged areas. These kits come with filler and instructions on how to use it.
Similarly, you can use car wax to rub over the area. Doing this step will help preserve your vinyl planks and limit future damage.
Step 3: Replace the Tile (If Needed)
The above steps should solve the problem, but if the damage is too deep, you may need to replace the tile. This is fairly easy if the vinyl tile comes in squares, as you can actually lift the tile out and replace it with a new one, rather than going through the process to repair it.
Step 4: Place Floor Protectors on Your Furniture Feet
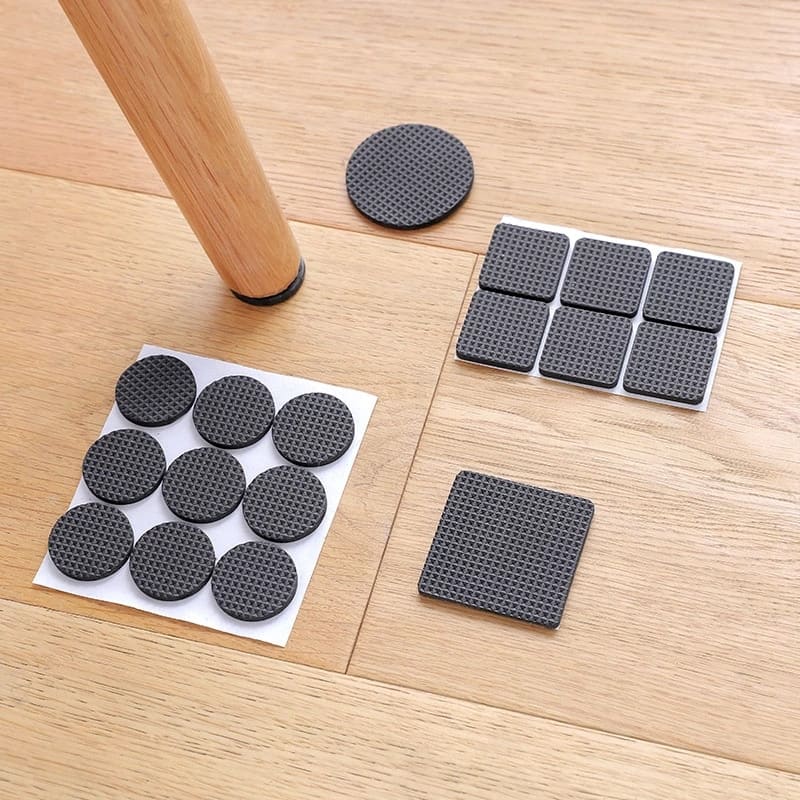
Make sure all furniture feet are covered with floor protectors, so you don’t have any further scratches in your luxury vinyl plank flooring.
How to Replace a Vinyl Flooring Plank
If you have a significant gouge and need to replace the plank (and they are not simply square tiles like those mentioned above, but rather, long planks), follow these steps:
Step 1: Remove the Damaged Piece
Start by carefully removing the damaged piece with a utility knife or the plunging saw. Then use a vacuum cleaner to remove any dust and debris from the area.
Step 2: Cut an Extra Plank to Size
Using the saw, measure and cut an extra plank or tile to fit in the space where the damaged one was removed. Make sure it fits snugly against the walls of your room for the best results.
Step 3: Apply Floor Adhesive
Next, spread the bonding glue over the underside of the new plank before placing it into position.
Step 4: Secure New Plank Properly
Press down firmly on the plank or tile to make sure it is secure and that there are no gaps between it and the surrounding flooring.
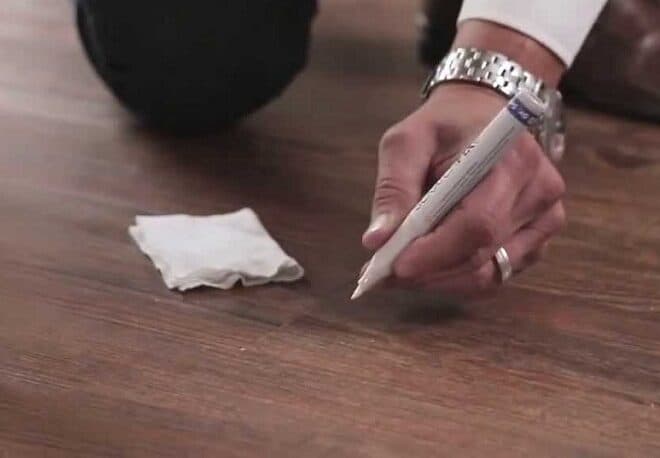
Step 5: Clean Up Excess Glue
Use a clean rag, warm water, and dish soap to wipe away any excess adhesive from around the edges of the new plank.
How to Prevent Gouges in the First Place
As mentioned earlier in the article, to prevent gouges in the first place, make sure all furniture is equipped with floor protectors to minimize friction. You may even want to place a rug under the furniture or in high-traffic areas for more protection. Additionally, keep toys, appliances, or other items that may cause damage off of your vinyl plank flooring – or at least properly store away items regularly.
Don’t forget to clean up any spills or messes to avoid stains and wear and tear as soon as possible. When moving furnishings around the room, use a dolly if necessary so you don’t scratch the floors while dragging them across the surface. It may be tempting to try to move things without help, but resist the urge – your floors will thank you!
Finally, make sure to clean your luxury vinyl plank flooring on a regular basis with a damp mop or vacuum cleaner for the best results.
Conclusion
With these steps in mind, you’ll be able to repair any minor scratches or major gouges on your luxury vinyl plank flooring like an expert! Just remember to take note of any manufacturer instructions before tackling this project, as well as to use floor protectors and rugs to prevent any further damage.
And as always, if you are confused about how to do this, you can always call a professional carpenter to help you out!
How deep is the gouge on your floor? Tell us about it in the comments below!