Not sure how to repair those peeling or popped up seams on your vinyl flooring? We’ve got you covered!
Raised seams are not only unsightly; they can also cause people to trip and fall when they walk over them. It’s imperative that you fix them as soon as possible not only to keep your vinyl looking good but also to avoid subjecting it to further damage.
The good news? In this post, we have provided an entire guide on how to fix vinyl flooring seams and a few bonus tips for preventing this problem. Keep reading!
Table of Contents
Tools Needed
- Vacuum cleaner
- Putty knife
- Warm water (if needed)
- Soft cloth
- Mild detergent (if needed)
- Hair drier
- Flooring adhesive
- Seam roller
- Vinyl floor seam sealer
How to Fix Vinyl Flooring Seams
Step 1: Clean the Area
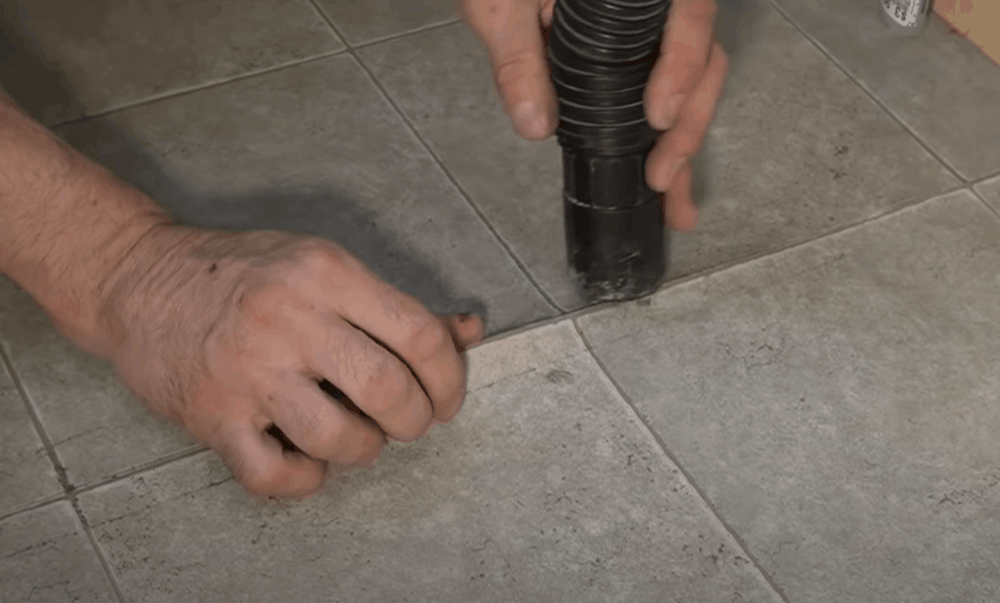
When a vinyl seam gets raised or starts to peel, chances are good that dust, hair, pet dander, and other dirt elements will build up in the seam. To fix the seam, you will need to first get rid of this filth.
Grab a vacuum cleaner and suck all the dirt from the seam. As simple as this step may seem, if you skip it, the adhesive you use to attach the vinyl back to the floor will likely not stick firmly and the seam will start rolling up again.
Step 2: Remove Old Adhesive
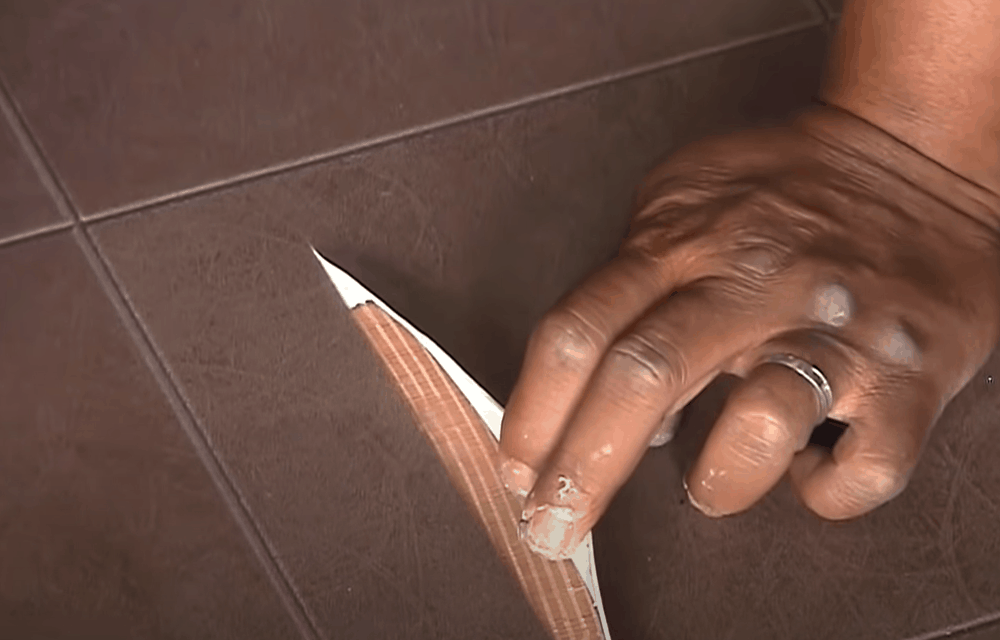
Roll the raised part of the vinyl from the floor. Then get your putty knife and scrape away the old adhesive from the floor. Don’t worry if you can’t clear out all of the glue. As long as you are able to remove most of it, you should be fine.
Step 3: Vacuum Again
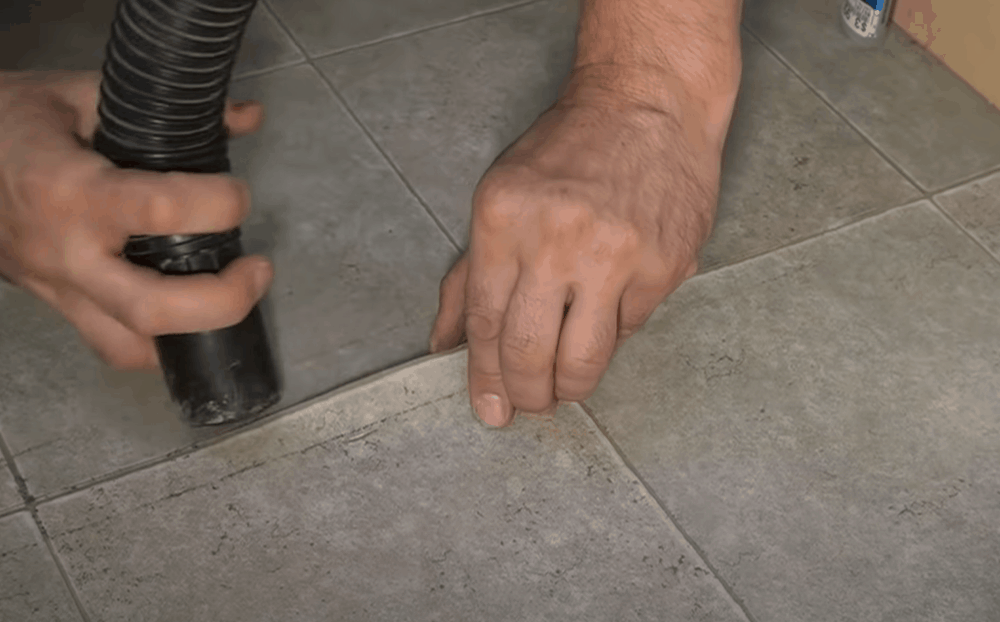
We can’t emphasize this enough – how firmly your vinyl adheres back to position will highly depend on how clear the floor is. So, after you have scratched the old glue off, vacuum the area again to make sure it’s completely free of debris.
If you don’t have a vacuum cleaner, pour some warm water in a container and add a mild detergent. Then soak a soft piece of cloth in the solution and use it to wipe the solids out of the seam. Make sure to let it dry completely before proceeding to the next step.
Step 4: Heat the Seams
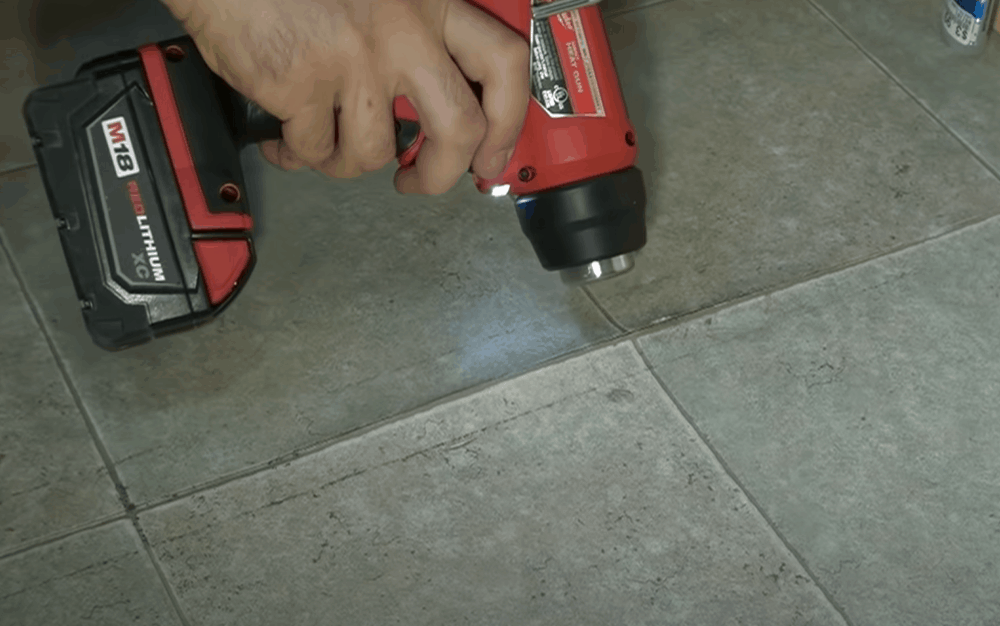
Using a hair drier, blow hot air around the peeled seams. This will warm the material and soften it up so it becomes easier for you to work with. Not just that. Heating the vinyl flooring will also prevent cracking so you don’t end up replacing the entire tile or section of the floor.
Step 5: Apply Adhesive
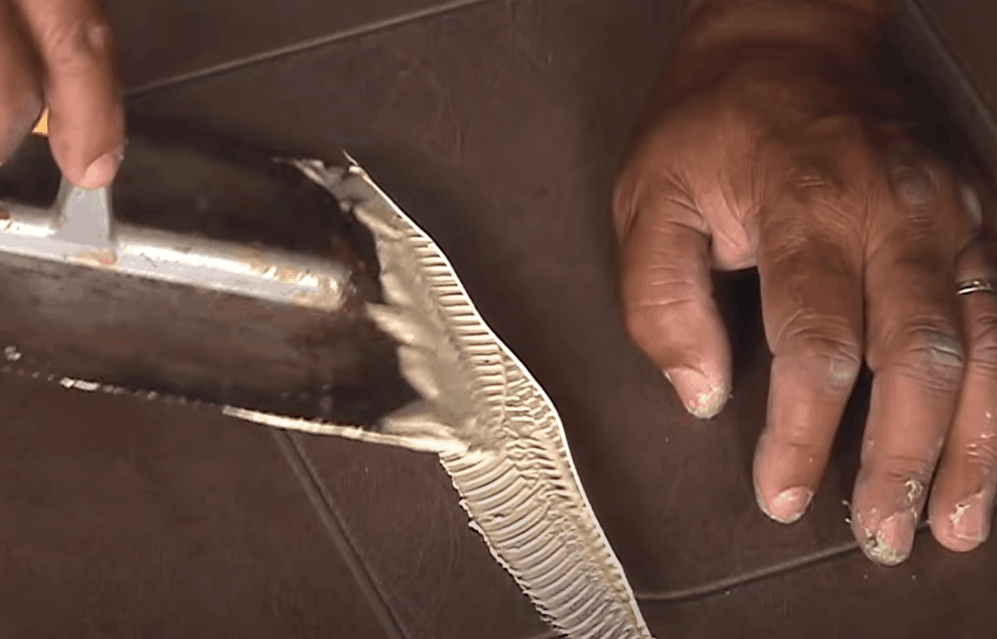
Put some flooring adhesive on a putty knife and apply a thin layer of it to the floor underneath the peeled vinyl. Use your fingers to press and close the seam back into place. Then get a dry piece of cloth and wipe off excess glue.
Step 6: Add More Pressure to The Seam
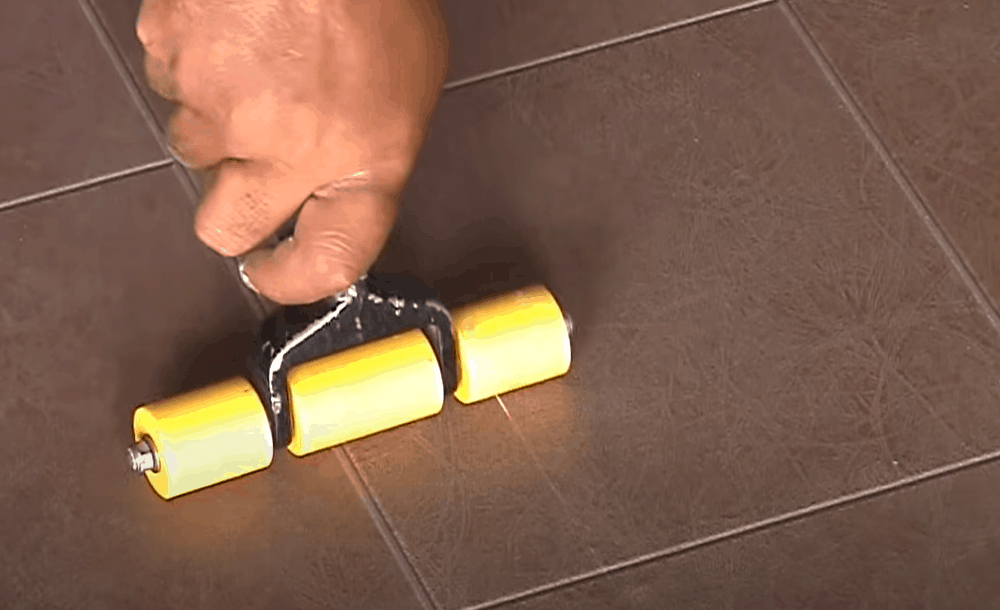
Run a roller over the seam to exert more pressure on the vinyl. Moving the roller over the length of the closed edge will also create a strong bond between the seam, the adhesive, and the subfloor. It will remove any air pockets beneath too.
As you continue pressing the vinyl, you may notice some adhesive oozing out through the seam. Just wipe it off.
If you don’t have access to a seam roller, just place a heavy object on the vinyl. Something like a stack of books, a bucket of water, or a trash can will help weigh down the seam just as good or even better than a roller.
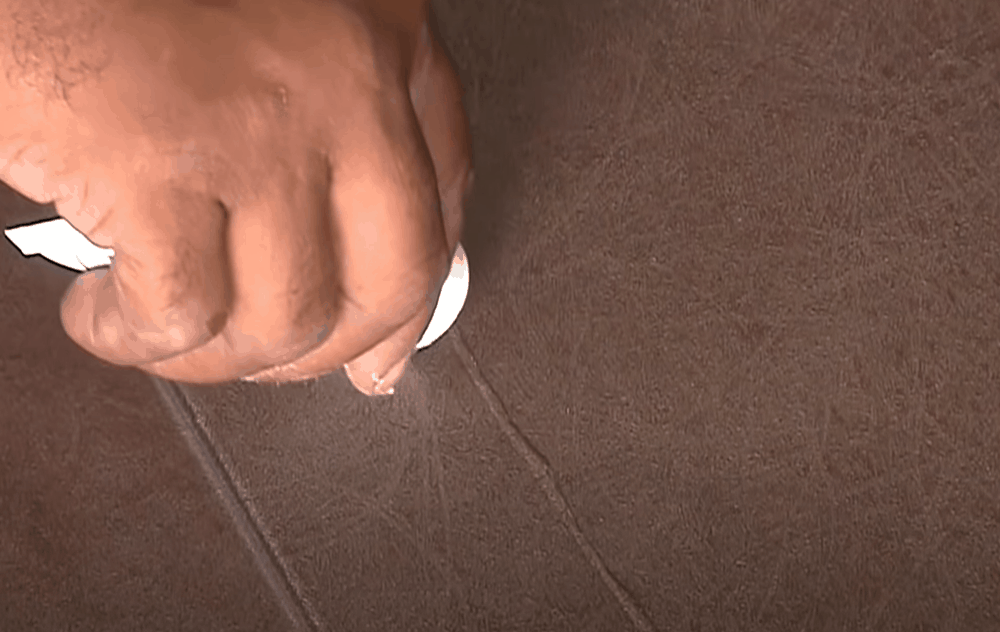
Step 7: Let the Seam Dry
Leave the area for about half a day so it can properly air dry. When you come back, carefully remove any heavy objects you may have placed on the seam.
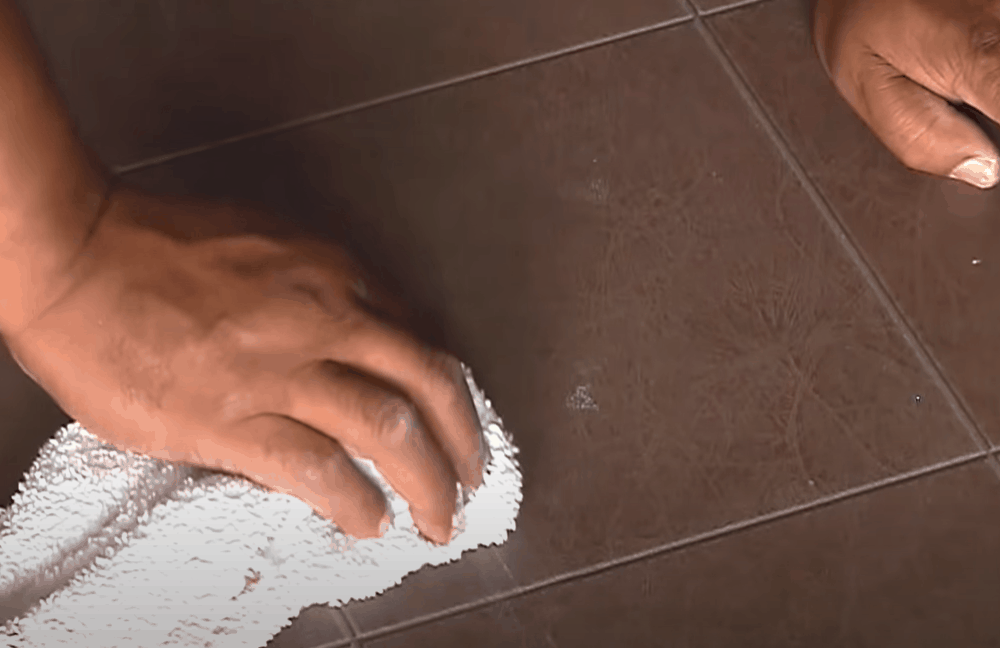
Step 8: Seal the Seam
Your seam has to be sealed so it can stay fused together with the floor underneath. Sealing will also help keep water, dirt, and other elements from building up in the seam and causing it to peel again in the future.
Applying a vinyl floor seam sealer is easy as most of them come with a built-in applicator. Just follow the instructions on the package.
Don’t forget to wipe any spills off the seam. Now wait for the area to completely dry and set up before walking on it.
As you can see, fixing vinyl flooring seams is nothing hard at all. If you follow the above steps keenly, you should be able to get your floor back in shape. Here is a short video to make the process even easier for you.
Extended Tips: How to Prevent Vinyl Flooring Seams From Peeling
If you have installed vinyl floor tiles, you are more likely to experience seam peeling than people who have used sheet or plank flooring. The reason is that vinyl tiles use adhesive to stick in position, and over time this glue can lose its power causing rising or rolling up of the vinyl.
Here are more ways through which you can prevent vinyl flooring seams from peeling.
Installing on Even Subfloor
You can install vinyl flooring over any existing floor as long as the surface is flat, even, and dry. Doing your installation on moist, uneven subfloor may cause the vinyl to crack or pop up.
Use leveling products to even up the subfloor before installing your vinyl. This will help fill up any dents or gaps in the existing flooring, making it easier for the vinyl to lay and stick firmly.
Some people prefer sanding down the subfloor instead. Others prefer laying a flat sheet of plywood over the uneven subfloor to serve as an underlayment. Now, both ways are great, as the ultimate goal is to achieve a flat subfloor.
But whichever option you choose, just make sure the floor is as dry as possible so the adhesive can stick firmly and not raise the vinyl.
It is also important that you clean the floor before you do your installation. This will help get rid of any little pieces of debris that may come between the adhesive and the subfloor and reduce the strength of the adhesive.
Allowing Proper Acclimation to the Surroundings
Vinyl floor expands and contracts when the temperature in the room changes. If you bring your vinyl from a cold room into a warm one and lay it right away, the sudden change in temperature can negatively affect your installation.
We recommend bringing the vinyl into the room where it will be fitted at least 24 hours before installation. That way, they will acclimate and adjust accordingly to the room’s environment before the installation.
If you ignore this important step, you will have issues with shifting, which is one of the leading causes of peeling and raising of vinyl flooring.
Pressing the Tiles Firmly Onto the Subfloor

Vinyl sticks well when there is a strong bond between the vinyl and the floor. To create this bond, one must apply adequate pressure when pushing the flooring onto the subfloor.
If you fit your flooring quickly without pressing it down firmly, it may not adhere well and may pop up after some time.
A floor roller can help you achieve a strong bond. But you also ought to take caution when kneeling on newly installed flooring. The vinyl may shift or slip, causing an edge to rise.
To avoid this, consider laying a sheet of plywood over fresh flooring to help distribute your weight evenly across the floor.
Using the Right Adhesive
If your vinyl flooring is one of these that don’t come with a glued back, it is important that you choose a glue designed precisely for vinyl. Applying the wrong adhesive during installation may cause the flooring not to stick properly and may result in the seam popping up over time.
While at it, it is crucial to apply only the required amount of glue. Don’t put too much, as it will ooze out through the edges of the flooring and cause a mess over your floor.
Reading Instructions
Flooring products these days come with specific guidelines on how to install the product. Your vinyl flooring is no exception, with most brands even specifying the temperature range at which the product must be installed.
If you fit the vinyl when the temperature is too low or too high in your room, it may affect the adherence of the vinyl to the floor.
The Takeaway
No one wants to see a peeled or popped up seam on their flooring, as it easily takes away the floor’s attractiveness. If you have a few seams you would like to fix yourself, here is a recap of what to do:
- Start by cleaning the area and removing any existing adhesive.
- Then heat the seams to soften the vinyl.
- Next, apply new adhesive and close the seam as you exert pressure on it.
- Then wait for it to dry before applying a seam sealer.
Got any questions on how to fix vinyl flooring? Leave us a comment below.
If you have a patch where just a few vinyl tiles were replaced, can you just scribble in some candle wax or paraffin wax over the new joints to fill the micro joints, rather than a two-day process… and a gallon left over?