Laying vinyl flooring is one of the easier DIY flooring projects to tackle. But you still need to have the right tools for the job. So what are they?
We’ve compiled a list of vinyl flooring tools to ensure you’ve got everything you need before you get started. So step this way to find out more!
Table of Contents
What kind of floor are you laying?
The first question to answer is what kind of vinyl flooring you’re laying. That will determine the tools you need to complete your project.
When it comes to vinyl flooring there are two basic types of installation. The first is glue-down flooring. This relies on adhesive to stick the vinyl planks or tiles to the sub-floor.
In some cases, the vinyl planks or tiles will have their own adhesive applied to the reverse. You simply peel away a protective film before pressing the tiles into position. In other cases, you’ll need to apply the glue yourself.
The second type of flooring is interlocking planks. You may also hear these referred to as tongue-and-groove or click-and-lock flooring. It’s thicker than glue-down vinyl, and more rigid. The sides are shaped so that the planks or tiles click together to stay in place.
Whichever type of flooring you’re using, you’ll need to make sure your sub-floor is prepared carefully. It will need to be level, smooth and clean before you begin your installation.
So what tools will you need for the job?
Preparing your sub-floor
Getting your sub-floor ready for installation is just as important as laying your vinyl flooring. Unless it’s smooth and clean, lumps and bumps can show through the surface. That’s particularly likely to be a problem with glue-down vinyl tiles, which are thinner than click-and-lock planks.
A level surface is important too. A slope will make it difficult to get firm contact between glue-down tiles and the floor. You may find the edges lift, causing a trip hazard and leaving them vulnerable to splitting.
And that level surface is just as important for click-and-lock flooring. An uneven floor will make it all too likely that the planks won’t fit together. And as soon as you walk on it, the planks will move and disengage from their neighbors.
Tools for preparing the sub-floor
Fortunately, even if your sub-floor isn’t smooth or level, you can fix that. Here’s what you’ll need to do it.
- Broom or vacuum cleaner
- Level
- Container for mixing floor leveling compound
- Gauge rake
- Smoother/ spreader
- Squeegee Trowel
- Belt sander and sandpaper.
Begin by using your broom or vacuum cleaner to remove all debris from the floor. Make sure you get right into the corners. If your vacuum cleaner has a nozzle attachment, that will make the task much easier.
You can then use your level to check for any slope on the floor. Remember to use it in different directions and at a number of different locations across the floor.
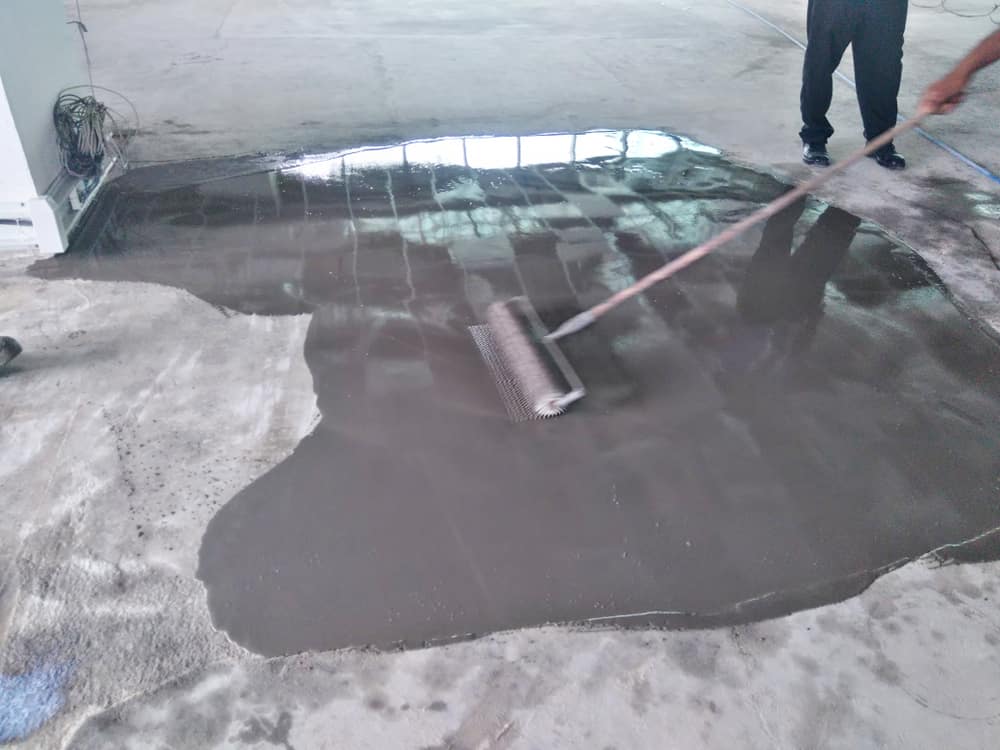
Minor high spots can be sanded down by hand. If they’re larger, you’ll find it easier with a belt sander. For low spots, use a floor leveling compound. A gauge rake will help you get a consistent depth.
And if you have a concrete floor that needs restoration, use a squeegee trowel. That will make it easy to apply a thin cost of epoxy or other restorers.
Planning your floor
As with wooden floors, you’ll want to avoid trying to lay small pieces of flooring. They’ll be difficult to attach to the sub-floor securely. And they’ll be vulnerable to damage. Starting a row with part of a tile instead of a whole one can avoid the need to finish with a small segment.
You’ll also want to ensure that you don’t have joints next to each other in different rows. That won’t look great, and it will make the floor weaker in that area.
For both these reasons, it’s a good idea to start by planning your flooring layout. That will also ensure that you buy the right amount of flooring, avoiding difficulties with color matching different batches.
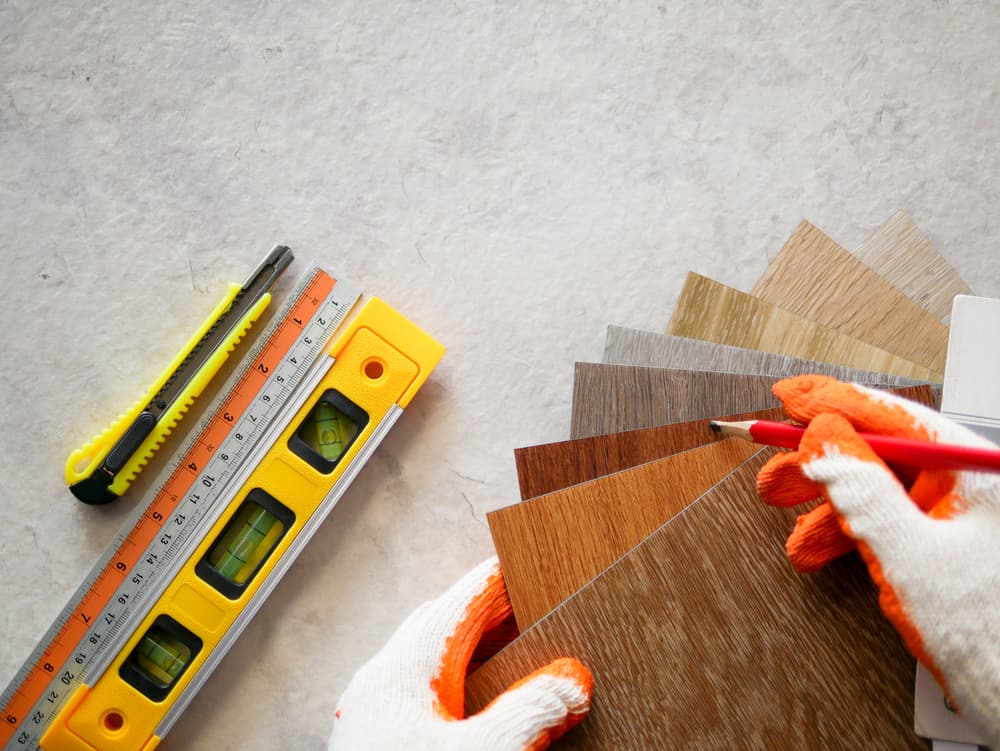
Tools for planning your flooring layout
You won’t need many tools for this part of the process. The important part is to take your time. Spending time on preparation will save you lots of headaches once you get started on the installation.
You’ll need:
- A tape measure or folding ruler – to measure your floor space
- Paper and pencil – to record measurements and draw your plan
- A calculator – to check your maths.
Laying your floor
Now that you’ve prepared your sub-floor and planned your layout, you’re ready to start laying your floor. Assemble all the tools you’ll need for this before you begin work.
You’ll need to protect your hands as you work. You’ll also find it more comfortable if you have something to kneel on. That will allow you to work more quickly and for longer without taking a break.
And you’ll also need tools to cut your planks or tiles and measure corners. Depending on the kind of installation you’re doing, you may also need tape to secure underlayment, or tools to secure the flooring itself.
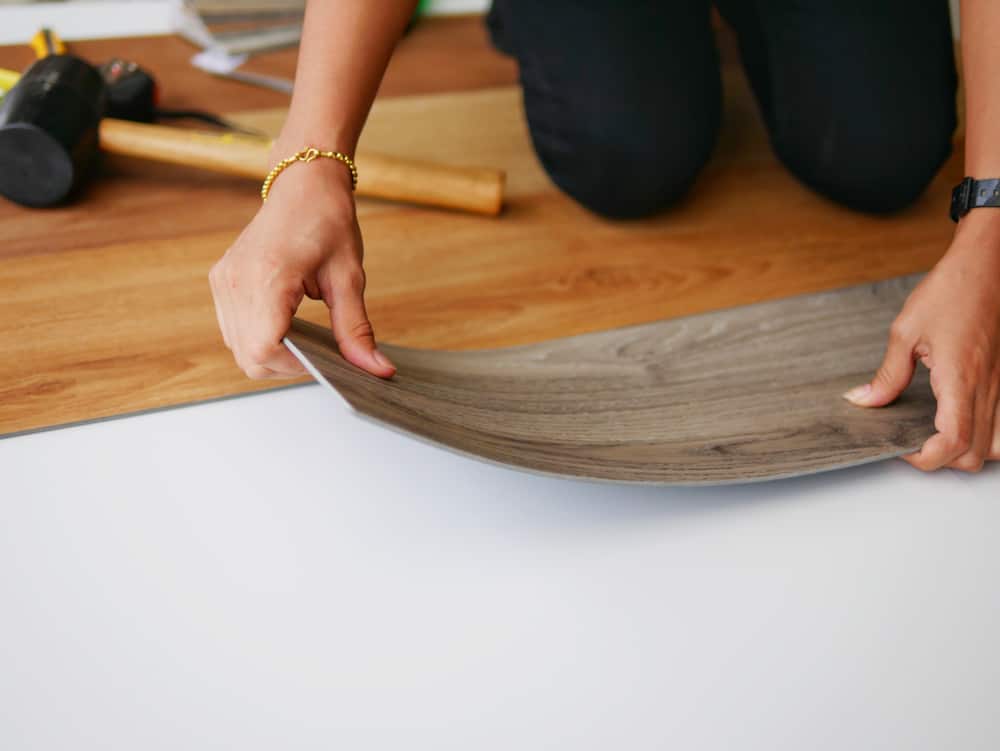
Tools to lay your flooring
This list includes everything you may need to install your flooring. But note that not every item will be essential for every installation. Check the notes to see whether it will be needed for your project.
- Gloves
- Kneeler – or a thick piece of cardboard will do the job just as well
- Pencil – to mark cut lines
- Double-sided tape – if you’re using underlayment, you’ll need tape to secure it in place
- Bevel – for measuring corners
- Mitre saw or utility knife
- Adhesive trowel – if you’re using glue-down flooring that isn’t self-adhesive
- Pull bar – to pull vinyl planks tight against the previous row
Note that some self-adhesive flooring may need extra glue to hold it securely in place. That’s particularly likely to be the case if you’re installing it on any vertical surfaces, like stair risers.
And remember your adhesive trowel too. The last thing you want is to have squeezed out lots of glue, only to find you have nothing to spread it with!
When it comes to cutting your vinyl flooring, the best tool will depend on the type of flooring you’re using. For thin vinyl tiles, a utility knife will work well. You can also get specialist vinyl cutters to do the job. And some people simply use a sharp pair of scissors.
A utility knife will work well for thicker vinyl plank flooring too. Some people, however, prefer to use a miter saw for this. It’s a little more work but can give you better control and a cleaner cut.
You’ll need additional equipment if you’re laying separate underlayment. Note that some vinyl plank flooring has underlayment pre-attached. That will make life much easier, and you won’t need any additional layers.
But if you want extra insulation or soundproofing, and there’s no underlayment with your flooring, buy it separately.
Laying it is very simple. Just make sure you follow the printed instructions to position it with the correct side facing up. And ensure you run it in the same direction as your flooring. Then just simply attach each piece to the next using tape.
Keeping your vinyl floor clean
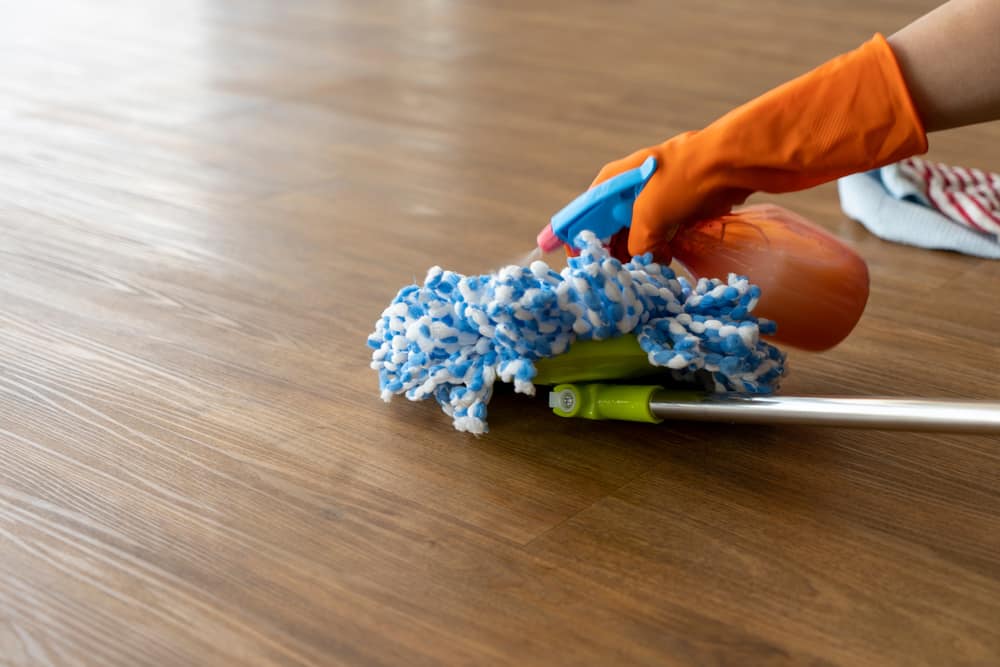
Now that you’ve laid your flooring, you’ll want to keep it in good condition! Vinyl flooring is easy to clean, but it’s important to avoid dust and dirt building up. Dirt particles have sharp edges that can leave marks in your floor.
Regular vacuum cleaning or sweeping will do the trick nicely. Just make sure you use your cleaner on the hard floor setting to avoid scratches.
Mop your floor once a week too. Avoid using a steam mop with a glued down floor – the steam can reduce the adhesion. And make sure you wring out your mop thoroughly before cleaning. Excess moisture can get into the joins between tiles or planks and damage your floor.
A microfiber mop is ideal for this, as the soft fibers won’t scratch the vinyl.
Add a cup of vinegar to a gallon of hot water to create an effective cleaning agent. Alternatively, a couple of drops of mild dishwashing soap will gently clean away dirt and grease. And it has the added benefit of leaving behind a pleasant fragrance.
Tools to keep your vinyl floor clean
You won’t need anything fancy to maintain your vinyl floor. Here’s what to use:
- Soft-bristled broom or vacuum cleaner
- Vacuum cleaner nozzle or dustpan and brush – to get rid of dust from tight spots
- Microfiber mop
- Cleaning solution – vinegar or a mild dishwashing soap in water.
Time to install your new vinyl floor!
That brings us to the end of our round-up of all the tools you’ll need to install and maintain your vinyl flooroing. Get everything together at the start of your project, and you’ll save yourself a lot of frustration during installation.
You won’t need any fancy or expensive tools for this simple job. Just check the lists carefully to make sure you have what you need for the kind of floor you’re laying.
We hope we’ve helped give you the confidence to tackle installing your new vinyl floor. Good luck with your project!