Do you want your floors to look like real hardwood at a fraction of the cost? If you want to transform your concrete or tiled floors on a budget, glue-down vinyl plank flooring is a great choice. The flooring is warm underfoot, visually attractive, and with basic care and maintenance, flexible vinyl planks can serve you for a long time. Also, the material is pretty easy to work with for a DIY project.
In this article, I will show you how to install glue-down vinyl plank flooring the right way. I have also included a few pro tips to help you along and make this project successful. So, let’s get started!
Table of Contents
Tools will need for Installing Glue Down Vinyl Plank Flooring
- Crowbar
- Level
- Chalk Line
- Utility Knife or Power Saw
- Square Tool
- Subfloor leveling compound
- Vinyl planks
- Vinyl plank adhesive
- Suitable trowel
- Flooring roller
Step-By-Step Guide To Install Glue Down Vinyl Plank Flooring
Follow these steps to transform your floors with glue-down vinyl plank flooring.
Step 1: Prepare the subfloor
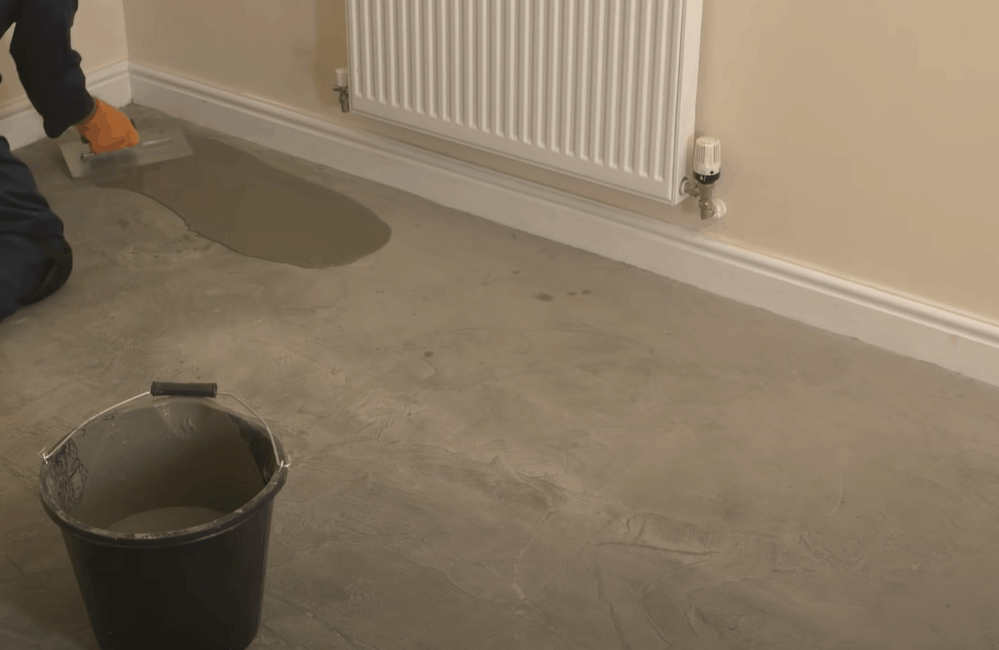
A smooth and level subfloor is a must-have for the successful installation of glue-down vinyl. Any bumps, holes, cracks, or debris will prevent the planks from adhering to the subfloor.
You can glue vinyl plank flooring directly over concrete, terrazzo, and plywood without needing to remove the existing floor. However, avoid installing these planks on floating floors, vinyl sheets, or tiles with cushioned backs, laminate, carpet, or cork.
Hard-surface floors such as terrazzo and concrete are great candidates, but they need adequate preparation. Inspect your concrete for holes and fissures and repair these before installing the vinyl planks.
I recommend watching this video for detailed instructions on how to repair and level a concrete floor, also you can check this out.
You will have to wait at least six weeks for new or newly leveled concrete floors to cure before you can glue down vinyl planks. It is also important to perform a calcium chloride test to ensure the concrete subfloor does not emit moisture exceeding 3 pounds per 1,000 sq. ft. in 24 hours.
Pro tip: Remember to remove all baseboards before you begin preparing the subfloor. You can fix these back after installing the vinyl flooring. For this, you will need a crowbar.
Step 2: Mark the room for uniform installation of the planks
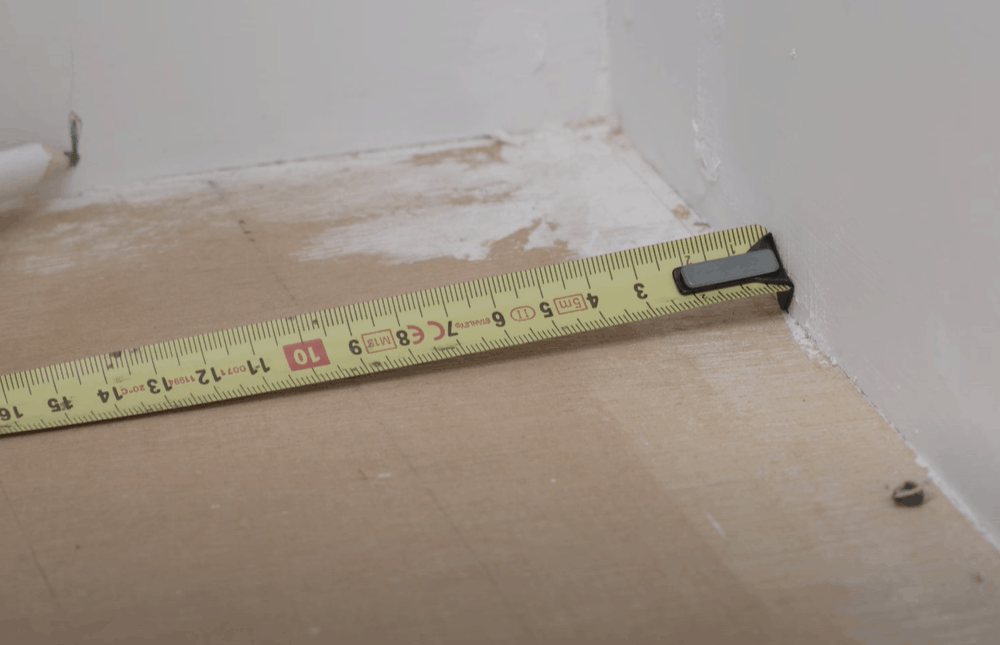
Something annoying that can come up when installing vinyl plank flooring is an irregular border and small spaces left along the edges of the wall. You can avoid these by finding the center of the room and drawing guide lines on the floor.
Before marking the room, use a spirit level to check that the new subfloor is level—sand down any high spots to make them flush with the rest of the floor.
Your room has end walls (lengthwise) and side walls (width). Measure the room’s length and width. Use chalk to mark the halfway point on each wall; you should have four marks.
Connect the marks on each of the two opposite sets of walls with a chalk line to form a cross and trace the two crossing lines with a visible marker or pencil for a more permanent guide line. When laying the planks, use the chalk line to ensure a perfect floor layout and pattern.
Step 3: Apply pressure-sensitive adhesive
Now that you have prepared the subfloor and have your guide lines ready, it is time to apply the adhesive to hold down the vinyl planks to the floor.
Find out the adhesive brand your vinyl manufacturer recommends. Each variety of vinyl plank flooring works well with a particular type of adhesive for longer-lasting floors. It is equally important to follow the manufacturer’s instructions for applying the adhesive, including the type of trowel to use based on the type of your subfloor.
For efficiency, begin by pouring some adhesive at the center of the room where the two chalk lines intersect. Use the trowel to spread the adhesive across one half or quarter of the room, where you will lay the first few rows of vinyl planks.
Give the adhesive enough time to develop. Check the manufacturer’s instructions for the exact amount of time the adhesive needs to be ready for installation. Generally, the adhesive is ready when it takes on a hazy appearance, and the trowel lines become clear. Don’t let the adhesive dry or lay the tiles too early; it should be adequately tacky to the touch for the tiles to adhere immediately without slipping.
Step 4: Glue down the floors
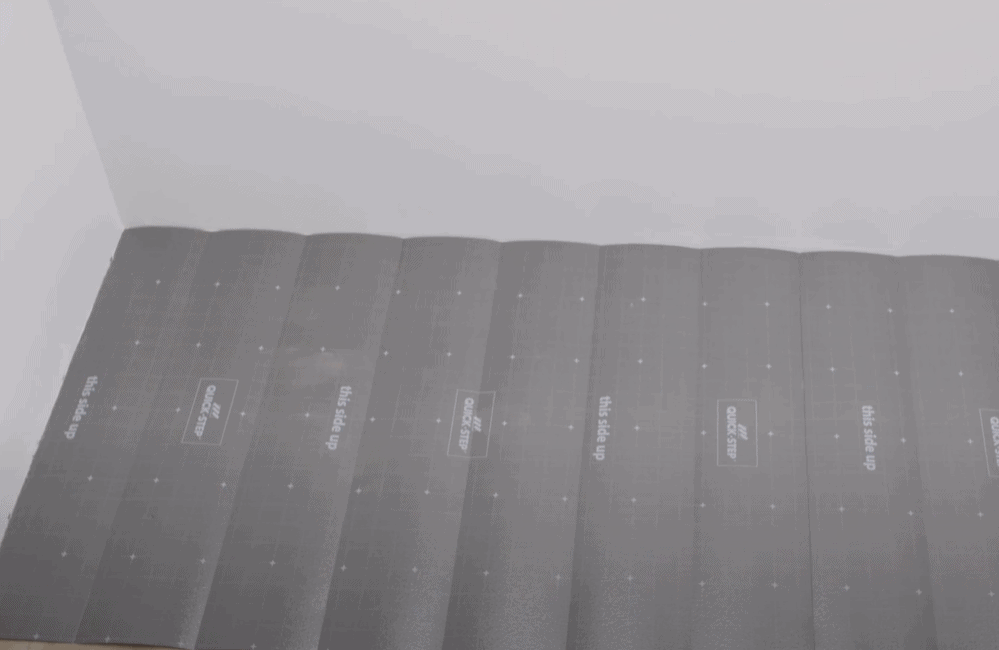
Unbox the vinyl planks and mix them up so that some planks from one box are piled up together with planks from another box. You will ensure a more natural-looking floor pattern as similar-looking planks are not laid next to each other.
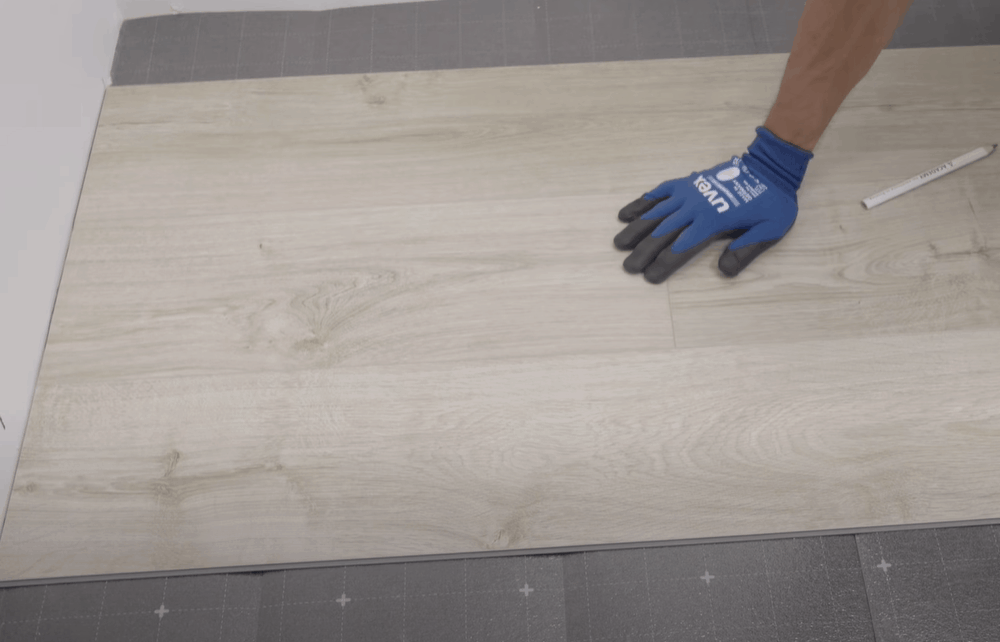
You will also want to stagger the planks so that each seam is 6 inches away from the other, resulting in a more realistic hardwood look. As you start to install the plank, leave about a ¼ inch gap between the walls and flooring for easy expansion with temperature changes. Inserting shims makes creating the expansion gaps easier.
When the adhesive has developed, start laying planks along the guide line you had marked earlier as you work toward the wall. To achieve the staggered pattern, cut the first and last plank on the row to the same size; the exact size you cut the planks will depend on the size of the room.
Getting these measurements right is important for a nice-looking floor. I recommend you watch this video on how to cut vinyl planks to size and lay them in a staggered pattern.
Continue laying down the flooring and complete each row before moving to the next one.
Lay down each plank carefully. Once the plank touches the adhesive, there is no room for adjusting. As you glue down the flooring, have a damp rag close by to wipe any adhesive that oozes out.
Step 5: Wrap up installation
Drive a 100-pound roller over the finished floor to ensure the glue-down vinyl planks are firmly bonded to the subfloor. Roll the machine lengthwise and widthwise to push the planks into the adhesive.
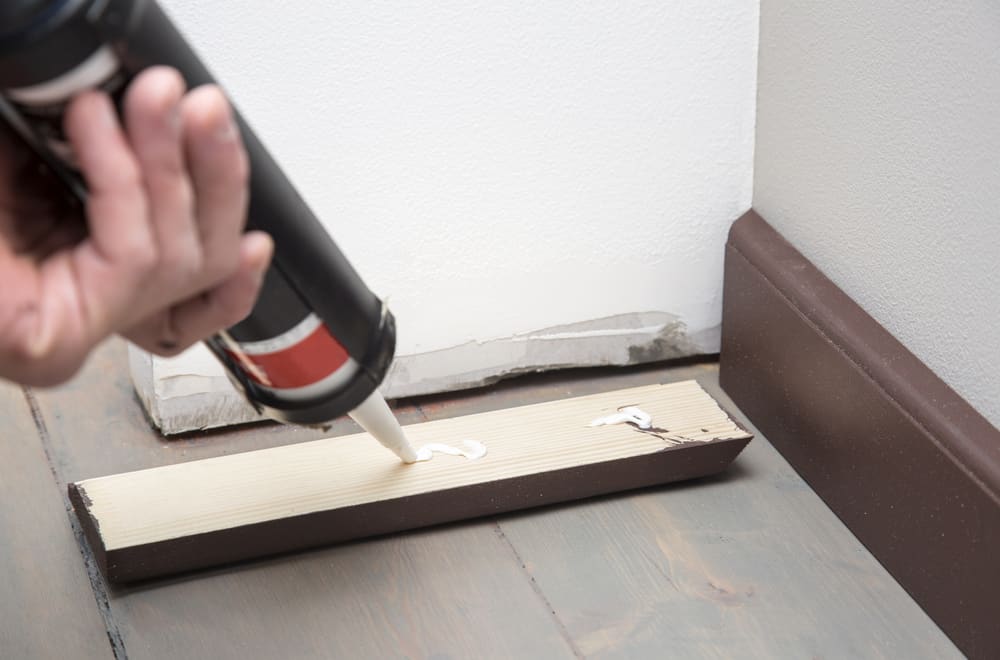
Reinstall baseboard, bridge molding, and shoe molding to cover the expansion gap you had left between the flooring. Be careful not to push nails into the flooring, as this will attach the vinyl planks to the subfloor and prevent the new flooring from expanding. Apply other finishing materials such as caulk along the walls and amenities such as the toilet bowl as needed.
It is best to give your new vinyl plank flooring at least 24 hours after installation to use. Then, you can use a damp mop and gentle cleaning agent to remove surface dirt and leave your floor squeaky clean.
That’s it—you have successfully installed new vinyl flooring over your existing subfloor. With basic care and maintenance, glue-down vinyl planks can serve you for many years to come. I have included some extra tips you can use to get the most from your flooring project. Take a look!
Extended Tips
- Avoid installing glue-down vinyl flooring on floors with radiant heat as the adhesive is incompatible with high temperatures. A floating floor system is a better alternative if you have heated floors.
- Did you know that not any old trowel will do when applying vinyl tile adhesive? The porosity of your subfloor actually determines your choice of a trowel. For the best results, I recommend using a 1/16 in3 square notch trowel for a porous subfloor or a U Notch trowel measuring 1/16” x 1/32” x 1/32” for a non-porous subfloor.
- Instead of walking or kneeling directly on newly installed glue-down planks, consider kneeling on a piece of plywood to distribute the pressure across the planks.
- Open multiple boxes and lay down planks from different boxes. Mixing up the planks this way will ensure a more natural-looking finished floor.
Summary: How To Install Glue Down Vinyl Plank Flooring
Glue-down vinyl planks are flexible and easy to cut, making them a wonderful choice for a DIY floor renovation project. The planks imitate the look of hardwood, giving any room a new lease of life, and the best part is you can do so on a budget. The secret to successfully install glue-down vinyl plank flooring is to thoroughly prepare the subfloor.
Take your time with this step; filling those holes, sanding, leveling, and vacuuming might seem time-consuming, but the payoff is beautiful, professional-looking vinyl flooring that will serve you for many years to come. I hope this guide will help you install those vinyl planks you have been longing for!