Are you thinking of making your staircase more beautiful using a new vinyl plank flooring, but don’t know how to do it yourself? Well, don’t worry because there is good news for you. In this guide, we will explain installing vinyl plank flooring on stairs using simple steps.
Although it can seem challenging for you at first, please don’t lose hope; it’s not hard to install flooring on stairs. We are here to make it easier than you think. So, we will begin with what materials and tools you will need and then look at easy-to-follow steps. Ready? Let’s dive in!
Table of Contents
Tools
Do you wish your installation activity is successful on your staircase to be a success? Start by having the right tools and material for the activity. Below are the tools you will need:
- Caulking gun
- A saw
- A blade with a good tooth
- Tape measure
- Carpenter square
- A drilling or nailing gun
- Stair-tread gauge
As for the materials, make sure you have:
- Nails or screws
- Have the planks (know the types you want)
- Stair nosing
- Construction glue or adhesive
Step by step guide to Install Vinyl Plank Flooring on Stairs
After bringing your tools and materials together, it’s now time for you to get into action. We will give you all the steps with instructions that will help you in the whole process. So, after a good preparation, start the process from the bottom of your staircase as you go up.
Step 1. Preparation
This activity is a step that you should never jump. You will need to prepare your stairs before you install the vinyl plank flooring. So, before you start the whole process, buy the vinyl planks very early before the day of the main event, even 48 hours before you start. It will give you a good time to prepare.
You will begin by removing any trims or molding present around the staircase. It will assist you in getting proper measurements to help place the vinyl floor planks in a good fit. Additionally, you should also sweep any dirt on the stairs and wash it with clean water and soap.
After the act of cleanliness, ensure you have enough room to place your tools and the stair nose. A stair nose is the highest edge of the staircase. Remember to cut back the baseboard on the stairs. With this step, you should use the jigsaw to remove every overhang.
Lastly, under preparation, make sure that your stairs and any landings are on level ground. It means that there should not be any bumps on them. As for this activity, the tool that you will use is a caulking gun.
Now, it’s time to install the vinyl planks on your stairs. We will now go into the second step that brings in the main activity.
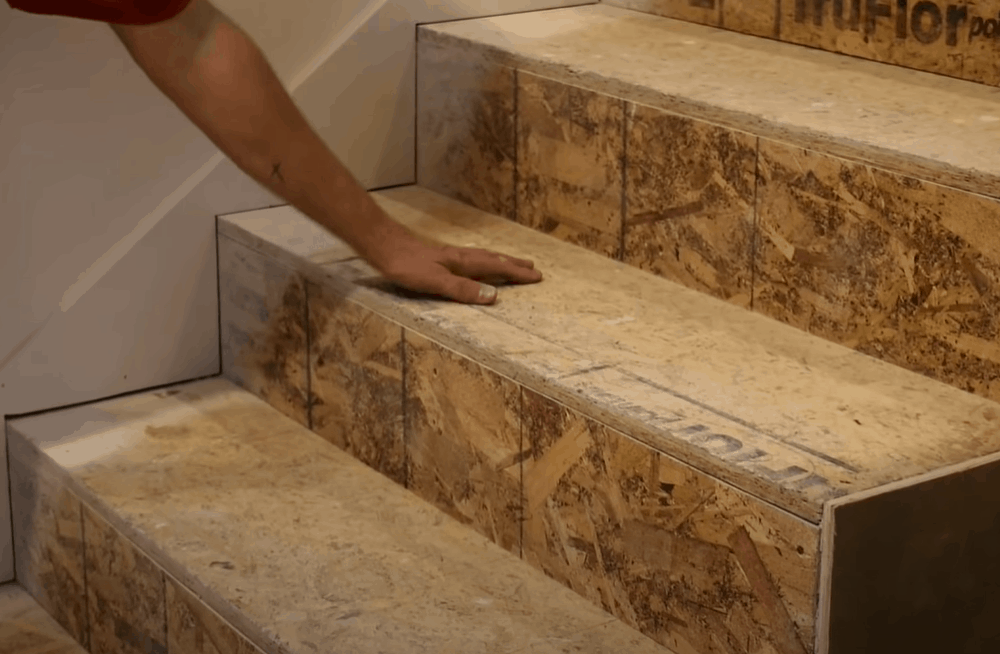
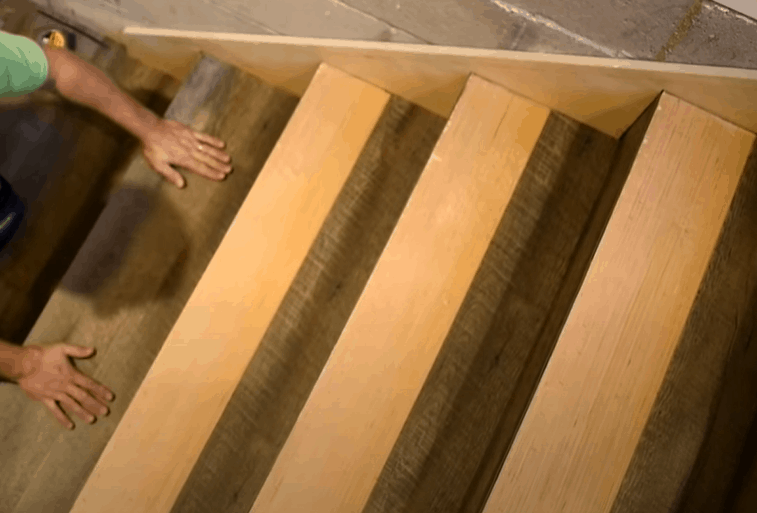
Step 2. Begin by installing the stair riser
Are you already asking yourself, what is a stair riser? It’s the simple top part of every step in the staircase. So, you should know whether you ought to put the planks on the floor or whether you want them to have some treatment. Remember, these treatments entail doing everything to change them into the color that you prefer to have.
However, you can go for installing the vinyl flooring planks on each stair riser. Worry not; it can still work in your favor as you install the flooring. So, below is what you will need to do for each stair riser.
- Measure the riser’s height and length you plan to work on and cut a vinyl plank that will fit it.
- Smear the adhesive or glue in an even way behind the vinyl plank. After that, press the plank against your riser.
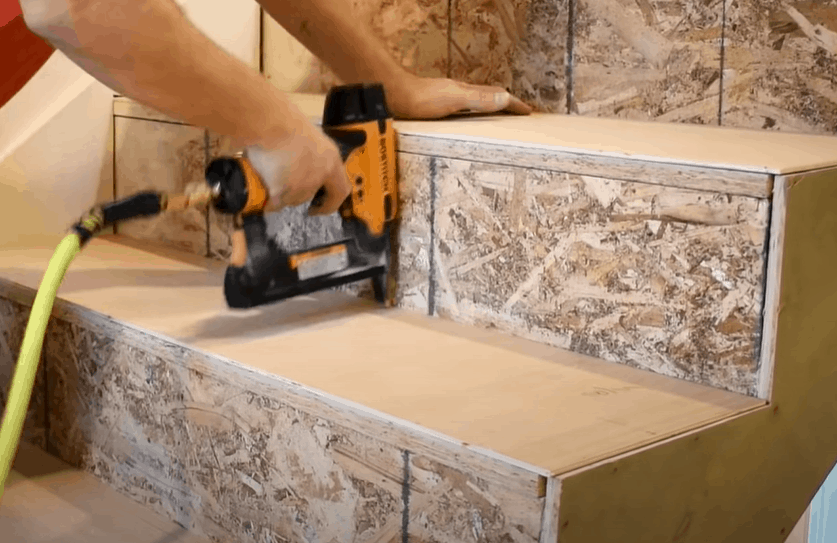
- Make sure that every part of the plank is tight. Use your nails and screws to make this effective. It will help the planks to be in good condition when the glue dries up. Remember, don’t place the fasteners in between the planks.
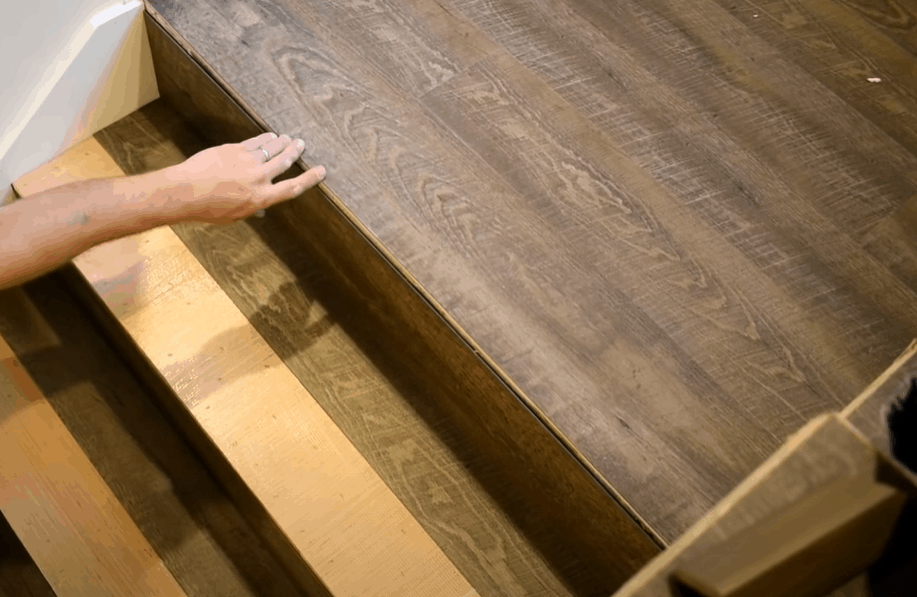
Step 3. Go for the tread and stair nose
The stair tread is the plain part of the stair that you walk on while in the house. After some time, your stairs can move, so the place where you will place your plank treads can miss being a total square. Ensure you check the correct measurements for the track using a carpenter square.
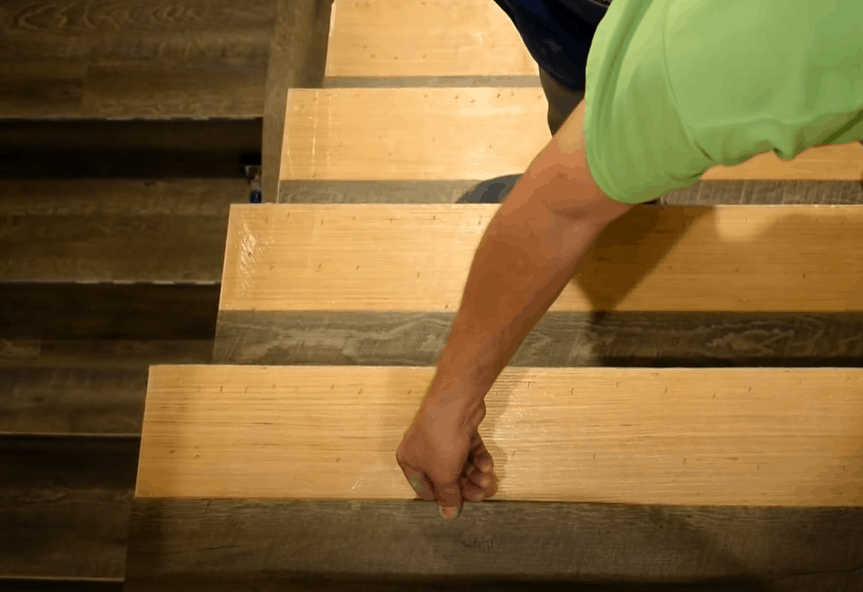
After the plank tread, go for the stair nose. It’s a piece of trim that you should place on the edge of each stair. Remember, it will give your staircase a beautiful finishing and look. Also, it will make your stairs look safer and make the edges of the steps last for long, even as many people will be using the stairs.
Some stair treads come with the stair nose built in them, making work easier for you because it’s one piece. You can use a stair-tread gauge during the tread and stair nose measurement, and then please follow these instructions.
- Take the measurements of the bottom step planks to help you check if it’s square
- Note down the width of the stair nose when you measure the depth of the tread.
- If the depth of your stair is wider than the plank you want to use, put another plank to cover the space.
- Ensure the lay tread and stair nose dry up so that everything in the staircase gets a good fitting before you install it.
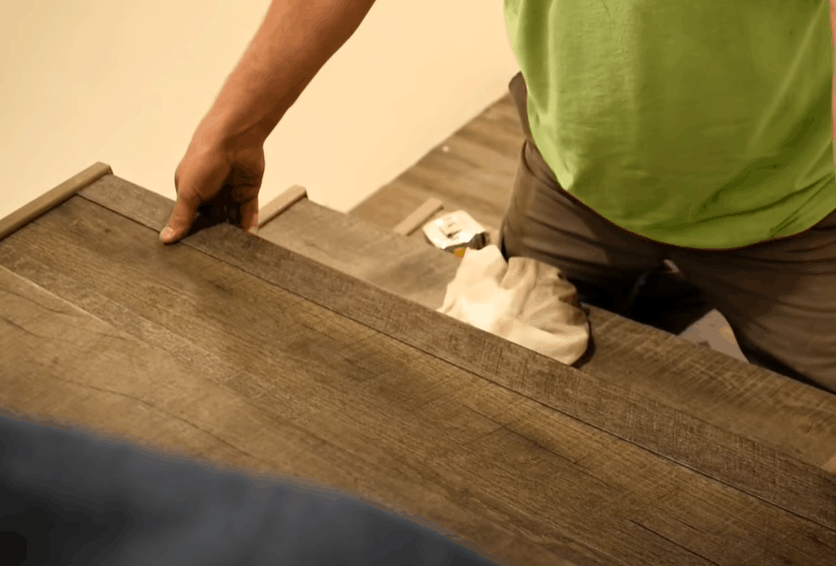
Step 4. Now install the stair tread
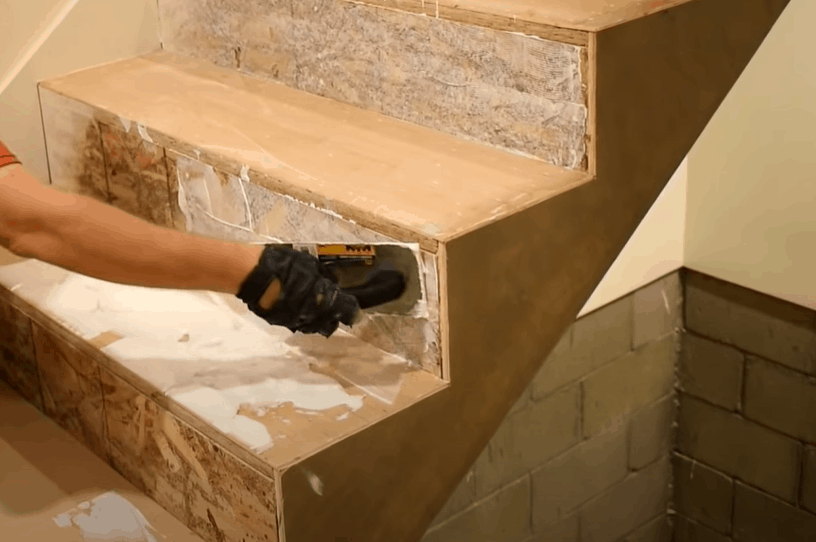
Once you are sure that everything and measures fit well, it’s now time to install them. Start by applying the glue or adhesive behind each stair plank tread and put them in a good position by pressing them using less force. Remember, it will help your new stairs be strong if you apply the glue using an s-pattern.
Don’t forget to use the nails and screws to hold the treads as you continue your installation process. Put them in the corners and along the edges where you will not notice them when you cover them with a riser if you use them.
Step 5. Install the stair nose
With this fifth step, it will depend on the nosing that you will use. You will either choose the stair nose that snaps over the planks or the one that doesn’t but needs a strip of wood called a shim. So, once you decide which type makes you happy, please follow the following ideas:
If you choose using the shim:
- Start by applying the glue down on the naked edge of the shim. After that, please do the same on the nosing plank but now, do it on top of it. Remember, the glue should not cover the stair tread at all.
- Place four to five fasteners on the length of your nosing while keeping them an inch from the end of the tread.
What if you don’t use the shim?
- Apply the glue on the nosing and place it over the tread to cover the edge of the stair.
- Don’t put any fasteners.
Step 6. Repeat the steps
So, make sure you follow steps two to five until when you cover the whole staircase. Remember, the format is to begin from the bottom as you go up.
Step 7. What if your staircase is a landing?
If your staircase is a landing, worry not! You can apply the same procedure of installing the vinyl planks on a usual staircase and floor. In addition, you will need to start by adding a stair nose along the edge.
So, take the measurements of the landing. It’s from here that you will calculate the number of rows you will need during installation. Also, it will help you know if you will cut the final row of vinyl planks to fit along your walls.
After the measurements, cut the planks to a suitable fitting. Then, do a dry lay so that everything fits well and show a beautiful picture before doing the permanent installation.
Finally, start by installing the full vinyl planks and the stair nose at the end of the landing. Continue placing the planks up to the wall. Remember, these vinyl planks should use glue down on them and not in a floating position.
Additional tips
There are some ideas that you should also remember while installing the vinyl planks. Below are some of the extra tips to use:
- You can avoid the whole process if you choose to install a piece plank stair cover. Remember, it covers the stair tread and nose and creates a beautiful appearance.
- During installation, it’s good to measure the stairs one by one as you install them. It’s because the dimensions may not be the same with every step.
- If some of these steps may seem to be tough on you, reach out to a professional to fix the flooring for you.
Conclusion
By closing it up, vinyl planks are long-lasting products, but you must install them correctly. If you use little glue or fail to follow these steps, they will peel off and become loose after a short time. Additionally, remember to purchase a quality product in the market.
Once you know all these simple steps well, you can use them in installing other types of floors. Remember, the choice is in your hands. So, are you ready to start the installation? If so, and you have more insights, feel free to share with us, and we will love to hear from you.
a riser is the FRONT part not TOP part
Good info, but to long
Um a C for the effort you put into the article. However, i stopped reading when you were incorrect on what a riser was. The top of the stair is called the Tread…the front face of the stair is the Riser.