So you have wanted to install Lifeproof vinyl plank flooring for the longest time but don’t know where to start? You are at the right place!
Adding vinyl planks to your floor is an easy home improvement project that doesn’t need any prior experience. This article provides a step-by-step guide on how to install Lifeproof vinyl plank flooring to make the whole process easier for you. So, let’s start!
Table of Contents
Tools Needed for installing Lifeproof Vinyl Plank Flooring
- Knee pads
- Tape measure
- Pry bar
- Pliers
- Sandpaper
- ¼ inch wedge spacers
- Utility knife
- Fine-tooth handsaw
- Hammer
- Lifeproof vinyl plank flooring
- Carpenter’s square
- Straightedge
- Brad nailer
How to Install Lifeproof Vinyl Plank Flooring
Step 1: Calculate How Much Flooring You Need
Before you start your installation, make sure you know how many boxes of planks you need. A useful rule of thumb is to throw in an extra 10% of the total footage.
This would be a wise move especially if you will be special-ordering your color. By ordering slightly in excess, you will have more than you actually need and you won’t risk running out of boards in the middle of the installation.
You can always return anything you haven’t used later. Just make sure to keep the receipts.
Step 2: Plan the Layout of Your Floor
As with any flooring, Lifeproof vinyl planks need to be laid in a manner that enhances the look of the area in which they are installed.
For a neat and good-looking floor, you don’t want extremely short planks at the beginning of a row, neither do you want a super narrow row toward the end of a run.
You can always refer to the installation instructions to find out how to calculate and lay out your boards. Or if you are a little nerdy, you can create a 3D model of the area you intend to do your flooring and arrange the boards exactly how you prefer them.
Step 3: Remove the Trim Moldings
Trim basically includes baseboards, doorcase moldings, and base shoe moldings. If it’s in contact with the floor, you need to first remove it so it doesn’t interfere with your installation. In some cases, unhooking doors from the hinges may also be required.
The trim molding is usually attached to the wall using thin brad-like nails. To remove it, simply hook the pry bar between the molding and the wall and pry it off. After that, pull the brads out of the molding with pliers.
If your trim still looks good after removal, keep it safe. After setting up your floor, you can still reinstall it instead of getting a new one.
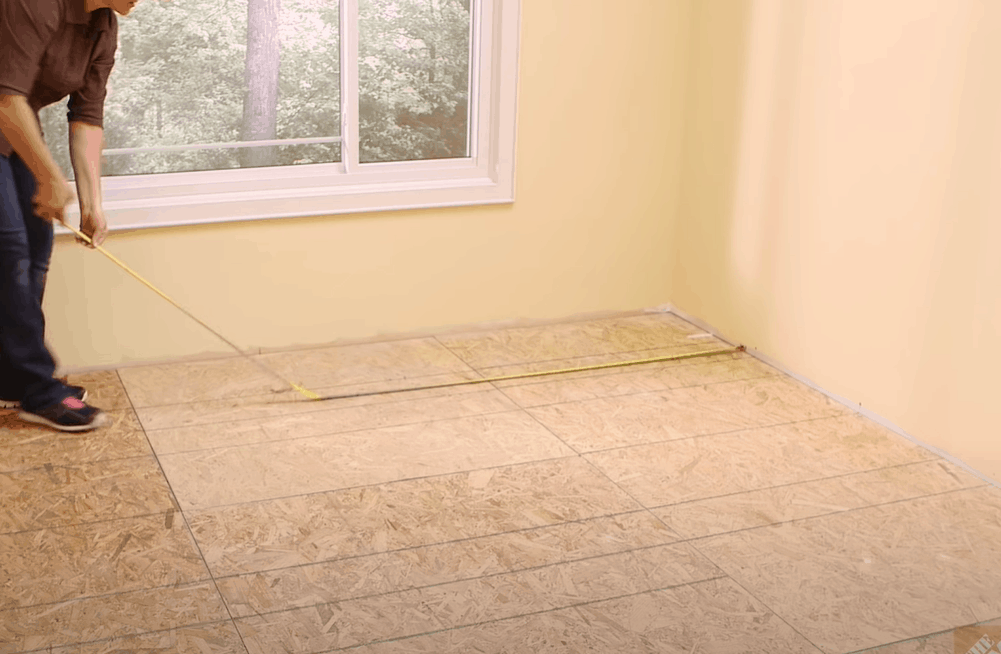
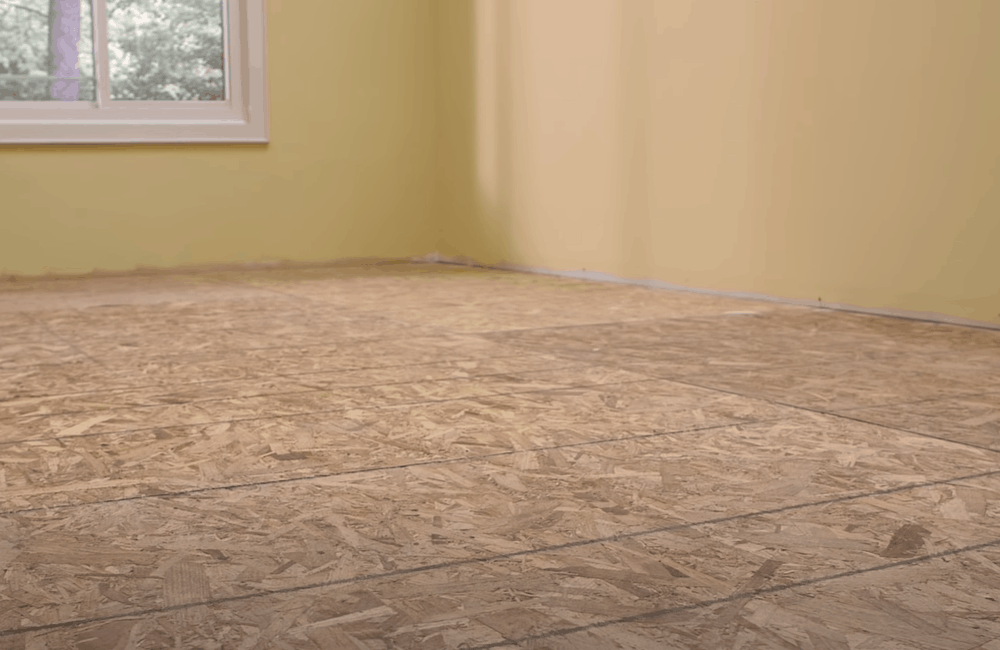
Step 4: Get Your Floor Ready
The best thing about Lifeproof vinyl boards is that they can be laid down even over existing flooring. All you got to do is ensure the old floor is completely leveled.
Polish any lumps and scratched spots with sandpaper. You want the surface to be as flat and smooth as possible before laying down the plank flooring.
If you are fitting your vinyl boards over a concrete surface, fill any holes, cracks, or depressions with a concrete patcher. For plywood subfloors, even out dents with a floor-leveling product before starting your installation.
Step 5: Test-Install Your First Row
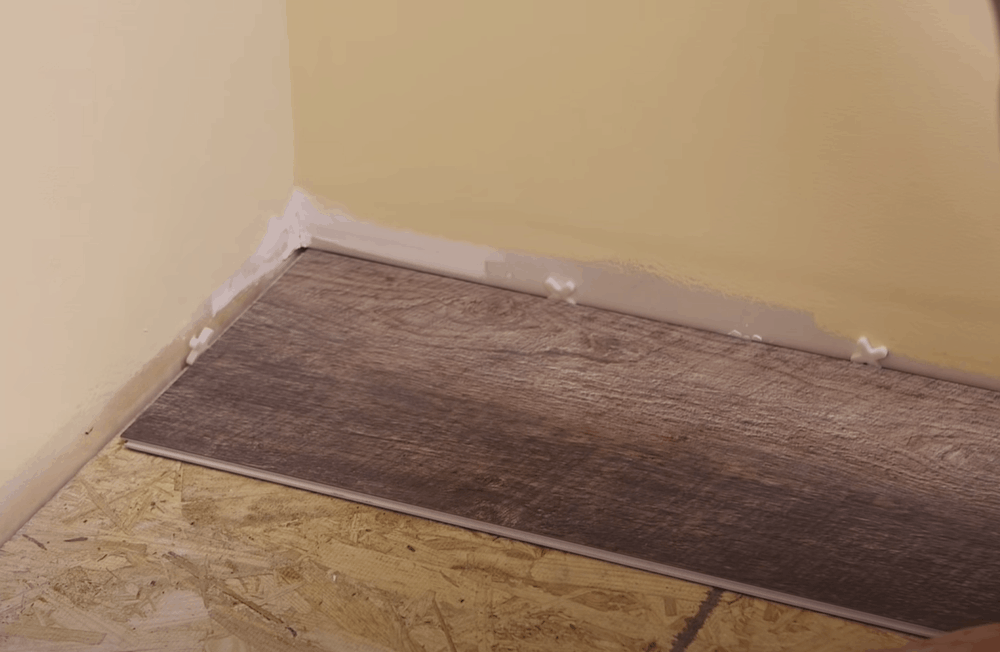
Place a few boards on the floor along the length of the wall where you want your first row to be. Visually, the vinyl flooring will appear more appealing if the cut planks on the opposite side wall are relatively equal in length.
To achieve this, start with a full board at the middle of the row and work your way to the sides. That way, the planks you cut and place on both ends will have similar lengths.
Remember to leave a gap of about a ¼ inch between the wall and the ends to allow for expansion. You can use wedge spacers to establish this gap.
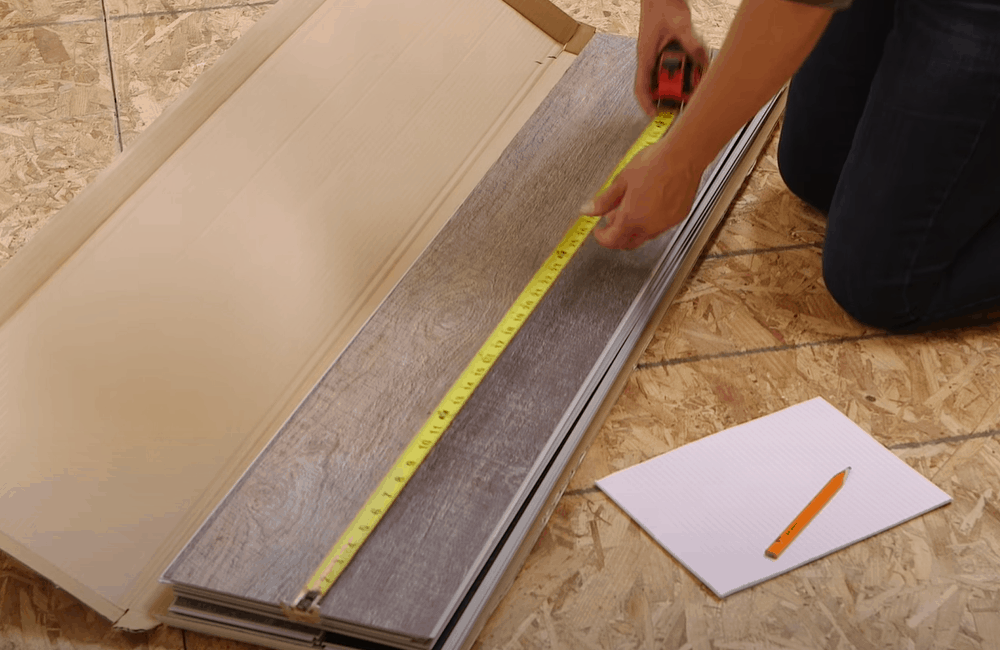
Step 6: Cut Vinyl Boards to the Desired Sizes
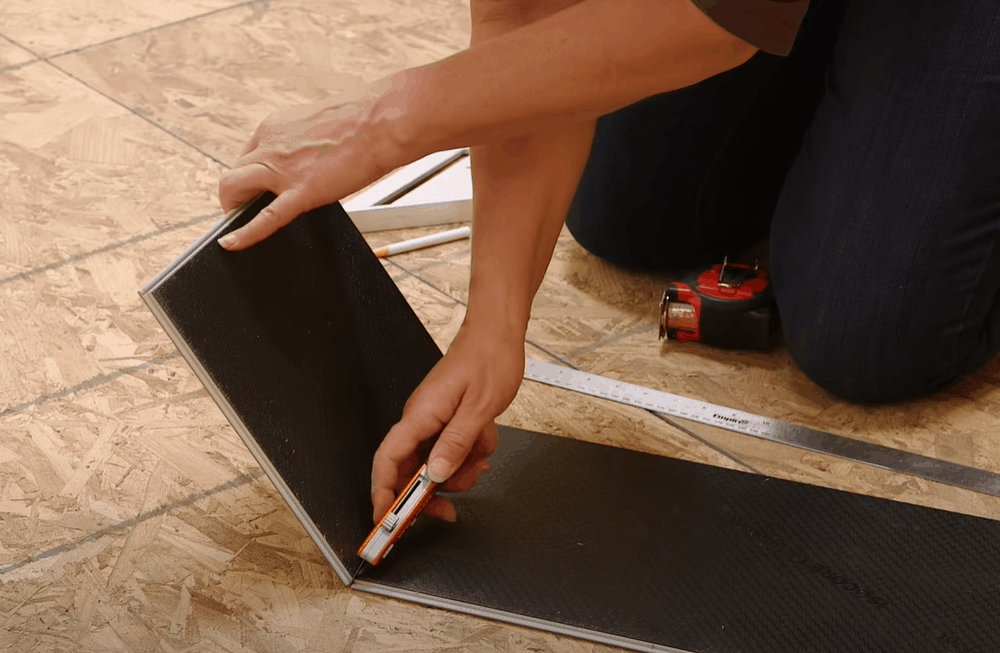
Now that you know how many planks will fit in your first row and how much you will need to cut to even out both ends, go ahead and start the chop.
To begin with, place a carpenter’s square on the face of the board and scratch the face lightly using a utility knife. Then run the knife back and forth across the plank’s face to cut the plank. If you don’t have a utility knife, you can simply perform the cut with a fine-tooth handsaw.
Now, turn the plank over with the finished side facing down. Hold both ends of the plank and fold it back. It will snap off. If it doesn’t, complete the cut by running the knife or handsaw gently through the bend.
Step 7: Install the Planks
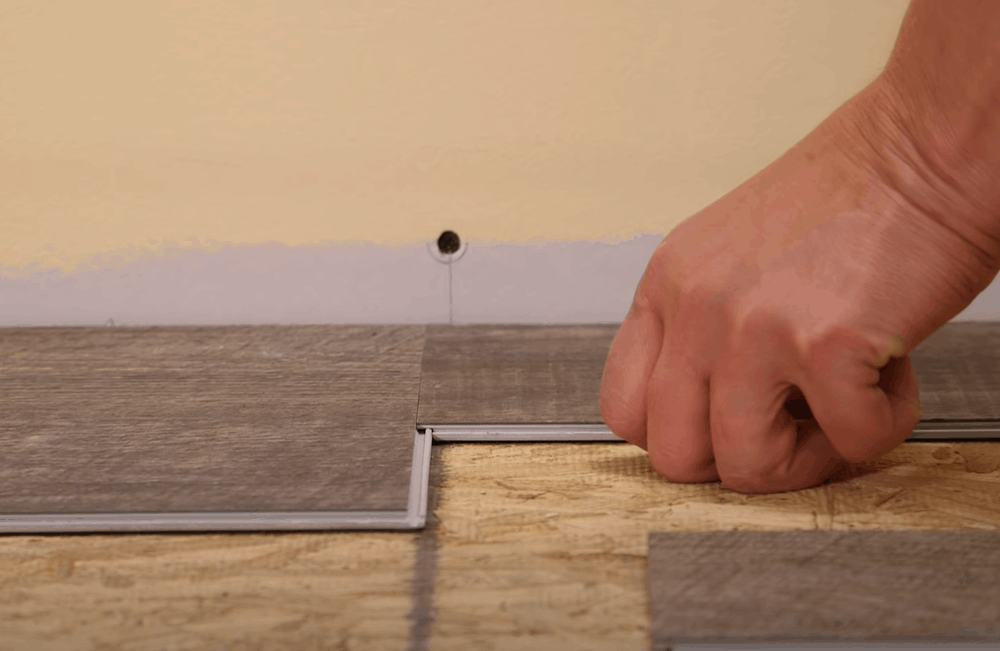
The Lifeproof vinyl planks, like most vinyl floorboards, come with a tongue and groove system that enables them to interlock firmly end to end and edge to edge.
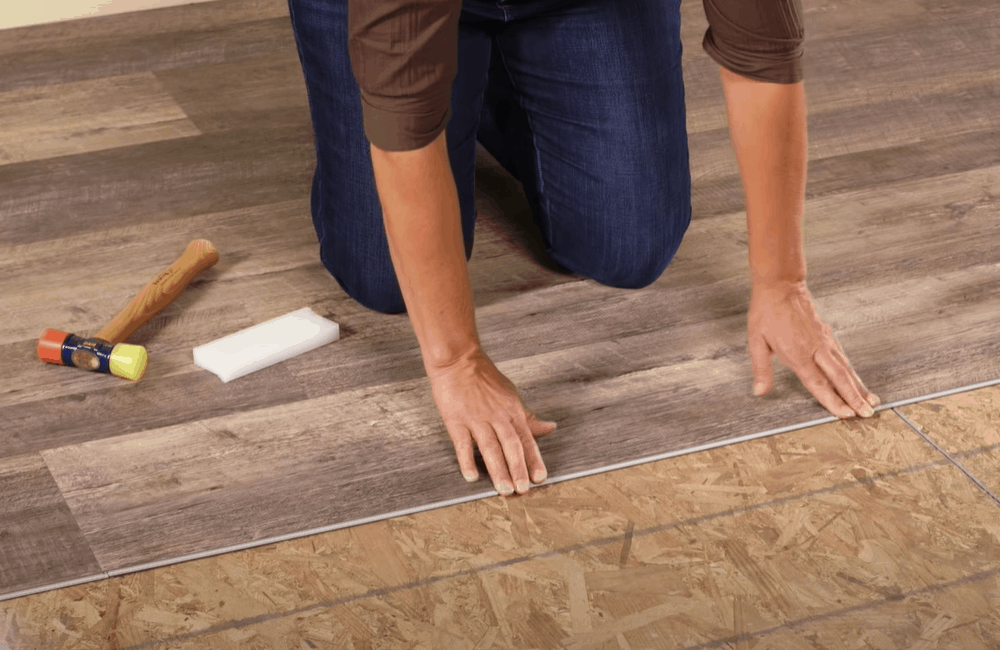
To get started with your installation, lay the plank you wish to begin your first row with flat on the floor. Hold another plank at an angle and push it into the first tile’s receiving groove. Then push it down so that it lies flat to the first board.
Once you are done with the first row, continue with the rest of the rows, first attaching the boards edge to edge then pushing them into the groove of the preceding row.
Step 8: Trim and Install the Final Boards
The planks of the last row may need to be cut lengthwise to properly fit the remaining space. Make sure to cut wide enough to cover the available gap yet narrow enough to allow for a ¼ inch space between the wall and the boards.
To obtain clean cuts, use a utility knife and straightedge. Run the knife several times along the plank’s face until you have obtained your desired width. Then install and align the boards with the previous row.
Step 9: Reattach the Trim
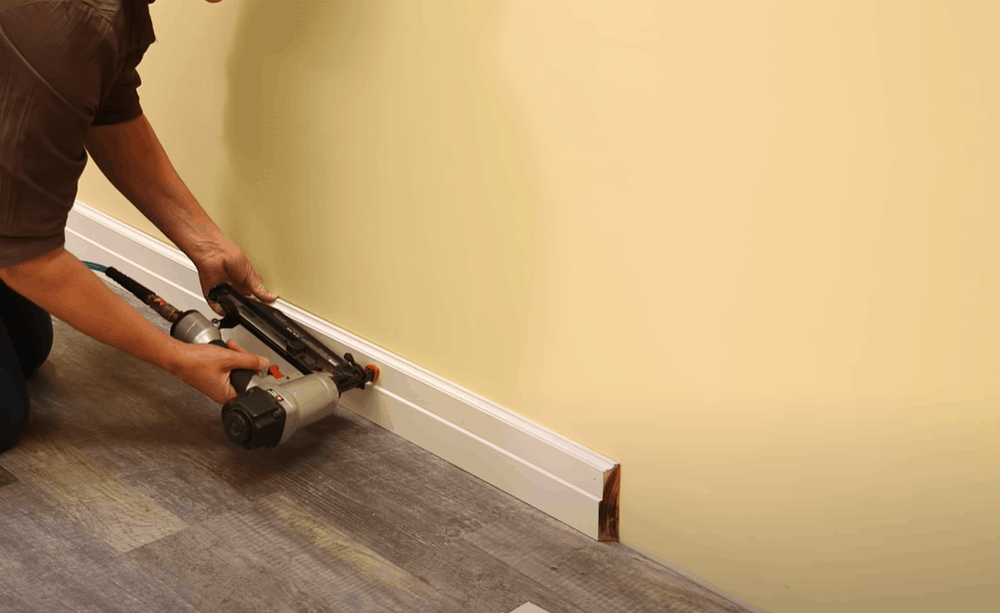
Congratulations! You have successfully installed Lifeproof vinyl plank flooring! Now let’s reinstall those trim moldings.
Simply set the trim in place, grab a brad nailer, and gently drive a few brad nails through the trim to attach it to the wall. That’s it.
Extended Tips: Common Mistakes Installing Lifeproof Vinyl Plank Flooring
Installing Lifeproof vinyl planks flooring is a fairly easy and straightforward process. However, there are several things that can set this project back, putting you at risk of costly repairs in the future.
In this section, we highlight some of the mistakes most people make when installing Lifeproof vinyl plank flooring in their homes and how to avoid them. Read on!
Installing on Uneven Subfloor
Making sure the area you intend to install the planks is level is an important step when fitting your vinyl plank flooring. If skipped, you may end up with gaps between boards, causing the floor to click or squeak when you walk on it.
Using Defective Planks
Examine each board before laying it down with the rest. Even professionals sometimes fail to see bumps or blisters in the wood, and these seemingly insignificant defects eventually become a much bigger issue that costs homeowners thousands of money to repair.
Not Allowing Time for Acclimation
Before installing Lifeproof vinyl plank flooring or any other type of vinyl boards for that matter, always leave them in the room they will be installed for at least 24 hours.
Vinyl planks are extremely vulnerable to changes in the environment. Storing them for a day or two in the room they will be laid down gets them used to the new surroundings, which prevents the floor from buckling once it has been set up.
Not Leaving Any Expansion Gaps
Expansion gaps are crucial in all vinyl plank flooring installations. When you don’t leave any, the pressure caused when the floor expands and contracts will have nowhere to go.
As a result, the floor will buckle, and oftentimes, you will have to replace the affected plank to get the floor back in shape.
Pattern Mismatch
If you are alternating patterns and a few boards are laid wrongly, the entire project can turn into a disaster. The easiest way to avoid this problem is by doing a little prep work in the beginning.
Instead of pulling the boards straight out of the boxes, unpack and stack them in piles, each for a different pattern. As you perform your installation, keep rotating through the different piles to make sure you are laying your patterns where you want them.
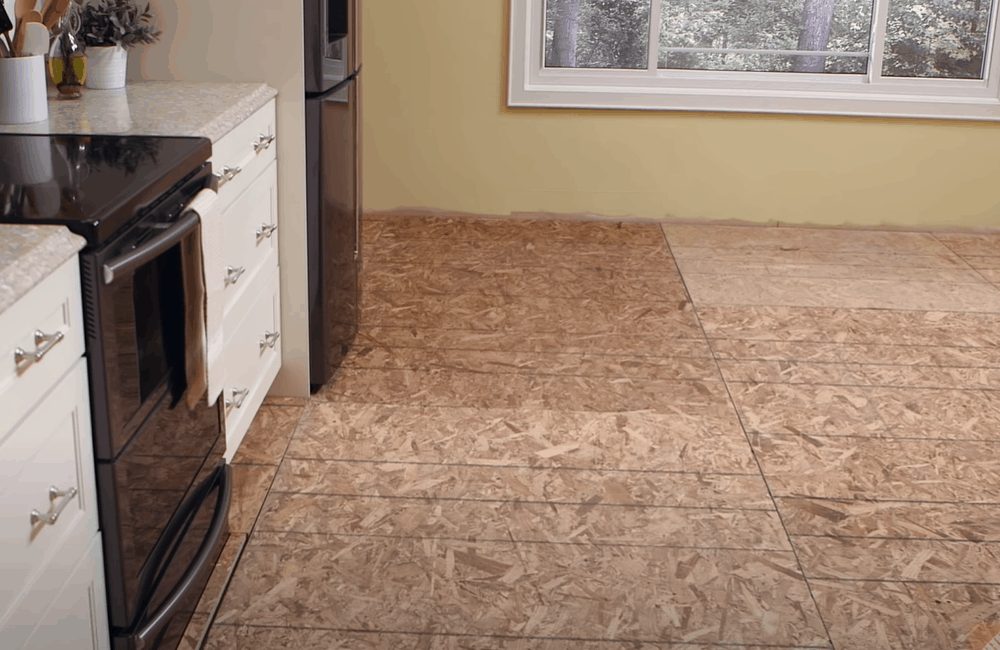
The Takeaway
Lifeproof vinyl plank flooring is a great addition to any indoor space. If you are planning on installing it, follow these quick steps to get started:
- Plan adequately by buying enough planks and designing your floor layout.
- Prepare the area by removing trim moldings and leveling the subfloor.
- Cut the boards in the right sizes and perform your installation.
- Be keen to avoid installation mistakes that may lead to costly repairs in the future.
Have you installed any Lifeproof vinyl plank flooring lately? We would love to hear your experience. Let us know in the comments section.