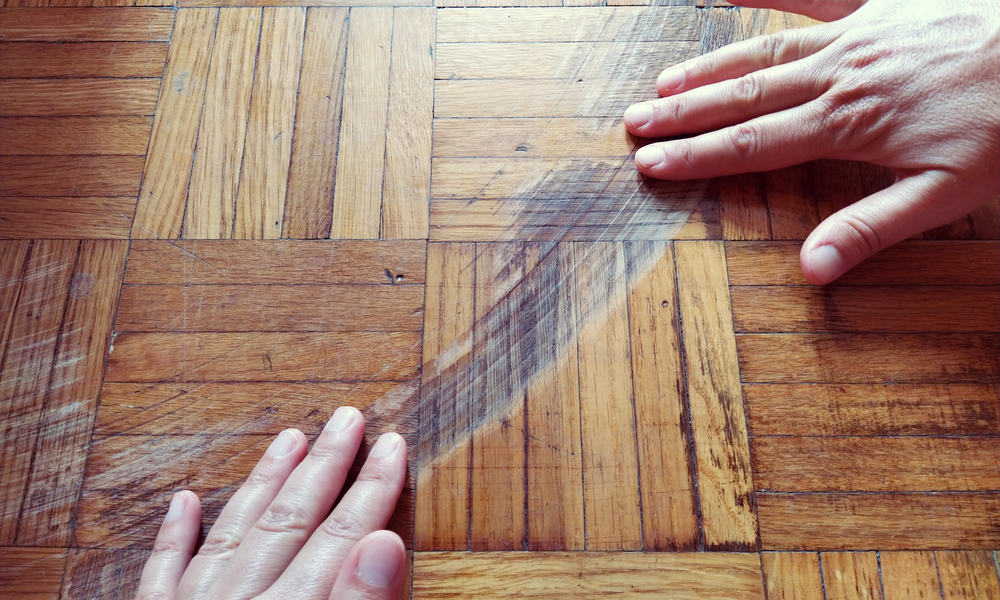
Scratches and scrapes taking away the sleek appearance of your luxury vinyl floor? Well, maybe it’s time you considered repairing them.
Fortunately, repairing simple dents in vinyl flooring is an easy, fast, and inexpensive process. With just a few supplies, you can be able to get rid of these abrasions and bring back the original allure of your flooring.
Here, you will learn how to repair scratches on luxury vinyl flooring, when to replace scratched planks, and things you can do to prevent blemishes in the future. But first, let’s find out what causes these abrasions.
Table of Contents
Where Do Scratches Come From?
There are many ways through which your luxury vinyl flooring can acquire scrapes. The most common include:
- Furniture: Heavy furniture can easily put dents on your floor when pushed around or subjected to more weight than it is designed for.
- Dirt from outside: Soil, gravel, asphalt, and small rocks stuck on your shoes can find their way into your living space and scratch your vinyl floor while you walk.
- Pointy toys: Toys with sharp edges can be dangerous if kids use them without keen supervision. Such toys are not only unsafe for kids but can also leave deep cuts on the floor that may be difficult and costly to repair.
How to Fix Scrapes on Your Luxury Vinyl Floor
Materials Needed
- Sponge or soft piece of cloth
- Warm water
- Bucket
- Mild detergent
- P320, P500, and P800 grit sandpaper
- Car wax
- Scraper
- Pry bar
- Hammer
Step 1: Clean the Affected Area
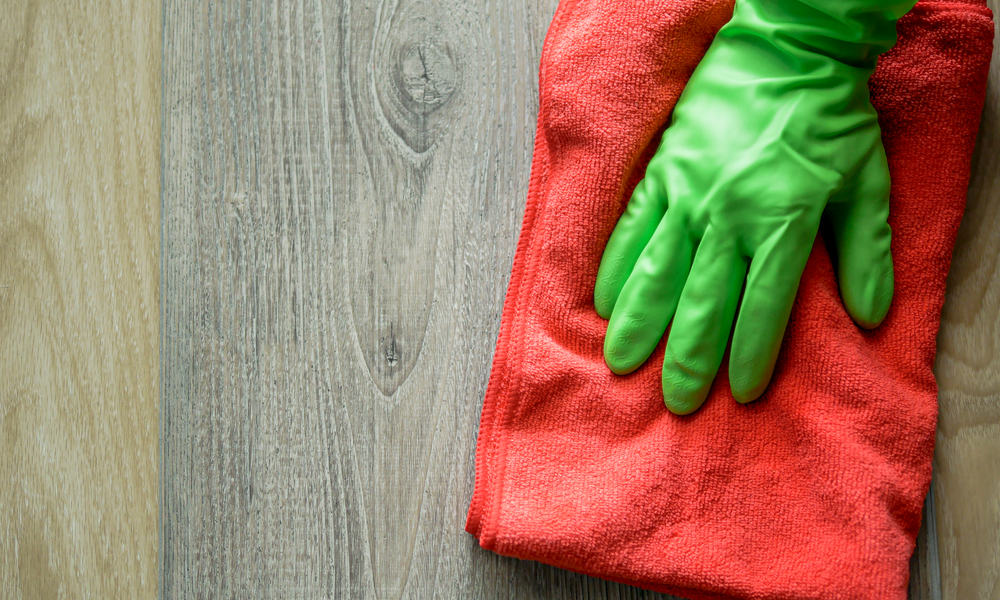
Before you start your repair, make sure the affected area is clean. This will help you assess the extent of the damage and figure out the best way to fix the problem (whether to repair the dent or replace the damaged plank).
Sometimes all you got to do is give the scratch a good sweeping or mopping and that’s it. Light dents, in particular, may not require too much work as compared to those that go deep into the plank.
To properly clean a scratch on a luxury vinyl floor, put warm water in a bucket and add a ¼ cup of mild detergent. Then dip a sponge into the solution, squeeze out excess moisture, and thoroughly clean the affected spot.
Wipe the area with a dry piece of cloth or wait for it to air dry before proceeding to the next step.
Step 2: Smooth the Spot
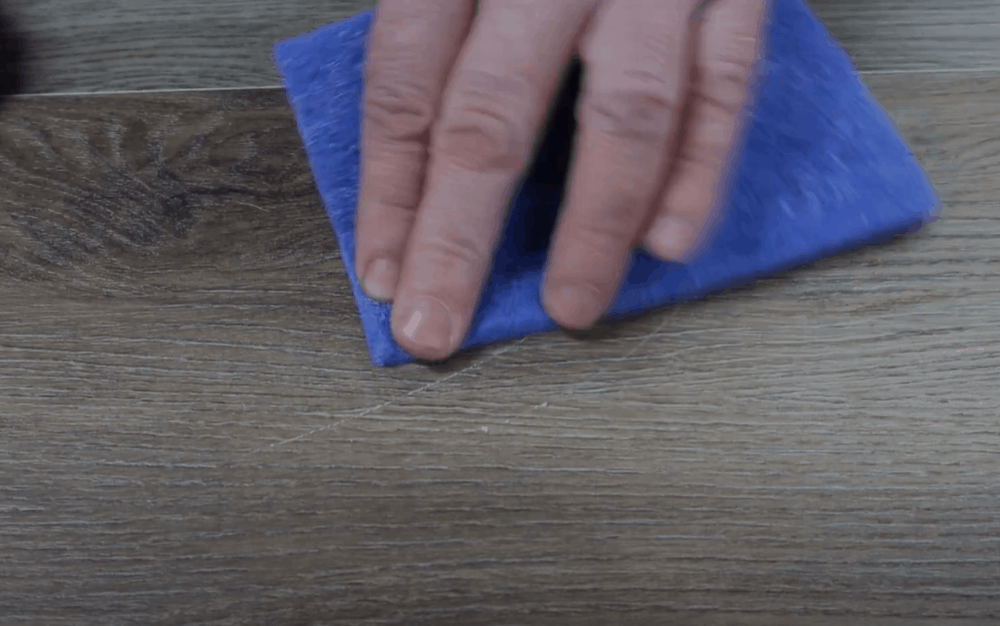
The primary purpose of smoothing is to polish the scratch to get rid of rough edges. Get sandpaper and polish the area. Do this gently to avoid damaging the finish or scoring the plank further.
For best results, start with the medium grit sandpaper (P320) and rub in the direction of the scratch. This type of sandpaper should be able to remove most of the scrape and give you finer edges.
Next, grab the smoother grit sandpaper (P500) and rub the dent in a circular motion. This will rub out any existing wax on the surface of the scratch, preparing the plank for waxing later.
Now give the scratch a final sanding with the P800 grit sandpaper. Rub gently in a circular manner until the spot is completely smooth and even with the plank. Touch the area to know whether more polishing is needed.
Once you are completely satisfied with your work, clean the spot. Dip a sponge in a solution of water and mild cleanser and wipe off all the dust that was formed during sanding. Allow the area to air dry before moving to the next step.
Step 3: Apply Wax
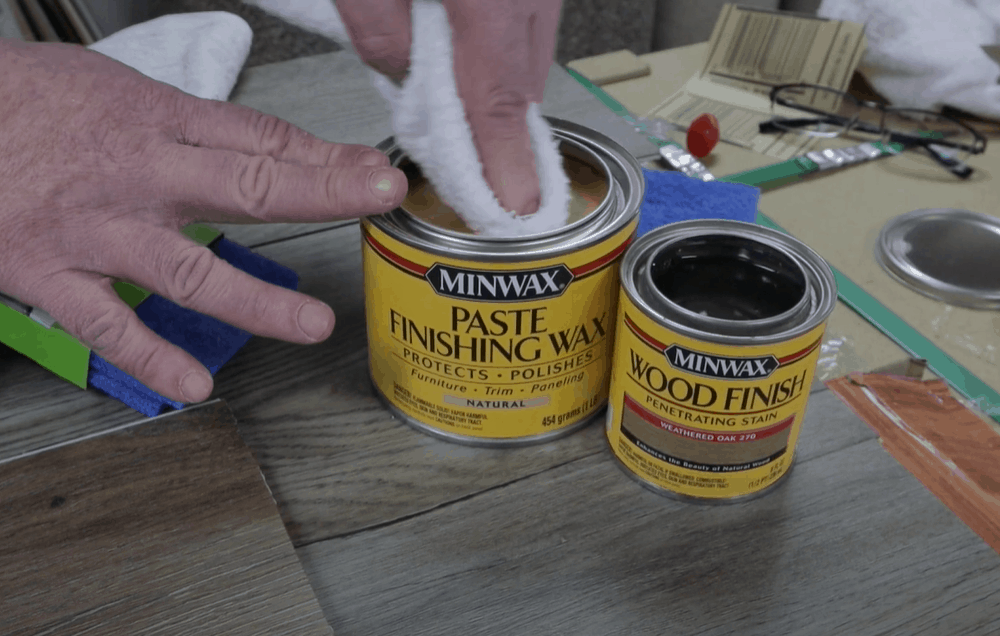
Waxing can help smooth and bring back the shine of luxury vinyl flooring. To get the best out of your waxing procedure, use quality wax, preferably car wax.
Pour a small amount of it on a clean piece of cloth and smear lightly on the polished scratch. Rub in a circular motion until you have obtained your desired shine.
Check to see whether there are any wax spills on the plank and clean it off. Now wipe the entire plank with a clean rug and you are good to go. If you have done the job right, the scratch will no longer be visible.
Step 4: Replace Deeply Scratched Planks
Simple scratches can easily be rectified with the above steps. For deeper scrapes, however, you may need to refinish or replace the damaged part of the floor.
The good thing about refinishing is that you won’t really have to install an entire new plank. You will only be applying new finishing to the tiles that have considerable deep dents. Sure, the process may be a little expensive, but certainly not as bad as having to redo the entire floor.
However, the fact that one needs to know for sure what type of finishing is used on the existing planks makes this process a bit of a hassle for most homeowners. That’s why many will prefer replacing the plank instead.
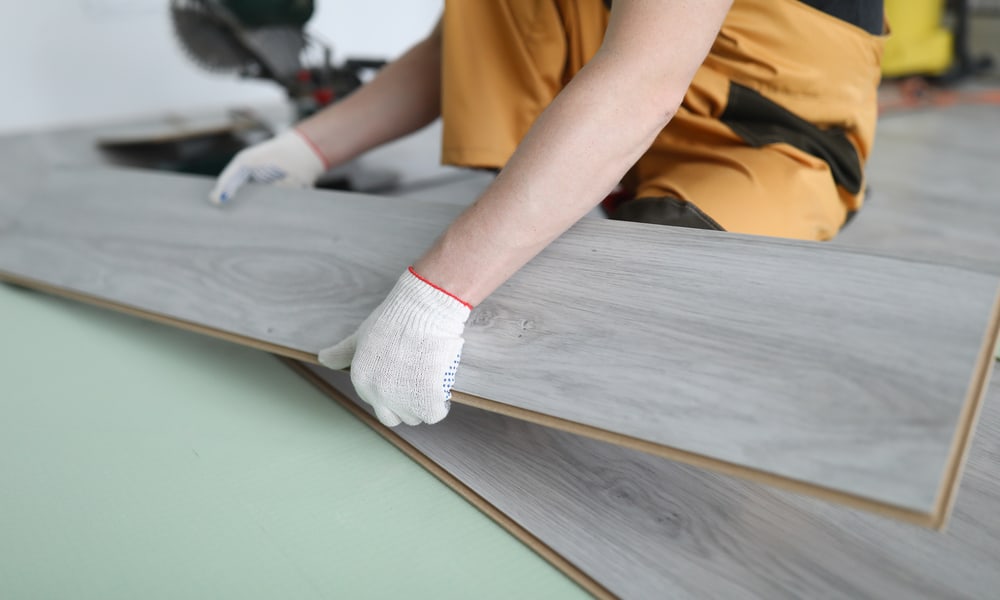
To replace a luxury vinyl plank, remove the damaged tile. Use the scraper to loosen it. If it doesn’t come out, get the hammer and pry bar and chip at the toughened adhesive.
Clear out the old adhesive and sand the area to smooth it up. Now, break out a new plank and apply adhesive on its back. Then push the tile into the space where you removed the old tile, making sure it interlocks with the existing tiles.
To find out if a plank needs replacing, try steps 1 to 3 first. If the gouge is still visible even after sanding and waxing, it’s evident that a more complex fix is needed, and depending on your preference, you can go for refinishing or replacing.
Repairing or replacing vinyl floor planks can be an uphill task if you have not done it before. Here is a video to get you started and make the process less intimidating.
Extended Tips: How to Prevent Scratches on Luxury Vinyl Flooring
Move Furniture Cautiously
When shifting furniture in your living spaces, make sure you are not dragging it over the vinyl. Lift it up and gently set it down at the desired spot. If the furniture is too heavy, consider placing a piece of plywood over the floor to slide it.
Get a Doormat
Set a mat at the entrance of all your rooms especially those leading to the outside. These will trap most of the elements stuck on your shoes, keeping them from transferring onto the floor and scratching it.
While at it, make sure you are using only vinyl-friendly mats like a colorfast woven rug. Avoid latex or rubber mats at all costs, as the chemicals contained in them can interact with the vinyl and cause more harm than good.
Have a Designated Kids’ Play Area
Set up your children’s play area away from any room that has luxury vinyl flooring. That way, it will be difficult for sharp-edged toys to “accidentally” find their way into these rooms and score the vinyl.
Protect Spots with High Foot Traffic
Areas that are stepped on frequently should have an extra layer of protection to keep the floor in good shape. A beautiful rug in front of your food prep area, for instance, will go a long way in catching any dirt that might be trapped underneath your feet. It will also offer additional comfort.
Make sure to buy rug pads too; they will prevent the rug from sliding over the vinyl. You want the rug firmly situated, not just to keep you from slipping and falling but also to prevent friction that can over time scratch and wear out the finishing.
Clean the Floor Regularly
Sweep the floor every day to remove unwanted objects. This will not only prevent scratches but also eliminate dirt accumulation that could cause dulling.
Mop occasionally too using plain water. If you have old stains, you can go for a stronger cleaner. Mix a mild detergent or a few drops of apple cider vinegar with warm water and use the solution to mop the floor.
Don’t forget to rinse with clean, plain water. You want to wipe all the soap off to avoid discoloration. And don’t use abrasive cleansers, as these can graze the floor.
Invest in Floor Protectors
Floor protectors are another great way to guard luxury vinyl floors from abrasions. Simply place them under your furniture feet, appliances, and any other heavy item you may have placed on the vinyl.
Speaking of, avoid items that come with casters on the base. If you must use these, consider double-wheeled casters; they are much safer than their single-wheeled counterparts.
The Takeaway
Now that you know how to fix those unsightly scratches on your luxury vinyl flooring, go ahead and give your floor its sparkle back.
- Start by cleaning the affected area thoroughly.
- Once clean, polish the edges of the scratch.
- After, apply some wax to the smooth area.
- If this doesn’t solve the problem, consider replacing the damaged planks.
Have you recently repaired a luxury vinyl floor? Got some tips you would like to share with us? Leave us a comment below.