Vinyl flooring is easy and inexpensive to install. But over time it can show signs of age and wear. If your vinyl flooring is past its best, you’ll want to get rid of it. And you’ll want to do it as quickly and easily as possible.
That’s where we come in! We’re going to show you how to remove vinyl flooring, step by step. And we’ll share some top tips to get great results.
So if you’re ready to get rid of that old flooring without mess or fuss, step this way!
Table of Contents
Tools and equipment for removing vinyl flooring
- Pry bar
- Utility knife
- Rubber mallet
- Pencil
- 5-in-1 scraper
- Warm water
- Liquid dish detergent
- Decorator’s sponge
- Heat gun (if your old floor adhesive is very stubborn)
- Commercial adhesive stripper (if your vinyl floor is glued to a concrete sub-floor)
- Broom or vacuum cleaner
Step-by-step guide on How to Remove Vinyl Flooring
Step 1: See what you’re dealing with
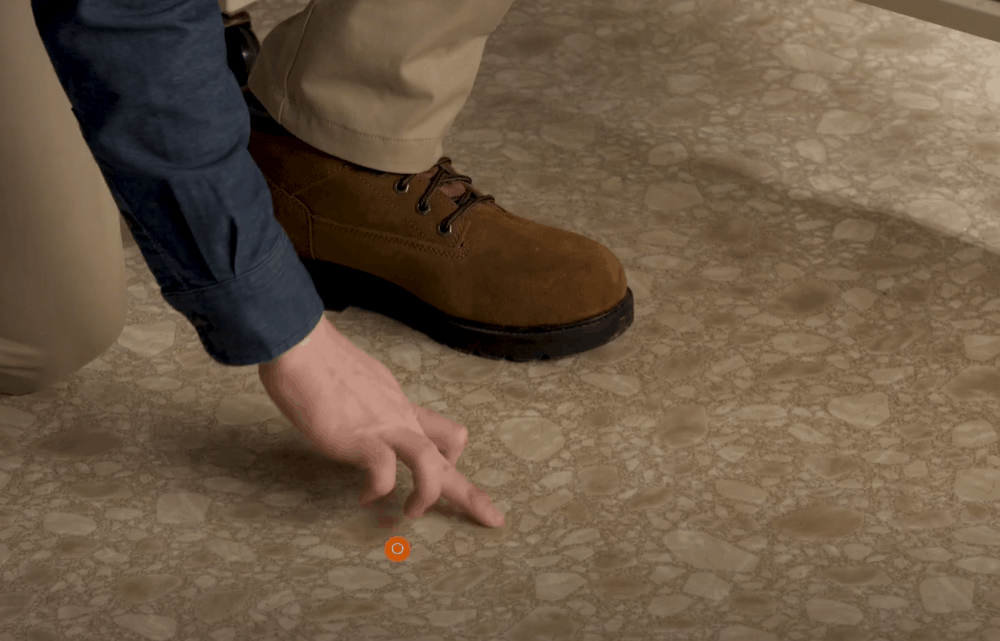
To begin with, you’ll need to take a good look at your vinyl floor. That’s because its age can determine your whole approach.
Vinyl flooring produced before the 1980s may contain asbestos. If that’s the case, you’ll need to employ a licenced contractor to get rid of it.
Yes, it’s an expense and hassle – but it’s unavoidable. Don’t be tempted to take a shortcut and do it yourself. You’ll be taking a very serious risk with your health. Mesothelioma, an aggressive type of cancer that results from exposure to asbestos, is fatal.
In some cases, you may be able to lay a new floor over an existing one containing asbestos. But you’ll still need to check with a licensed asbestos specialist first. Even this approach can risk disturbing asbestos fibers.
Assuming your vinyl flooring doesn’t contain asbestos, you’ll be able to remove it yourself. So clear the room of furniture to give yourself space to work.
Step 2: Remove the baseboards from your walls

You’ll need to get to the very edges of the room to remove your old vinyl flooring. And you’ll also need to do that to lay your new floor. That means removing the baseboards along the bottoms of the walls.
To do this, you’ll need a rubber mallet, pry bar and utility knife.
To begin with, take a look at the top of the baseboards. In some cases, layers of caulk or paint may be helping to attach them to the wall. If so, take your utility knife and run it gently along the top of the baseboard, where it meets the wall. That will cut through the seal formed by the caulk or paint.
Now place the end of the pry bar at the top of the trim and tap it sharply with the rubber mallet. That will slide the end of the pry bar under the trim. Now pull gently to tug the baseboard away from the wall. Move it little by little to avoid damage to the board.
Pro tip: If you plan to reuse the baseboard or trim, mark the back so you know where it goes. A simple way to do this is to draw a plan of your room and number the sections of baseboard on the plan. Then write the appropriate number on the back of the baseboard in pencil as you remove it.
Step 3: Start in the middle

In most cases, vinyl flooring is only glued in place at the edges of the room. That means it’s a good idea to start right removing it right in the middle of your floor.
Take your utility knife and cut a line down the center of your floor. Now move about a foot to the side and cut a second line parallel to the first. Now cut a line joining these two strips at one end. You should now be able to lift the cut section of vinyl.
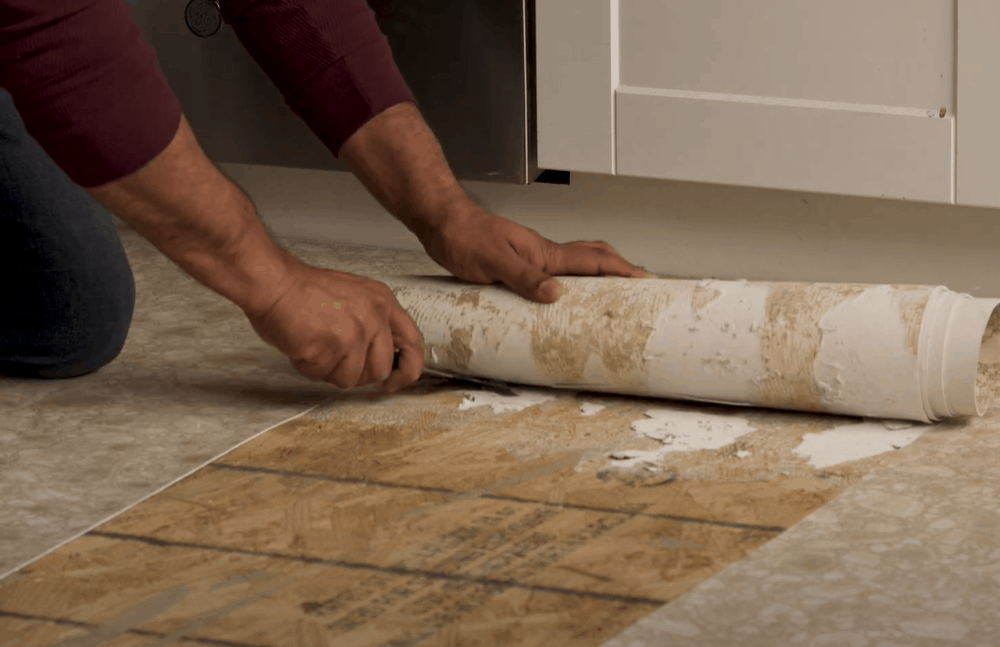
This YouTube video from Home Depot shows you how it’s done. Roll up the vinyl as you go to keep it manageable.
Keep rolling until you reach the end and you start to feel resistance from the glue. Take your 5-in-1 scraper and use it to loosen the adhesive from the vinyl. Then cut a second line at the bottom of your vinyl strip and lift it out.
Pro tip: If you can’t get the vinyl flooring loose using your scraper, don’t worry. Just take your mallet and pry bar and use it to snap off the hardened glue.
Step 4: Remove the remaining vinyl from the edges
Once you’ve got rid of all the vinyl from the middle of the room, it’s time to tackle the perimeter. At this point, you’ll have a narrow border of vinyl left around the edges of the walls.
To remove this, you’ll again need your mallet and pry bar. Position the flat end of the pry bar beneath the edge of the vinyl. Then tap the other end with the rubber mallet. That will cut through the glue holding the vinyl to the floor. You should then be able to pull it up.
Step 5: Tackle the glue
Once all your vinyl is gone, you’ll probably find you have patches of glue all over your sub-floor. Use your 5-in-1 scraper to remove this.
If it’s very difficult, you can make your life easier by softening up the glue. Fill a bucket with warm water and add some liquid dish detergent. Apply the mixture liberally to the patches of glue, allowing it to soak in. A sponge is good for this.
Leave it for a few minutes to let the warm water do its work. Then take your scraper and slide it under the glue patch again. With any luck, the softened glue will now lift off the floor.
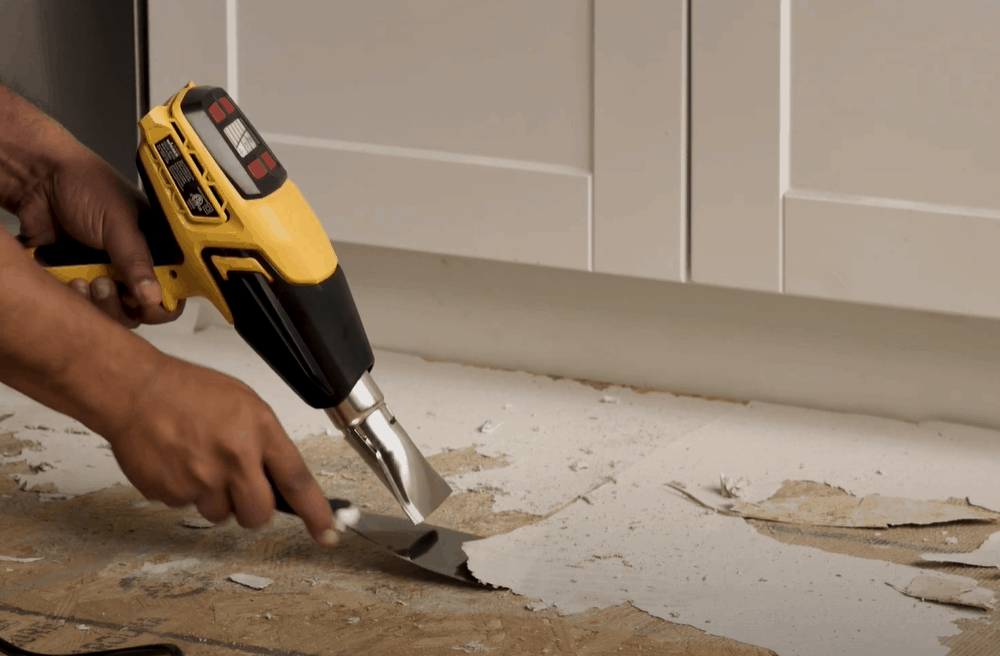
But in some cases, the glue will still cling on stubbornly. If that happens, it’s time to break out the heat gun. Hold it over the glue for just long enough for it to soften. Then use your scraper to lift if off.
Pro tip: If you’re removing glue from concrete, try the pry bar and mallet combination first. If that doesn’t work, invest in a commercial adhesive remover. Follow the instructions on the packaging to soften and remove the glue.
Step 7: Clean up time
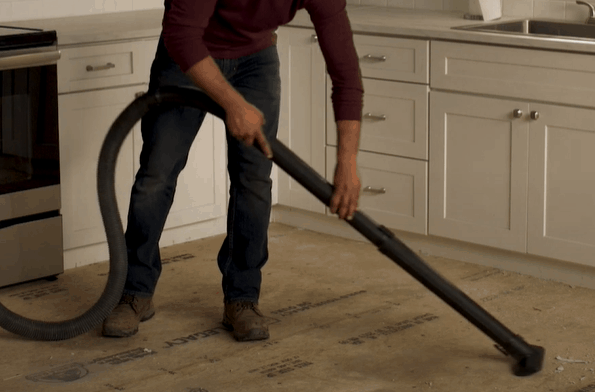
Now all the vinyl flooring and glue has been removed, you’re almost ready to lay your new floor. But before you do that, you’ll need to clean up any dirt, dust and small fragments of glue and vinyl.
The simplest way to do that is with a good old vacuum cleaner. Put it on the hard floor setting and cover the whole area. If you have a nozzle, use that to clean right to the edges. If you don’t, it’s a good idea to use a dustpan and brush to make sure you get rid of all the debris.
Now you’re all done! Time to choose a beautiful new floor.
Extra tips
- Removing vinyl flooring necessarily involves lots of bending and work at floor level. Make your life easier by investing in a pair of knee pads. They will allow you to work in comfort. It’s also a good idea to wear heavy work gloves to protect your hands from sharp edges.
- If you’re removing vinyl tiles or plank flooring, a putty knife is the best tool to use. Slip the edge of the knife beneath the corner of the tile or plank and pull upwards. You should be able to gradually lift it from the floor.
- Take care when removing baseboards and trims, and you’ll be able to reuse them with your new floor. Go slow with that pry bar, and pull a small section away from the wall at a time.
- If you’re removing trim from the bottom of kitchen cupboards, it’s a good idea to buy a trim puller. That will make the job much easier, and minimize the risk of damage.
- It’s also important to be careful when using the pry bar to avoid damaging your walls. It can help to fix a piece of 2 by 4 wood to the wall just above the base board. That will prevent the handle of the pry bar smacking into the wall as you use it.
- You may also need to remove transition strips between your vinyl and other flooring. These may be either screwed or nailed in place.
- If they’re screwed, take a look at the screws to see whether you’ll need a Phillips or flat-head screwdriver. If they’re nailed in place, slide the flat end of the pry bar under the strip. Then strike the other end of the pry bar with a mallet. This will pop out the nails so you can remove it.
- Some areas have recycling facilities that can take old vinyl flooring. Check whether there are any near you before you consign it to landfill.
Time to remove that old vinyl flooring!
We hope our guide to removing vinyl flooring has given you the confidence to tackle this job yourself. It’s not hard to do, and you can save a lot of money by avoiding getting in the professionals.
Just check that your floor doesn’t contain asbestos before you start. If you’re in any doubt, get a specialist to check. It’s not worth the risk to your health.
As long as your vinyl is asbestos free, most floors will only take about a couple of hours to remove. And when you’ve finished, you’ll have the satisfaction of a job well done.
Good luck with your next project! And if you’ve already removed a vinyl floor, please comment and tell us how it went. We’d love to hear from you.