Have you ever thought of how to maintain the beauty of your vinyl flooring and make them look new again? Put on a smile because you can still bring your vinyl plank flooring back to life with the best method. So, we will take you through a step-by-step guide on stripping vinyl flooring and the tools you will need.
We understand that one of the negative issues with vinyl plank flooring is that they lose their beauty and look worn out. Hence, we will tell of the tools you will need to strip and clean your vinyl flooring.
Tools
This activity of stripping your vinyl floors can be a success if you use the correct tools and materials. You will find out that most of these tools are probably at your home. So, below are the tools you will need:
- A vacuum cleaner
- 3 Mop buckets with wringers
- A wet vacuum
- Flat mop
- A floor stripper
- Sealer
- Floor polish
- 3 Mop handles
- Scrapper
When it comes to the materials, you will need:
- Gloves
- Safety glasses
- Suitable footwear like protective boots
Step by Step on How to strip vinyl flooring
Now that you have all the materials and tools you’ll need, it’s time to dive into the main event. Every step that we will give you will have instructions on how and where you use the tools and materials. Like any other activity in your house, preparation is good, and then you will start from any place that you wish to strip in the house.
Step 1. Preparation
Before thinking of stripping your vinyl plank floor, you should never skip this step. So, you need to ensure that you clean your floor and remove any dirt that comes your way. In this section, you will need your vacuum cleaner to have good results as you remove dirt like chewing gum, small paper, and other things.
Make sure you remove all furniture and wipe up any spills on the floor using clean water. It will help you prevent stains as you will be stripping your floor using other liquid solutions. Also, to get excellent performance, you can start this cleaning process a week before the main event. Besides the vacuum cleaner, you can also use a wet mop.
Create a place for coming out from the stripping area to avoid problems in the end. It’s at this place where you will place mats down to help you remove the footwear and avoid tracking any stripping materials to the rest of the house. Lastly, wear all the protective clothing before you start handling any chemicals.
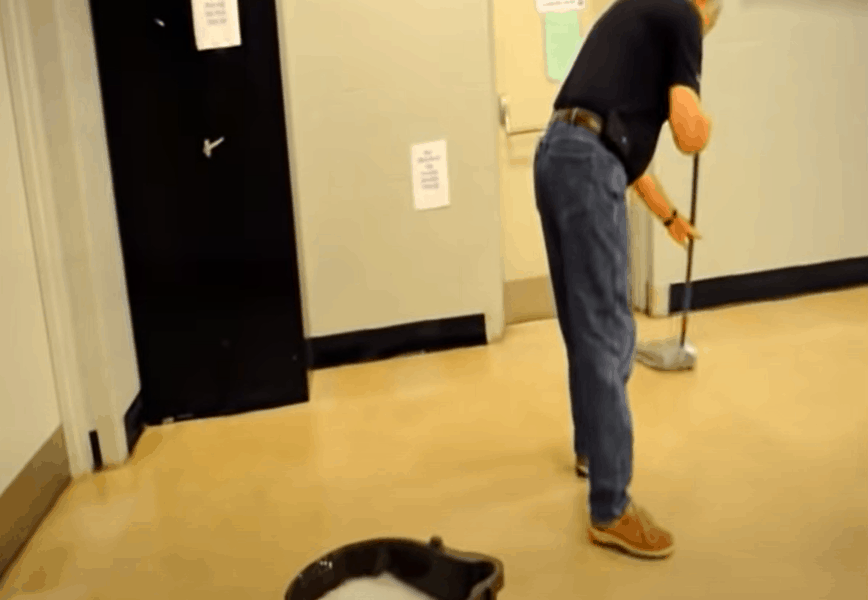
Step 2. Apply your cleaning solution
After dusting your floor and making sure that it’s free of any dirt, you can move ahead to use your wet mop and a cleaning solution. Remember, there are many stripper solutions to help your stripping be successful. Your choice will depend on your best retailer and the type of floor you are using.
Before you start applying the stripper solution, don’t forget to mix it with the correct ratio. Every stripper product will explain how you should make them work well on your floors. You have to know that poorly mixing your solutions doesn’t bring good results after stripping your floor.
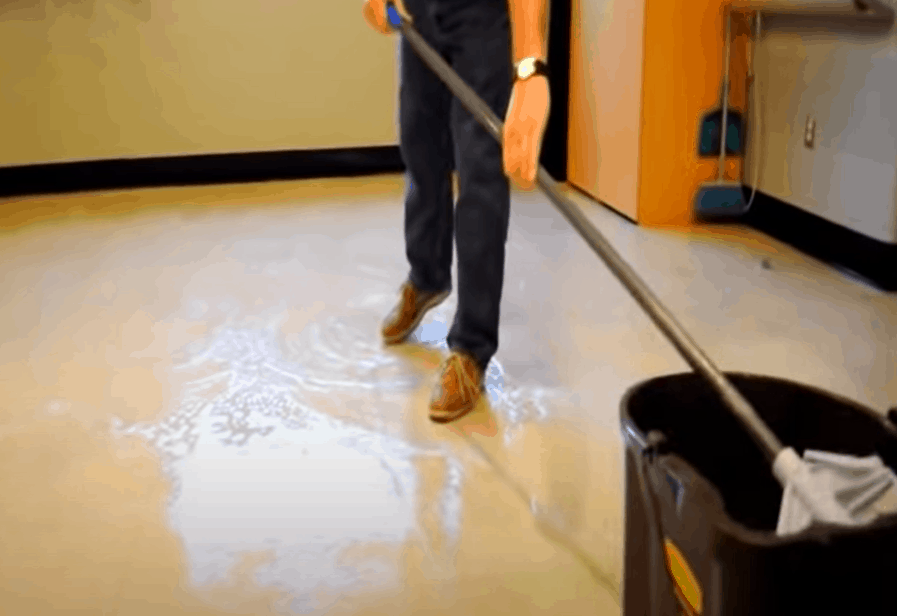
So, after mixing the solution, use a clean mop to apply the solution equally to all places on the floor. If you apply too much of the chemical, you will have more work to do, so make sure you use enough of it. Also, remember to soak the vinyl plank floor well to see that it gets a good cleaning.
Soaking the floor using the cleaning solution will ease the work for you when it comes to polishing. Leave the stripper on the floor for about 5 to 15 minutes, depending on the make of your vinyl plank floor. As you wait, make sure that your room has good air quality because the solution has ammonia in it.
Step 3. Remove the slurry
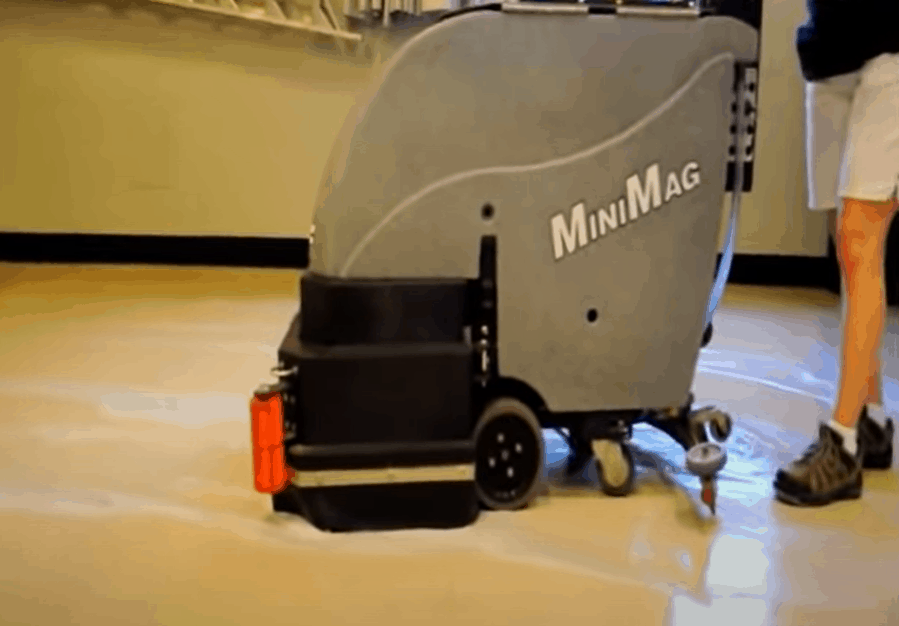
Once the 15 minutes are over, be sure that the slurry is on the floor. So, you can go ahead and remove it using a wet vacuum and not a dry mop. If you are uncertain how a slurry looks, it looks like porridge.
Remember that the slurry will be very thick as you collect it from the floor. Don’t forget to wear your safety gloves and glasses during the collection and disposal of the sludge. These chemicals can destroy your eyes or make you have breathing problems. In this part, keep on using the wet recovery vacuum to get the best results.
Step 4. Rinse the vinyl floor
The slurry coming from the stripper is no longer on the vinyl plank floor, so now you can rinse it. Here, you will need to use one of your cleaning mops to apply water on the floor to remove the remaining residue. After that, you can now wet vacuum the water from the floor.
During this step, it will be good to rinse the floor two to three times using a lot of clean water. So, after removing most of the water from the floor, allow your vinyl plank floor to dry up before you move to the next step of cleaning. To ensure that your floor is 100 percent neutral, you can use a litmus paper strip to test the pH levels.
Step 5. Clean up
As you wait for the floor to dry up, clean out every solution tank, mops, mop buckets, and hoses. Don’t allow the slurry to remain in the cleaning machines. Remember, maintaining this equipment will help you next time to strip your vinyl plank floors.
Step 6. Apply the sealer
After letting the floor dry up, which will depend on your environment, you can apply the sealer. So, you will use the last clean mop that you will have to put the sealer on your vinyl plank floor. It’s a good material which will give you an easy time to polish your floor.
You can use one layer of coating or two. The number of coats that you will use will depend on your type of floor sealer. To be safe, follow the manufacturer’s guidelines and then allow the floor to dry up before moving to the final step.
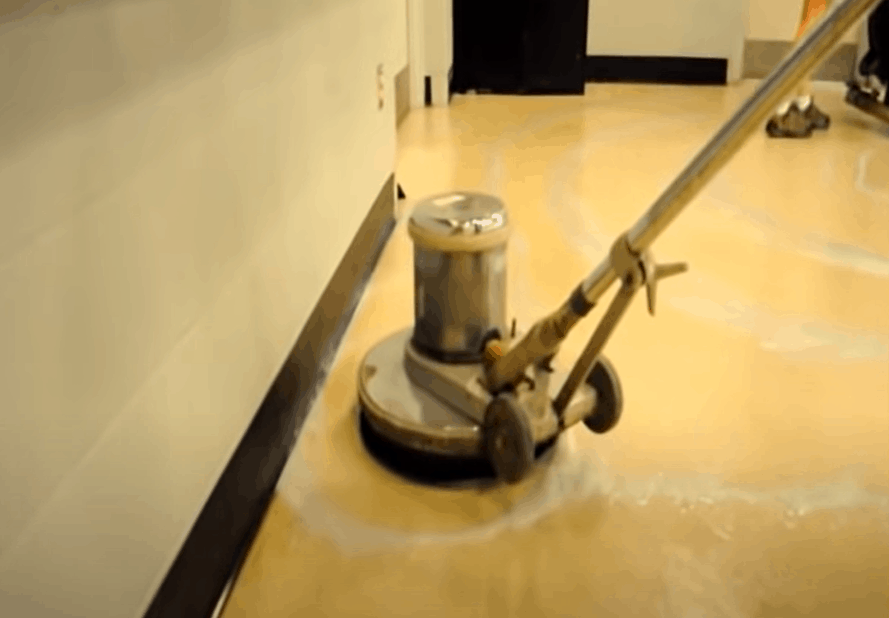
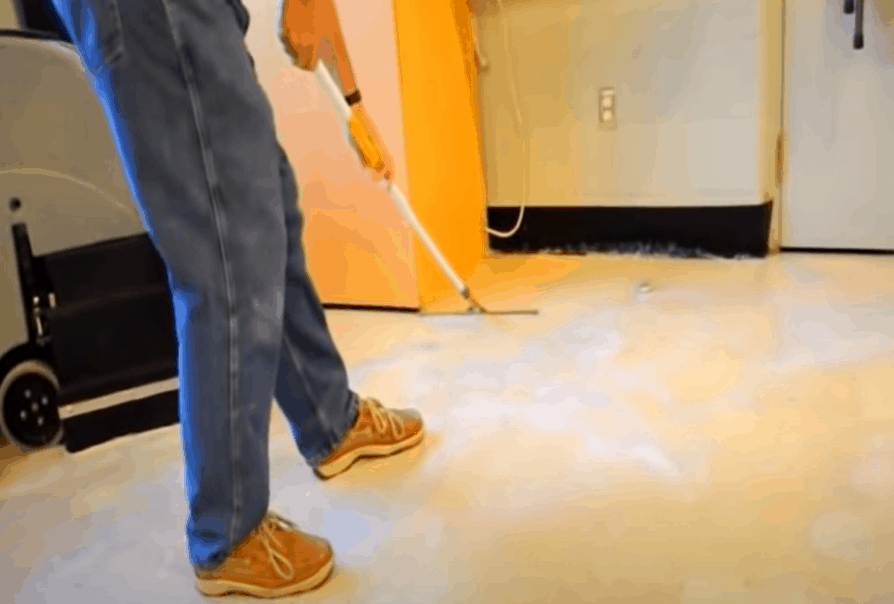
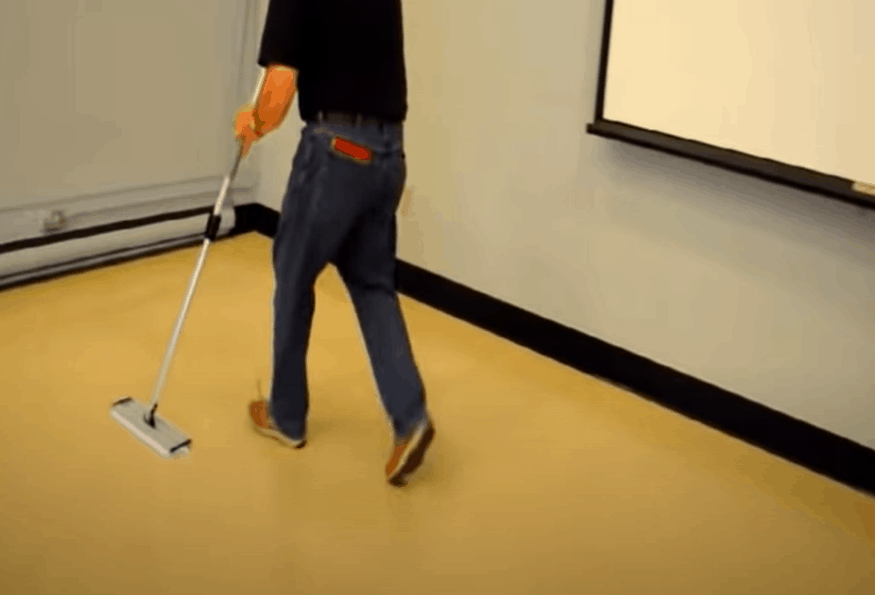
Step 7. Polishing
One of the best tools to help you polish your vinyl plank floor is a flat mop. Also, you can use a domestic clean mop, but you have to use it well to get a good performance. Generally, the target here is to get a deep and shiny appearance, which will happen if you use many thin coats.
Most people fail to understand why this step is good, and thus they throw down the mop with much force. So, the result will be a poor finish for your floor. Using the flat mop, apply a thin polish and evenly through the up and down method and anti-clockwise. Consequently, it will give a perfect finish pleasing to your eyes.
Remember, if you are using two coats, give around 40 minutes to one hour for the first one to dry up. Apply the second one using the second coating using a thin and even layer using the right to the left method. It will cover the whole floor with beauty.
Additional tips
Besides the seven steps, there are some more tips that you can observe as you strip your vinyl plank flooring. Here are some other ideas that we think will be helpful:
- Work in sections
Always work in sections during the whole project. Begin with an area that is not larger than 200 to 400 square feet long per stripping. It will be easy to manage and gives you time to complete the stripping activity while the stripper solution is still wet.
- Know the chemical composition of the solution
Understand the chemical information of the solution you use. Strictly follow all instructions the manufacturer gives to you.
Also, you can use homemade solutions from vinegar to see that you get an excellent stripping solution, apart from the commercially available vinyl floor cleaners. Mix water with vinegar to make the solution because vinegar removes dirt using its acidity without leaving any soapy layer. Below is a simple procedure that you can use it.
- Use a cup of vinegar together with a cup of hot water
- Use a damp mop on the floor and rinse it severally using warm water coming from another place.
- If you want the vinegar to be more potent, add some drops of liquid soap.
Other additional tips are as follows:
- Always remove the slurry as quickly as possible so that it doesn’t dry on the floor.
- Always clean your wet vacuum and scrubber to remove the slurry stuck in the machine; otherwise, you will destroy the tool.
- Use synthetic fiber mops and not cotton ones to apply your finish.
Conclusion
For an excellent stripping for your vinyl plank floor, keep the above steps in mind. Remember, there is no shortcut for you to do a treatment for your vinyl plank floor. Also, every chemical will come with instructions on using the chemicals, so never be afraid of using them.
If your floor is not cheap and you need a perfect finish, you can go ahead and hire a professional with good experience. Otherwise, we hope that you are ready to begin stripping your vinyl floor. If you have more thoughts or questions about this activity, feel free to share them with us.