Vinyl plank flooring is one of the easiest kinds of flooring to install. And done well, it can look a million dollars whilst being easy on your pocket!
But to get that perfect finish, you’ll need to be able to trim it neatly to size. It’s not too tricky – but if you’ve never done it before, some simple techniques can save a lot of frustration.
We’re going to look at how to cut vinyl plank flooring, step by step. And we’ll give you some hints and tips to get a professional look.
Ready to find out more? Then let’s get started!
Table of Contents
Tools and equipment for cutting vinyl plank flooring
- Tape measure
- Framing square
- Pencil (or chalk, if your vinyl planks are a dark shade)
- Safety goggles
- Utility knife
- Clamps
- Jigsaw
How to cut vinyl plank flooring
Step 1: Determine what kind of cut you need to make
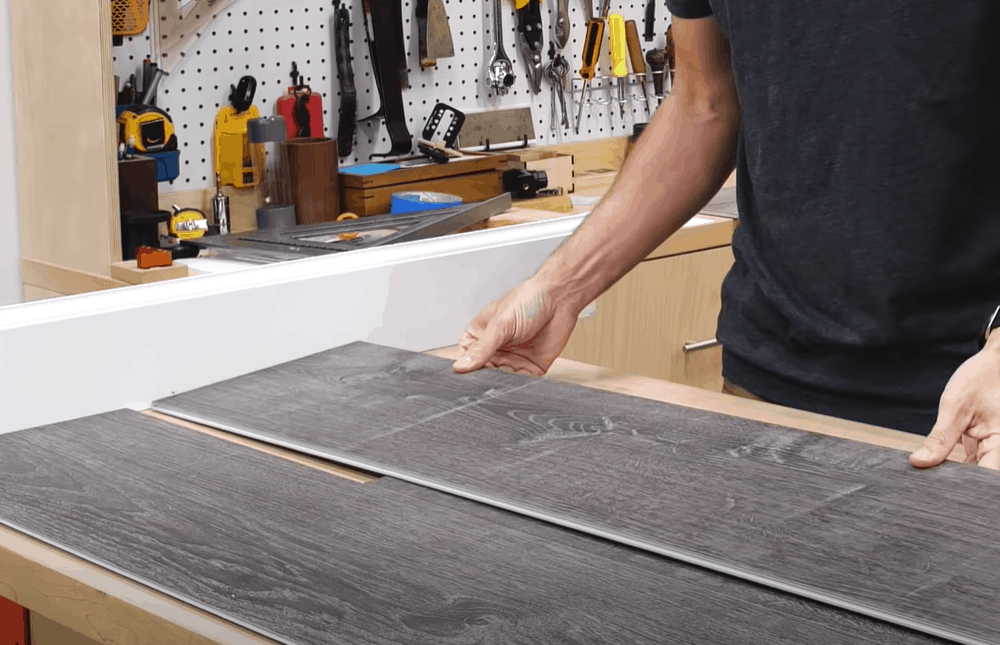
The technique you’ll need to use will depend on the direction of the cut you need to make.
If you’re going to shorten your vinyl plank, you can use the scoring technique. You’ll often need to do this to fit in a plank at the end of a row.
But you may also need to reduce the width of your plank. That will often be necessary along the longest walls. That will mean cutting a much longer length of plank, and for that you’ll need a jigsaw.
Pro tip: Mapping out the layout of your floor before you start will enable you to see where you’ll need to make cuts. Make sure you won’t have to cut a plank to less than half its original width. Narrow planks will be weak and can split. Avoid that by cutting the planks at both ends of the room, instead of only one.
Step 2: Measure and mark your cut
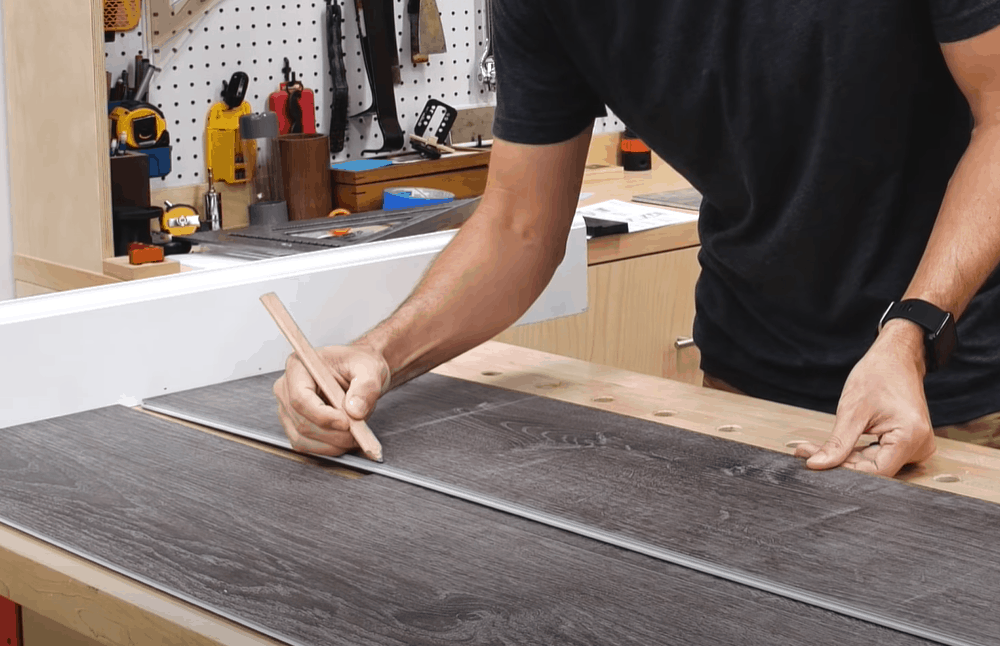
Now you know which method you’re going to use, you’re ready to mark your cut line.
Measure the distance along the plank and mark it on the top surface using your pencil or chalk. Then position your framing square. You want the horizontal side parallel with the side of the plank you won’t be cutting. The vertical side needs to line up with your chalk or pencil mark.
Now take your pencil or chalk and draw a line through the mark. Draw along the side of the framing square to give you a straight edge. Your line will be perpendicular to the edge of the plank you won’t be cutting.
You can also mark the position of your cut by placing the plank on the floor. Then draw a line where the previous plank finishes. Just remember to take into account the expansion gap required. This YouTube video shows you how to mark up your plank without measuring.
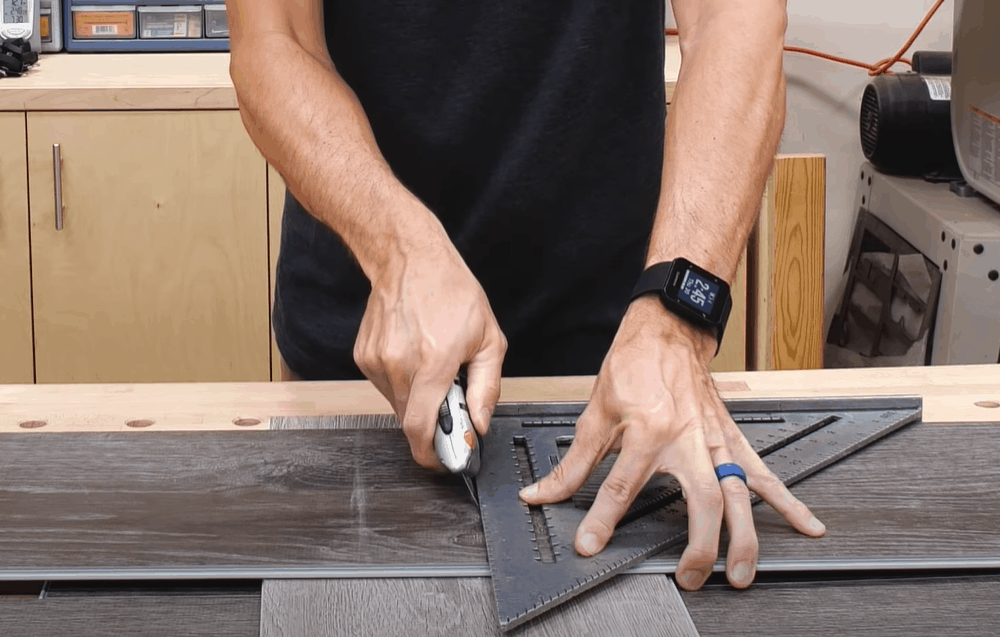
Step 3 (for shorter cuts only): Score your cutting line
If you’re using the score-and-snap method, it’s now time to score your cutting line. Remember, only use this method for making short cuts, like those needed to chop off the end of a plank.
Start by making sure the plank you’re going to cut is held securely in place. One of the easiest ways to do this is by placing it on the floor and resting your knee on top. But if you do this, place a piece of spare flooring underneath the plank you’re going to cut. That will avoid any damage to your floor.
Alternatively, you can use your hand to hold the plank in place on a countertop or workbench.
Now take your framing square and position it with one edge along the top of the plank. The other edge should be positioned along your cutting line. Place your non-dominant hand on top of the square to hold it in place. (So if you’re right-handed, this will be your left hand.)
Now take your utility knife and run the blade firmly along the cutting line. You don’t need to press too hard – you’re just aiming to cut about half-way through the plank. If you need to, you can run the blade down the cutting line a second or third time to form a deeper groove.
Pro tip: Here’s a simple way to help keep your framing square steady while you cut. Position your thumb nearest to the cutting edge – not too close, we don’t want injuries! Now place your fingers along the top section and apply a moderate amount of pressure. That will keep it stable as you use the utility knife.
Step 5 (for shorter cuts only): Snap off the cut section

Now turn the plank over. As before, you want to weigh down the larger section. Use your knee if you’ve placed the plank on the floor. If you’ve placed it a workbench or countertop, lean on it with your non-dominant arm.
Now take the end of the plank you want to snap off in your dominant hand. Pull it up sharply towards you. It should snap cleanly off.
If it doesn’t snap immediately, don’t tug – you risk splintering the plank. Instead, turn the plank back over. Now take your framing square and utility knife, and score the cutting line again to create a deeper groove. Then flip the plank back over, weigh down the longer end, and try again.
Pro tip: Don’t throw away your cut sections until you’ve finished laying your floor. You may be able to use them at the end of another row.
Step 6: (for longer cuts): Secure your plank for cutting
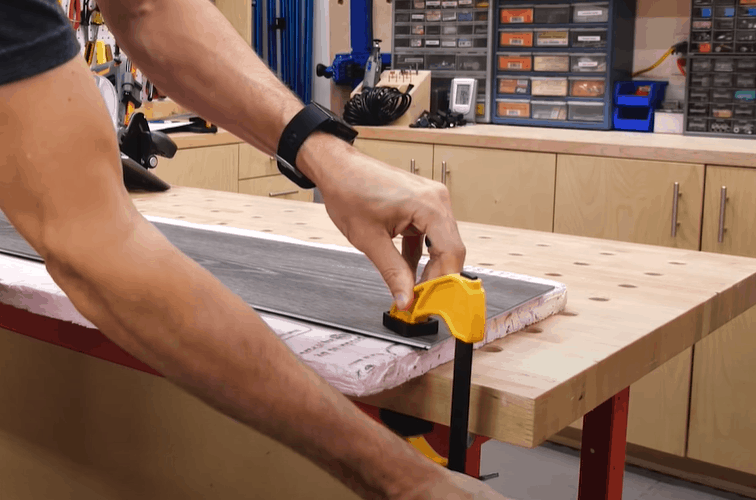
If you have a workbench, clamp the plank in place on top of it. Alternatively, you can position it lengthways along the edge of a countertop or table.
Clamp the plank so that the section you’re going to cut off extends over the side of the bench or counter. You’ll need clear space underneath the cut line for the blade of your jigsaw. Make sure the clamps are twisted as tight as they’ll go.
The jigsaw can throw up small particles of vinyl and plank as you cut, so put on protective goggles.
Pro tips: If you’re confident in using a jigsaw, you can forego using the clamps. Instead press down on the plank with your non-dominant hand to hold it in place.
Step 7: Cut along the line with the jigsaw

Position the jigsaw so that the smooth plate is resting on top of the plank. You want the blade to be at the start of the cut line, with the teeth facing away from you. As you cut, you’re going to push the jigsaw further from your body.
Now place both hands on top of your jigsaw and press the trigger to start it up. The jigsaw will simply move the blade up and down, so you’ll need to push it in the direction you want to cut. Do it gently to keep the blade lined up with your cutting line, and avoid forcing it through the plank.
Extra tips
- Remember to take into account the expansion gap required for your vinyl plank flooring when cutting it to size. This gap between the planks and walls allows the floor to expand and contract as the temperature changes. Check the manufacturer’s recommendations for the correct size.
- Any kind of carpenter’s square can be used to draw your cutting line. If you don’t have a framing square, a speed square, try square or combination square will work just as well.
- Once you’ve drawn your cutting line, measure it again. Now check it against the area of the floor you need to cover. Double checking in this way means you can be confident you’re cutting the correct amount off your vinyl plank.
- Make sure the blade is the right way around in the jigsaw before you start to cut! If it isn’t facing away from you, it’s a simple task to release and reposition it. There’s usually a button that will unlock the blade and allow you to turn it around.
- Jigsaws will mostly give a very smooth cut, but occasionally you may find some pieces of vinyl sticking up. If that happens, simply trim them off using your utility knife to give a clean edge.
- Use a metal tape measure to measure the position of your cutting lines. That will have a metal clip on the end, which you can sit over the end of the plank. It will make sure the tape doesn’t move and will help you get a more accurate measurement.
- A folding wooden ruler is another good choice. That will also give you a straight edge to draw your line. But if you use this approach, measure the distance at least twice and make at least two marks. Make sure your cutting line goes through both marks to ensure it’s straight.
- Use a pair of pliers if you need to cut off only a very small piece of plank.
Time to cut your vinyl plank flooring!
We hope you’ve enjoyed our guide to cutting vinyl plank flooring!
Use the score-and-snap method for cutting along shorter lines, and a jigsaw for longer cuts. And whatever method you’re using, make sure you double check your measurements first. You won’t be able to stick your planks back together if you make a mistake.
And if you only need to remove a very small piece of plank, a pair of pliers will do the job. You can use your utility knife to clean up any rough edges if required.
Good luck with cutting your flooring – and please comment and tell us how you get on!