When you want to freshen up a room by giving it a new floor surface, vinyl is one of the most convenient and affordable materials you can choose. Modern vinyl flooring can be made to look like stone, wood or tiles, and it’s also extremely simple to install.
Even better, vinyl can be laid directly over many other surfaces – including an existing vinyl floor – saving you the effort of removing the old surface. And for anyone who wants to know how, here’s our guide to how to install vinyl flooring over old vinyl to help you get it right.
Table of Contents
- Should you lay a new vinyl floor over an old one?
- Why would you want to lay new vinyl over old?
- Two options: with or without underlayment
- Laying vinyl directly on vinyl – preparing the floor
- Laying vinyl directly on vinyl – installing the new vinyl floor
- How to lay vinyl using underlayment
- A simple method that can save you lots of time and effort
Should you lay a new vinyl floor over an old one?
As we’ve just mentioned, it’s possible to lay a new vinyl floor over an existing old one – but before we get onto how to do it, let’s take a step back and think about whether you should do it. Is it a good idea or something you’re better off avoiding?
The problem is, there’s no straight answer to this question – and opinions are split.
Some people will tell you that not removing old flooring is just laziness, and that you should always take the time to do it for a better result.
They will also tell you that not removing your old vinyl will create a “sweating point” between the two impermeable layers, eventually resulting in a floor fail.
In practice, however, many others will tell you that as long as you do it properly, you’re unlikely to ever have any issues when installing vinyl on vinyl.
The point to remember is that your old vinyl floor must be in good condition – but as long as the old floor is not too worse for wear, in reality, laying vinyl over vinyl is very common, and there’s no reason why you shouldn’t do it.
Why would you want to lay new vinyl over old?
So we’ve established that laying vinyl over your old vinyl floor is a feasible solution, but why would you want to do it?
There are a couple of good reasons why you might want to lay your new vinyl over the old one without removing it, and the simplest is that it’s just a whole lot quicker and easier.
Removing an old vinyl floor can be an awkward and time-consuming job, so if you don’t need to do it, why bother? As we’ve already noted, vinyl is an extremely convenient material to work with, so there’s no reason to make the job more difficult than necessary.
There’s another good reason to leave your old floor in place, though. Flooring laid between the 1930s and 1970s often contained asbestos, and this is a material that shouldn’t be touched by non-specialists.
This means that if there is any risk of asbestos being present in your floor, the quickest, easiest and safest option is just to lay the floor over the top of the old one instead of calling in professionals to remove the old floor.
Having said all this, an important point to note is that vinyl can only be laid over old vinyl once – you can’t just keep laying new vinyl over two or more layers of old vinyl floor. If you already have two layers of old vinyl, you’ll have no choice but to rip them up and start again.
Two options: with or without underlayment
So if you’ve decided to lay your vinyl over the top of your old vinyl floor, let’s start thinking about how to do it.
When it comes to this type of installation, you have two options, and the one you choose will depend on the condition of your existing floor.
If your old vinyl surface is in good condition, you can lay the new floor directly over the top of the old one with just some basic preparation.
For this technique to work, the old vinyl should be securely fixed in place with no bubbling, lifting, curling up of corners or visible seams. Also, the vinyl should still be soft and pliable. If it has become hard and brittle with cracks or crumbling, you’re better off pulling it up instead.
If it isn’t in perfect condition but still isn’t too bad, it’s possible to repair it first and still lay the new tiles on it directly – but if it’s looking well past its best, the other option is to cover it in underlayment first.
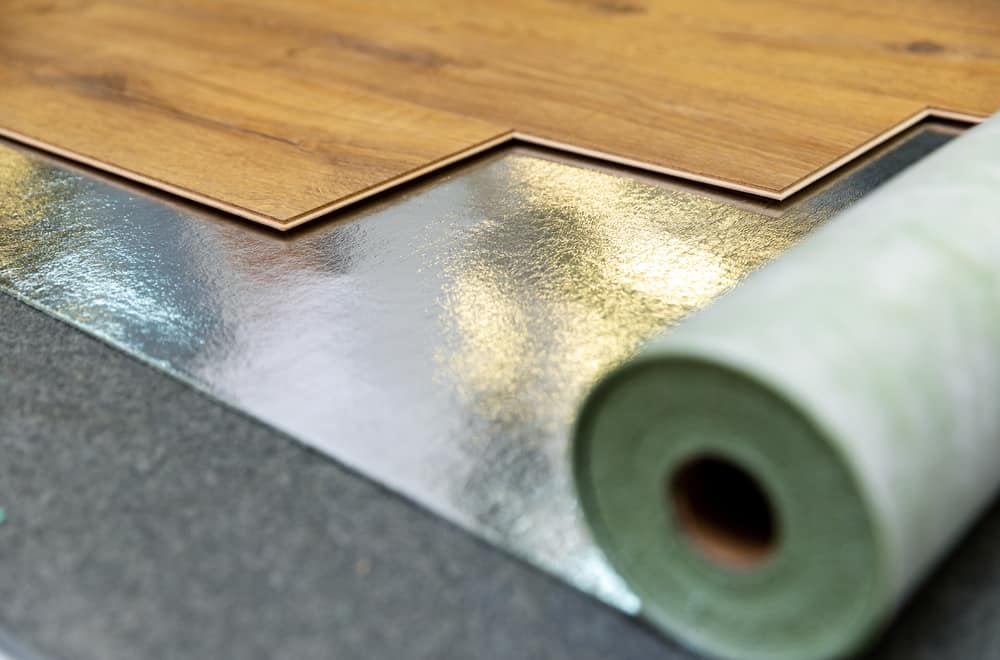
Underlayment is usually a layer of thin plywood that gives the new vinyl something to fix and bond to.
This is a good idea if the old vinyl floor is no longer level, or if the vinyl is otherwise in a poor state of repair.
So now we know our options, let’s think about how to do the job.
Laying vinyl directly on vinyl – preparing the floor

- If you decide to stick your new floor directly onto the old one, the first step is to prepare the surface.
- Start by removing all furniture and appliances from the room and remove the door from the hinges.
- If you have any slight rough areas, you should smooth them using medium-grain sandpaper. You may also be able to correct any minor unevenness or cracks with embossing leveler. Apply this 24 hours before laying the floor to allow it to dry.
- If the floor has a urethane top coat (usually applied to keep vinyl floors looking in good condition), you’ll need to remove it first too. You can do this using a chemical floor finish stripper.
- After applying the stripper, leave it for a few minutes – and then scrub the surface by hand. Rinse the floor with water and allow it to dry completely.
- Next, make sure the floor is perfectly clean and free of all dust, dirt and grime. Start by vacuuming the floor and then wash it with water and detergent. Rinse it and leave it to dry.
Laying vinyl directly on vinyl – installing the new vinyl floor
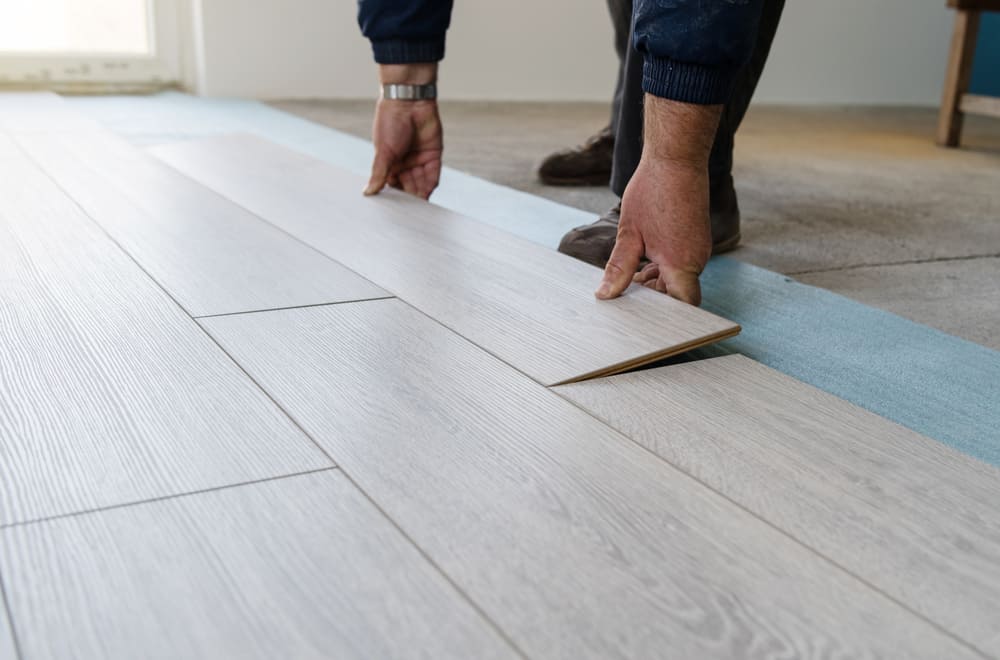
- Once the floor is completely dry, you can start laying the new vinyl over the top.
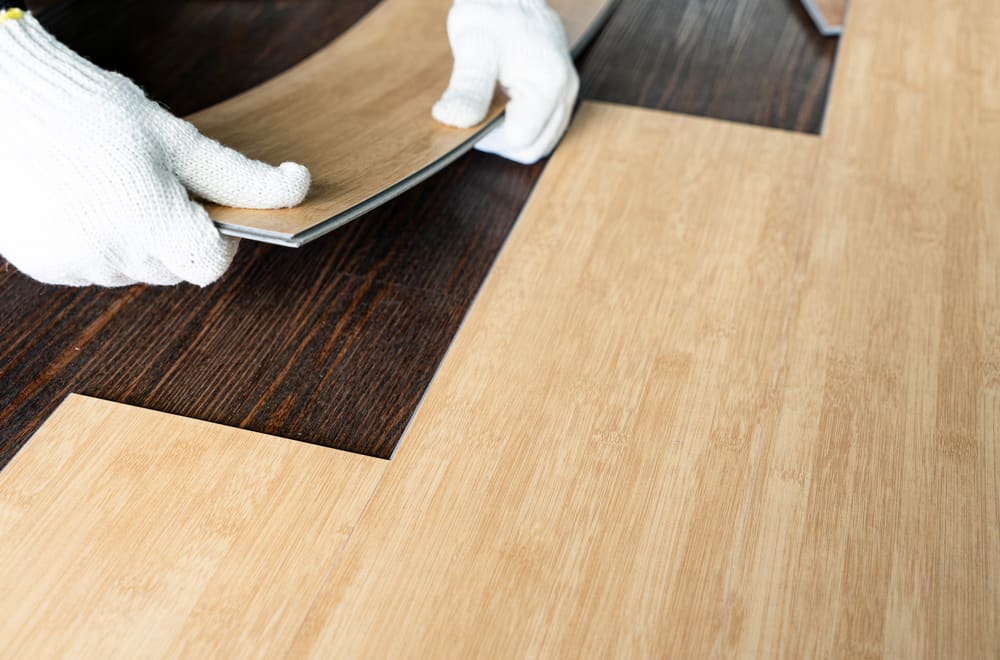
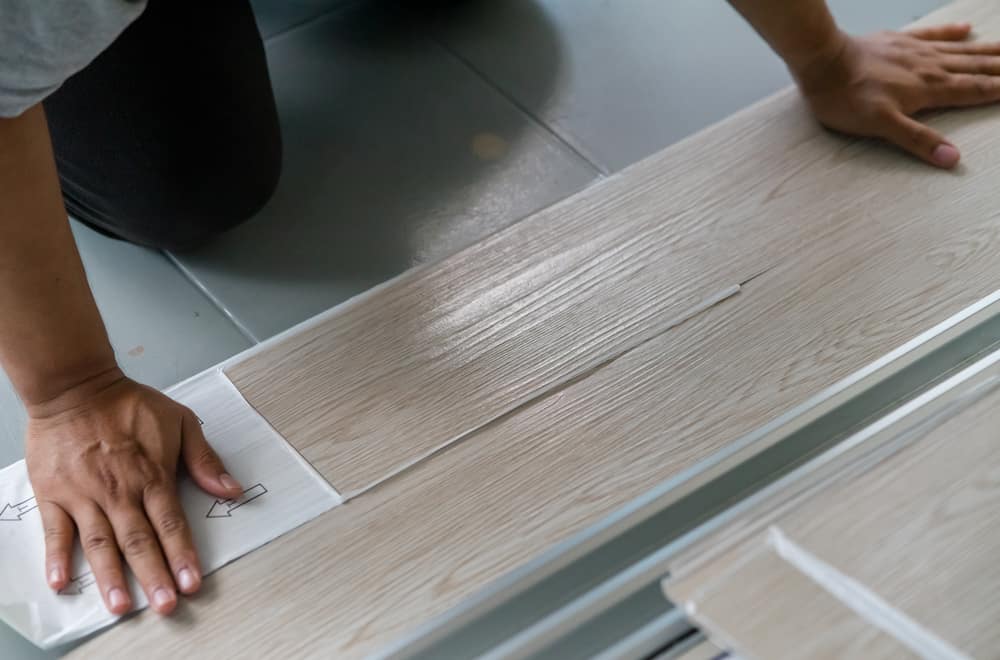
- If you are using self-adhesive tiles or planks, simply remove the paper backing and fit them in place, following the instructions that came with them.
- For tiles or planks that require adhesive, apply the adhesive directly onto the old vinyl floor as specified in the instructions and then lay each piece in place.
- When working with tiles or planks, start by identifying the area of the room that will be least conspicuous. You should then begin laying at the opposite side of the room and work towards it – this will mean the tiles you have to cut at the end will be laid in the least conspicuous area.
- If you are using vinyl sheet flooring, you can either cut it beforehand or cut it in place. Lay it in place, fold one half back and apply the adhesive. Lay half over this adhesive, fold the other half back, apply the adhesive on the other section of floor and then fold the rest into place to fix.
How to lay vinyl using underlayment
If you decide your old vinyl floor is not in good enough condition to lay the new floor directly over the old surface, the best solution short of removing it is to use underlayment.
- Start by removing all furniture and appliances from the room. You should also remove the door from the hinges and the baseboards from the wall before you begin.
- Because the underlayment will add an extra layer of height to the floor, you will need to cut away a thin piece of the bottom of your door frame. To work out how much to cut away, use a piece of the underlayment to measure.
- Next, fit the underlayment to the floor following the instructions provided, staggering the seams. You should leave a small gap between the planks (around 1/32”) to allow the wood to expand.
- Leave 1/8” along each wall and fasten the planks in place as specified in the instructions.
- When the underlayment is in place, make sure that the new surface is perfectly level. If you have any uneven areas, you can correct the issue using floor leveler.
- When you are satisfied that the underlayment is fitted correctly and the surface is level, you then need to clean it to make sure it has no dirt or dust on it since this will affect the vinyl’s ability to bond with it.
- After this, all that’s left is to fit the new vinyl floor over the top. Follow the same methods as described above for self-adhesive tiles or planks, tiles or planks requiring adhesive or for sheet vinyl.
A simple method that can save you lots of time and effort
As we’ve seen, there usually isn’t any problem with laying a new vinyl floor over an old one, and if that’s the solution you opt for, it can save you a whole lot of time and effort.
The key to successfully laying new vinyl over old is ensuring the surface is in suitable condition. This can be achieved either by giving it a good clean or by prepping it with underlayment – and when that’s done, all you need to do is lay your new vinyl floor in place.