Vinyl flooring has increased in popularity in the last decades, thanks to its easy installation and low maintenance. Floating vinyl flooring is the easiest to install, but its higher price tag determines many homeowners to invest in glue-down or peel-and-stick planks.
Glue-down planks are the most economical solution, especially if you know how to install the floor yourself. However, the adhesive or glue can end up on the planks or find its way through the planks or tiles if you use too much. So, how to remove glue or adhesive from vinyl flooring after installation?
Luckily, fixing the issue is relatively easy. Let’s see how to do it and whether you can clean adhesive from previously installed planks to reuse them.
Table of Contents
- How to Remove Glue or Adhesive from Vinyl Flooring?
- 1. Remove fresh glue from vinyl flooring
- 2. Remove dried glue from vinyl flooring with glue solvent
- 3. Remove glue or adhesive from vinyl flooring with nail polish remover
- Can Adhesive Bleed Through Vinyl Tiles or Planks?
- Can I Clean Yellow Discoloration Caused by Glue Bleeds?
- How to Tell the Difference Between Glue and Mold Stains?
- Can I Remove Adhesive from Old Vinyl Planks and Reuse Them?
- Conclusion
How to Remove Glue or Adhesive from Vinyl Flooring?
There are various ways to remove glue or adhesive from vinyl flooring, depending on the nature of the stain and whether the adhesive is fresh or dry.
1. Remove fresh glue from vinyl flooring
Accidents can happen when gluing down vinyl flooring, and the adhesive can end up on the top of the plank rather than on its back. Fresh glue is very easy to remove with a dry microfiber cloth – simply wipe the glue off the plank.
If you haven’t spotted the stain on time and it has dried partially, or if the flooring has grooves that mimic the natural woodgrain, deep a cotton swab in acetone-based nail polish remover and rub it gently over the stain.
Use a damp microfiber cloth to remove the acetone residues when the stain is clean, then dry off the plank with a clean microfiber cloth.
Removing excess glue from vinyl flooring seams
A common issue when gluing down vinyl flooring is using too much glue or adhesive. The excess product can find its way through the seams, but it is easy to clean as long as it’s fresh.
You’ll need:
- Scraper
- Floor stripper
- Water
- Microfiber cloths
- Latex gloves
Here’s how to do it:
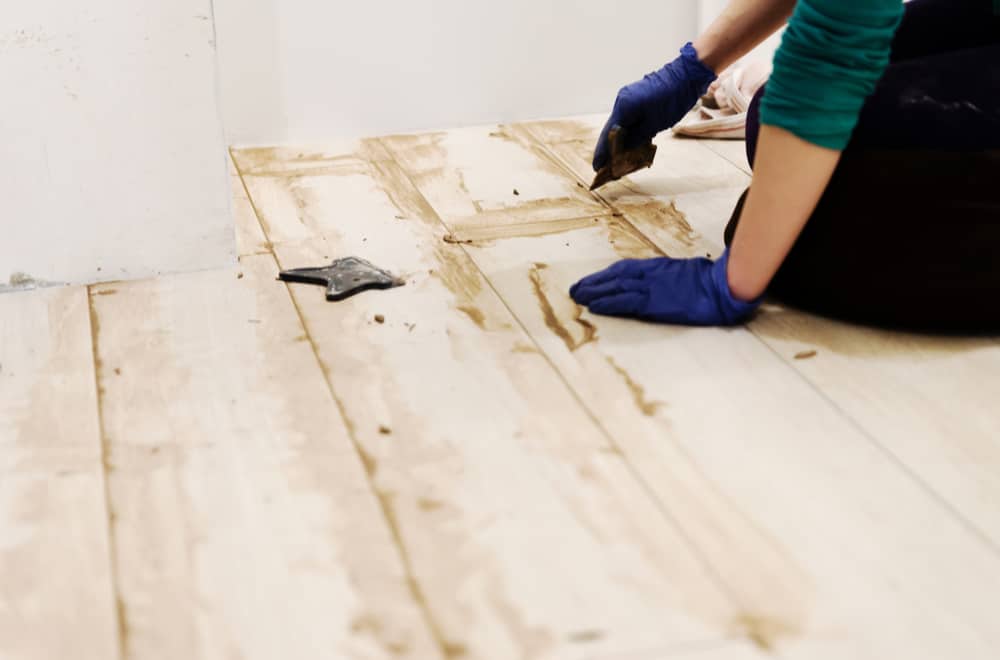
- Put on some latex gloves to protect your skin, then use the scraper to remove the excess glue. Remove as much product as possible.
- Deep a microfiber cloth in floor stripping solution and wipe the seam area. Don’t apply any pressure to avoid removing more adhesive than necessary; just wipe the surface gently to remove any glue that has made it to the top layer of the planks.
- Use a damp microfiber cloth to wipe off any excess stripping solution, then remove the excess water with a dry microfiber cloth.
2. Remove dried glue from vinyl flooring with glue solvent
Floor glue solvent – or floor stripper – is an excellent choice for removing any adhesive that has dried on your planks.
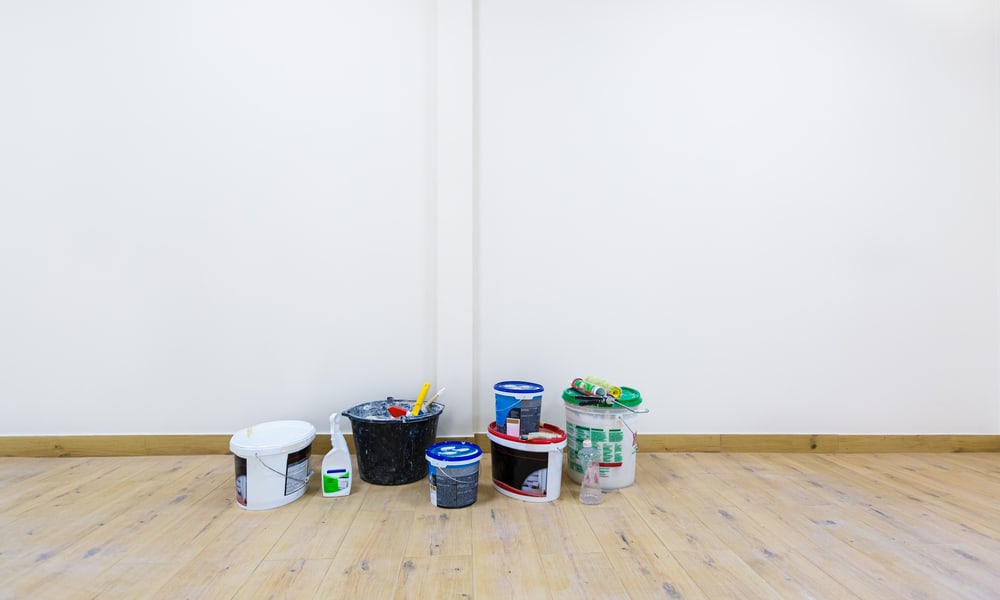
Tools & Materials
- Glue solvent
- Water
- Squirt bottle
- Scraper
- Microfiber cloths
- Gloves
Removing dried glue from vinyl flooring
- Dried glue is harder to remove than fresh glue, so you’ll have to loosen it with solvent before scrapping it off. Fill a squirt bottle with glue solvent and pour a small quantity of product over the dried glue stain.
- Let it sit for a few minutes. Some solvents come with specific instructions regarding the time needed to dissolve the glue. If yours doesn’t, leave for about 10-15 minutes.
- Use the scraper to remove the glue. Place the edge of the tool against the glue and push horizontally. Don’t apply too much pressure to prevent scratching the planks. You may have to apply some force on the handle to remove the glue, but pay attention not to push downwards.
- Inspect the results. If you can still spot glue residues, use the scraper to remove them. You can also dab some more glue solvent over the stain and wait until it’s soft enough to remove without effort.
- Once the stain is removed, dampen a clean cloth in water and dab it over the work area. Remove all traces of chemicals to prevent damaging the floor. Dry with a clean cloth when you’re done.
Top tip: Before applying glue solvent over the stained area, test the product on an inconspicuous spot to test its safety on the vinyl surface.
3. Remove glue or adhesive from vinyl flooring with nail polish remover
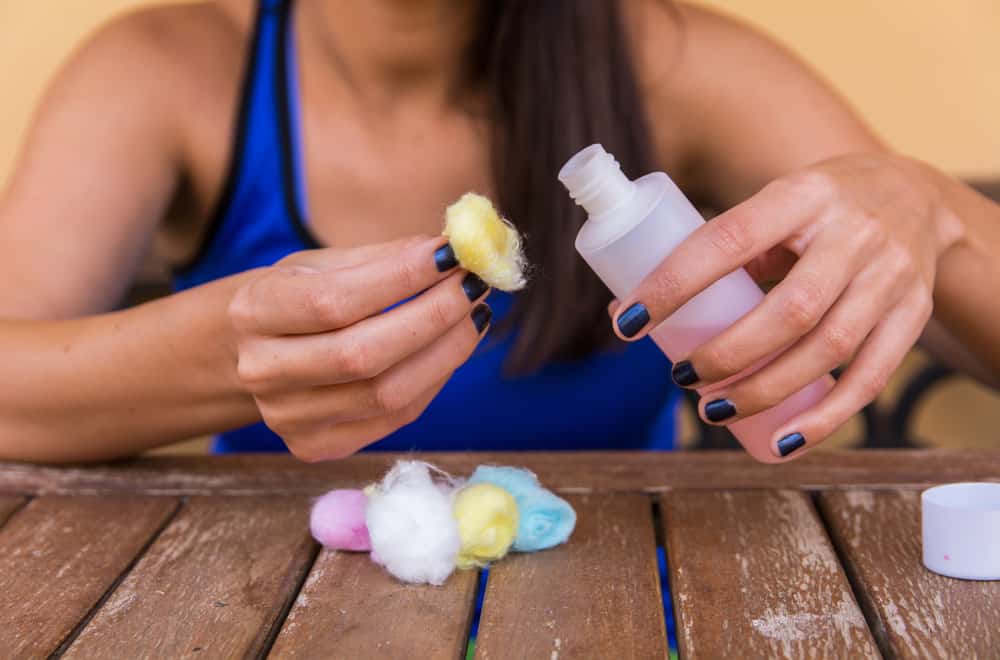
If you don’t have glue solvent but can’t stand the unsightly appearance of a dry glue stain, you can use acetone-based nail polish remover to deal with it.
You’ll need:
- Acetone-based nail polish remover
- Clean cloths
- Plastic scraper
- Bucket of warm water
- Gloves
To remove the stain:
- Test the nail polish remover on an inconspicuous spot and, if everything’s alright, pour a small quantity on a clean microfiber cloth.
- Dab the cloth over the glue stain and rub gently until the glue softens.
- Use the plastic scraper to remove the glue, following the same instructions we’ve detailed in method 2.
- Use warm water to clean off any acetone residues as soon as the glue stain is gone. Keep in mind that chemicals can remove the print from your floor and soften its surface, so the contact should be minimal.
- Dry the planks with a clean cloth to remove excessive moisture. That’s it.
Can Adhesive Bleed Through Vinyl Tiles or Planks?
The methods above detail how to deal with fresh or dry adhesive residues that have found their way onto the flooring top. However, adhesive can also bleed through the vinyl planks or tiles.
When this happens, you’ll spot unaesthetic stains under the transparent coating. However, these stains can ruin the print and alter your flooring’s design.
Can I Clean Yellow Discoloration Caused by Glue Bleeds?
Unfortunately, you can’t. Glue bleeding through the planks or tiles stains the backing and all core layers of your vinyl flooring, and the only solution is to replace the damaged planks.
To do this, you will need:
- Scraper
- Glue solvent
- New vinyl plank
- Vinyl flooring glue
- Vacuum cleaner
- Brush or roller
Here’s how to do it:
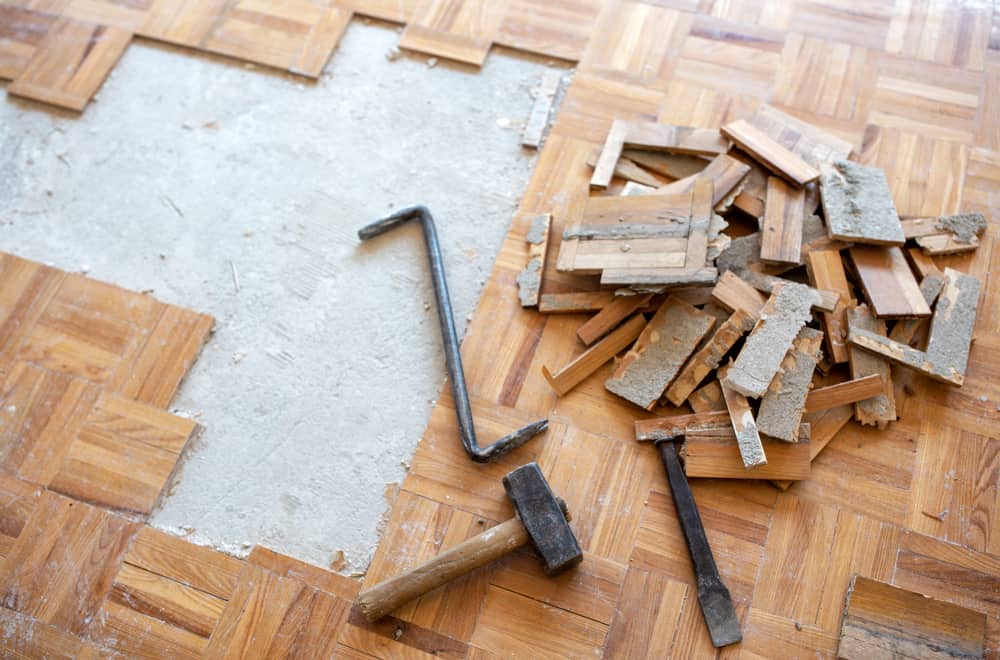
- Use the scraper to work your way around the plank; you have to dislodge it from its place. The easiest way is to try and lift one corner, then insert the scraper under the plank and strip it away.
- Pour come glue solvent into the empty spot where the damaged plank used to sit. Leave it for at least 15 minutes or as instructed on the bottle – don’t apply too much product to prevent softening the adhesive holding the other planks in place.
- Use the scraper to remove the glue from the subfloor the remove the debris with a vacuum cleaner.
- Use a brush or small roller to apply a fresh coat of glue on the subfloor.
- Place the new vinyl plank in the empty spot and press until it’s flush with the rest of the floor. Inspect the edges and remove any excess adhesive coming through between the planks with a cloth.
- Place a weight over the plank and let it sit for a few hours until the adhesive hardens. Use this method to replace other damaged planks.
How to Tell the Difference Between Glue and Mold Stains?
When you spot stains under the flooring’s top layer, it’s easy to think that it is caused by the glue or adhesive you’ve used. However, moisture and mold or mildew can also stain the planks from below.
The easiest way to tell the difference is by looking at the color. Yellow stains are almost always caused by glue or adhesive. You can also spot yellow stains caused by bleach or sunlight exposure; however, these stains interest the top layer rather than the design layer.
Mold and mildew often cause black or orange stains. Excessive moisture can cause bluish or green stains, but some mold strains also cause blue stains. Considering that mold and mildew thrive in humid environments, it’s safe to say that moisture is coming through from below the floor if you spot any black, orange, or blue stains bleeding through the layers.
Reddish stains are rarer and often caused by rust. They are more frequent in rigid core vinyl flooring that uses a metal core.
Can I Remove Adhesive from Old Vinyl Planks and Reuse Them?
Sometimes, glued-down vinyl planks can become loose, and you may spot dents between one plank and another, even if each individual plank is in good condition. This is where you might wonder if you can just strip the plank from its place, clean the old glue on it, and reinstall it.
Long story short, you can’t strip off, clean, and reuse a vinyl plank. More often than not, stripping off the plank will damage its structure. However, you can strip a plank off and replace it with a new plank, as explained above. This is an excellent method for fixing your floor without breaking the bank.
Conclusion
As you’ve seen, removing glue or adhesive from vinyl flooring after installation isn’t hard. Have you tried any of the methods above? How did it go? Tell us in a comment below and share this article before you go.
ok i got a question of another vinyl surface . i bought a used car and the person before glued down something on the dash…i dont know what kind of glue it was but im thinking it was a super glue type. of coure its long past dried..i would say maybe they glued a gpsunit or something to the dash top..of course my question is does anyone know of a safe glue remover i can use to remove this glue..of course after i get the glue off im not woried about the color cause they sell specific paints to use. i know acetone is a great super glue remover but i also heard that it melts plastic…i dont know if the same goes for thin vinle dash material….any answers would be appreciated
I put vinyl planking on my steps. I used Loctite adhesive plus 3. After laying planking one of the planks moved, any ideas n how to fix ? Maybe try heating the plank and hopefully soften the adhesive? Thanks Rich