Vinyl is a durable flooring material for high-traffic places. It is sturdy enough not only to use in busy entry areas, living rooms, and kitchens, but also to withstand routine scratching, denting, and scuffing.
But to ensure the floor’s integrity and long-term durability, the subflooring on which it is laid must be in good shape – flat, smooth, clean, and free of moisture and damages.
In this post, we show you how to prepare a subfloor for vinyl flooring so your new floor can sit properly on the ground and give you the best service. Let’s get started.
Table of Contents
Materials Needed for preparing subfloor for vinyl plank flooring
Gather the following supplies before you start prepping your subfloor:
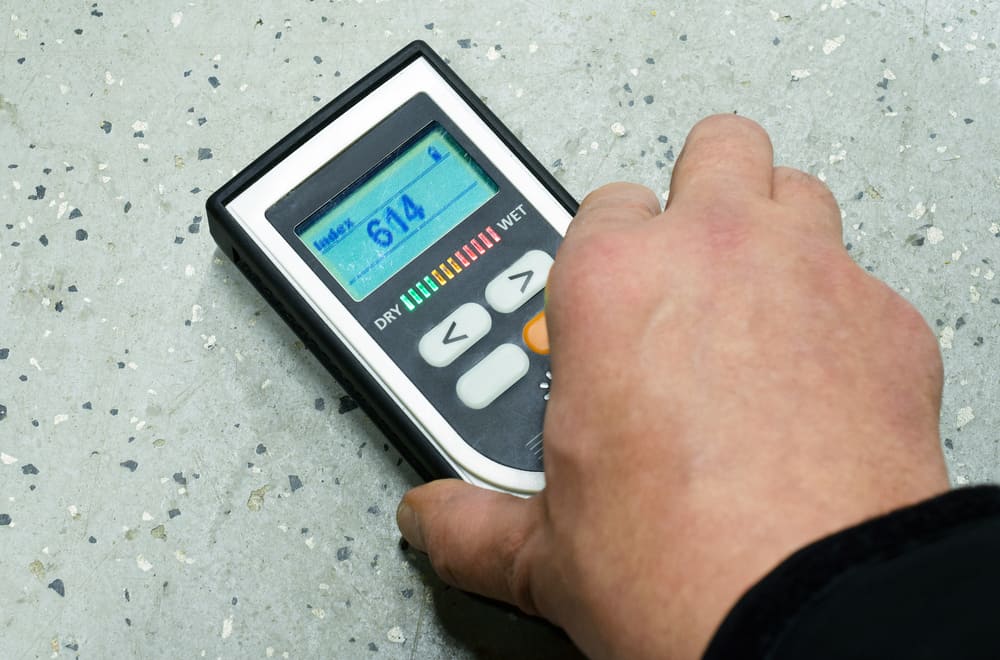
- Moisture meter: This simple device will help you determine the amount of moisture in your subfloor.
- Duct tape (optional): Use this to perform a moisture test.
- Scrap vinyl (optional): Cut a small piece from your new vinyl.
- 6 mil moisture barrier: If the moisture levels of your subfloor are too high, you will need a moisture barrier like a polyethylene sheet for underlayment.
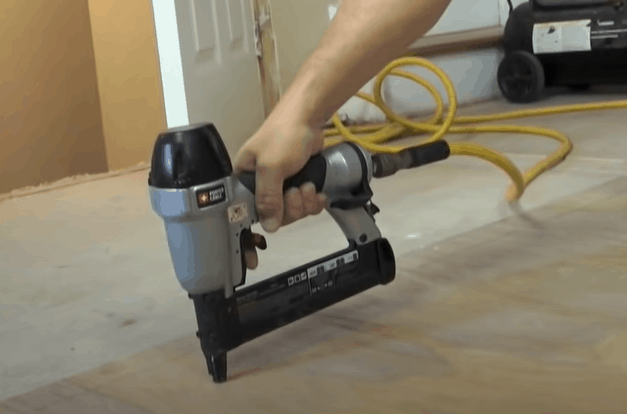
- Staples: Your underlayment manufacturer will suggest the best way to attach the material to the subfloor, but it is good to have a box of staples just in case.
- Patching compound: Use this to fill and smooth holes, cracks, and grout lines.
- Electric sander/sandpaper: Which one you choose will depend on how much sanding you need to do. If you are working on a large area, it’s best to rent an electric sander.
- Bucket: Use a regular cleaning bucket or a large container.
- Mop/old rag: Any of these will clean the floor spotless and dry it nicely so you don’t have to wait for an extended period for it to air dry.
- Water: This will depend on how dirty the floor is. Get at least two buckets.
- Detergent: Use your normal household floor cleaner or dishwashing powder.
- Broom: You will need a broom to sweep up dirt, rocks, sawdust, or anything else littering the floor out of the room.
- Scrub brush: Use this to get stains out of the floor.
- Facemask: This will keep dust off your eyes and respiratory system when sanding the floor.
- Gloves: Wear a pair of work gloves to protect your hands.
5 Simple Steps to Prepare a Subfloor for Vinyl Flooring
While the preparation method may vary from one type of subfloor to another, the following guidelines will work for almost all subfloors.
Step 1: Test the Floor for Moisture
When installing vinyl flooring, one of the things you should pay attention to is the moisture content of the subfloor over which the vinyl will be laid. You want the surface to be as low of moisture as possible to prevent the growth of mold and mildew.
Moisture problems are most prevalent in concrete subfloors, and most of the time, a moisture barrier must be installed before laying the vinyl to prevent floor damage.
The quickest and most effective way to test for dampness in a subfloor is to use a moisture meter. If the level of moisture is higher than 5%, it is important that you lay a polyethylene sheet over the flooring so that your new flooring doesn’t absorb the dampness.
Another way to test for moistness is to use scrap vinyl and duct tape. Simply tape a small piece of vinyl to the subfloor and seal the edges tightly. Let the vinyl sit for about three days, then pull it up. If the duct tape releases too quickly, the subfloor is probably too wet for vinyl.
While fitting an underlayment will help bring moisture beneath your flooring under control, it would also be a good idea to dehumidify the room frequently; it will help remove water vapor from the indoor air.
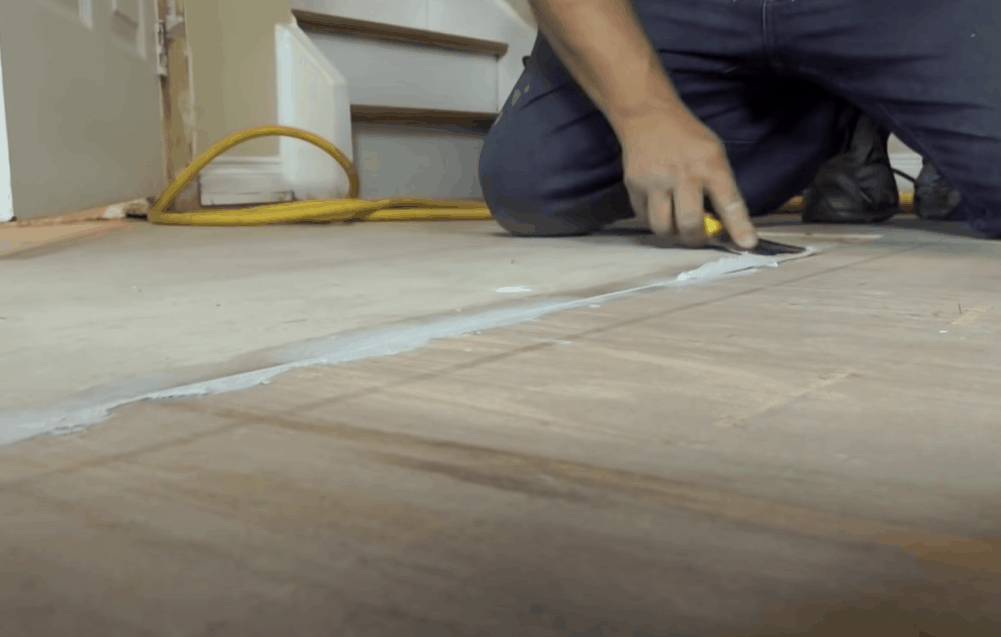
Step 2: Repair Holes and Cracks
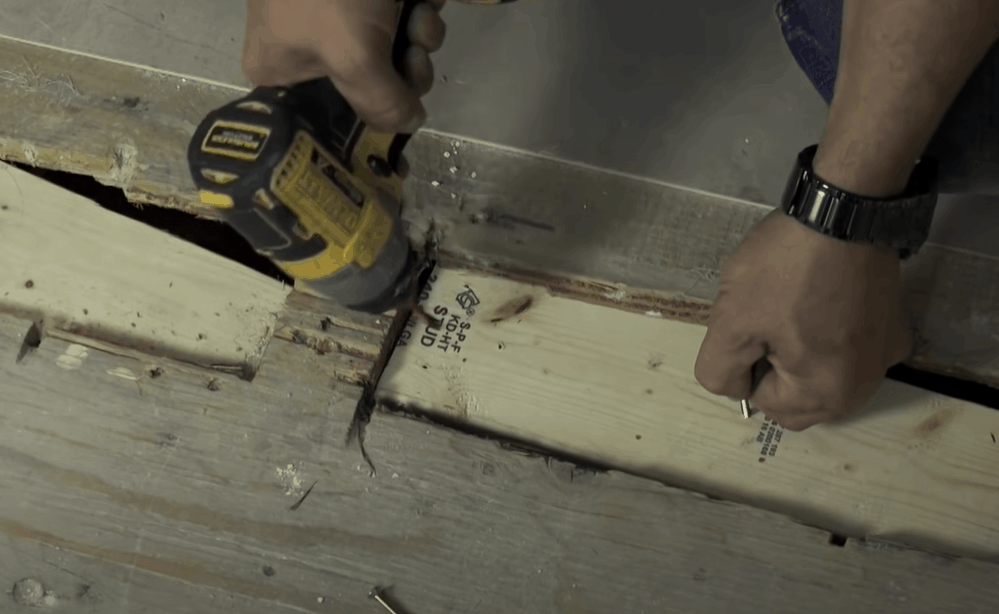
Pits, holes, cracks, dents, and other rough patches on the subfloor can make your vinyl feel rough underfoot. Examine the floor to see if you have any low points and fill them with a patching compound.
If you have a ceramic tile subfloor, check the size of the grout lines; if they are too large, apply a patching compound. See whether there are missing tiles too and replace them.
The same case applies to hardwood floors. Patch low spots to even them out and if a panel is broken beyond repair, consider installing a new piece.
Give the patch enough time to dry before hopping to the next step. Most patching compounds will take around 20 minutes to dry. Check the label to see how long your specific one takes.
Step 3: Sand Down Bumpy Areas
In order for your vinyl to sit properly on the subfloor, all protrusions on the surface must be sanded down too. These include lumps, humps, bulges, adhesives from a previous floor, and anything else that may cause the vinyl to look bumpy after installation.
As simple as it may seem, this step is very important especially if you are installing sheet vinyl. You can use sandpaper for this task, but if you are working on an extensive area, we recommend using a floor sander.
Step 4: Clean the Subfloor
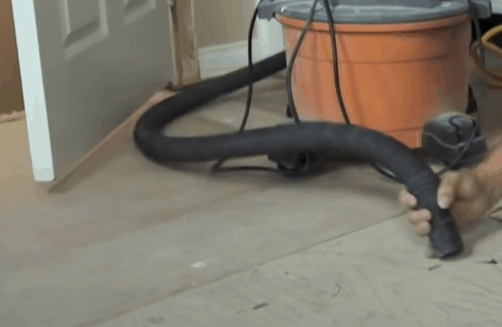
No matter what type of subfloor you have, you must clean it before installing your vinyl. If you are installing glued-down flooring, especially, you must do this so the boards can adhere firmly to the ground.
That said, start by sweeping up any dirt out of the room. Make sure to keep your doors and windows open while you do this to let dust out. It will also get the room drying much quicker after you clean it.
Once all the litter is out, get a bucket of water and a mop and clean the floor. If there are odorous stains from a previous floor, consider mopping with a soapy solution and scrubbing with a brush to get the stains out.
Leave the floor for about 15 minutes to air dry. If you have a concrete subfloor, you may want to wait a little longer for it to completely air dry.
Step 5: Install Underlayment (Optional)
Underlayment is a great addition to subfloors especially those that have high moisture content, whereby the most appropriate material would be polyethylene sheeting. As mentioned earlier, such underlays will act as a water barrier to keep your new floor dry so you don’t have to worry about mold and mildew.
Underlayment designed for hardwood or ceramic tile subfloors may come with extra padding, making the floor feel a little bit softer underfoot.
Because there are different ways to install different types of underlayment, follow the manufacturer’s instructions specific to your product.
The standard way of installing a moisture barrier underlayment is simply unrolling it out and laying it such that the seams overlap about 8 inches, then putting staples at the corners so the sheets don’t peel up.
Once your underlayment is laid down, go ahead and install your vinyl. And as with the underlayment, use the instructions provided by your flooring manufacturer.
Additional Tips for Preparing a Subfloor for Vinyl Flooring
- Work in a well-ventilated room. Keep the doors and windows open throughout the process. If you live in humid areas, you may also want to turn on your humidifier to reduce water vapor in the room.
- Wear a respirator or facemask when sanding or using a patching compound. It will prevent you from inhaling chemical fumes and the dust generated by the sanding equipment. It is also important that you keep your hands protected with a pair of gloves.
- Follow manufacturer’s guidelines when using chemical products or doing any installation. Not only will it help you do things right; you will also know if you need special protective gear. Some patching compounds, for instance, may require you to wear a certain type of gloves.
- If you are using polyethylene underlayment, protect it from moisture prior to installation. This means not leaving it lying on a table on the patio on a hot day. Because the part of the table covered by the underlay will not be able to breathe, moisture will be trapped within the underlayment and may get transferred to your new flooring.
- If you had vinyl or linoleum flooring installed on the subfloor, test any residue adhesive for asbestos before you scrape it off the floor.
The Takeaway
Preparing the subfloor is a fundamental step in the installation of vinyl flooring, as it gives the floor a solid foundation to sit on or adhere to. The most important part of the process is to make sure that the subfloor’s moisture content is below worrying levels and the surface is smooth and clean.
Adding a vapor barrier can help prevent potential moisture problems, and filling holes and sanding down bumps will provide a level surface for your flooring. And none of these things will require you to hire a professional.