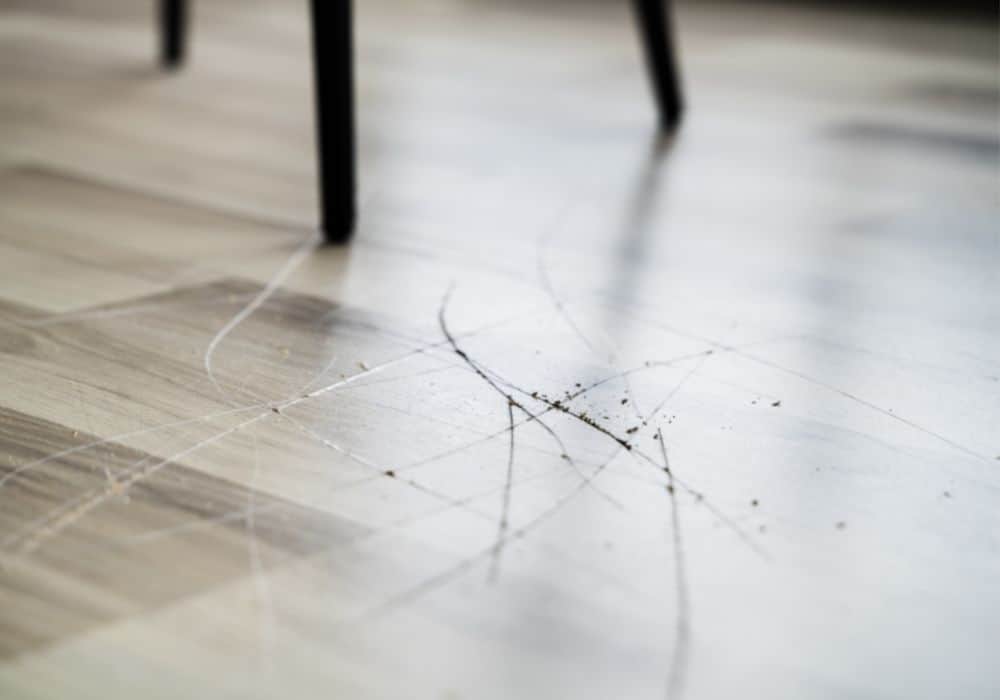
It is normal to have scratches on any floor type, including wood floors. Everyday wear and tear will show as scratches or grooves on the floor if it is wood, so it is only typical to find easy ways to fix the scratches.
The scratch repair you choose depends on how bad they are. Shallow scratches do not repair extensive repairs. You can use simple repair methods and do it yourself. However, if the scratches are significantly deep, you will require a more detailed repair effort.
This article explains different methods of fixing scratches on any wood floor. You will find simple steps to follow for each method and what to do if the scratches are extensive and too deep.
Table of Contents
Different Types of Wood Floor Scratches
Typically, wood floors are made from hardwood. The reason lies primarily in how well hardwood flooring holds up under stress and weight. It is strong, durable, resists rot and decay, withstands water damage, and has beautiful grain patterns and color.
However, this also means hardwood can be difficult to fix if there is any deep scratch or damage. That does not mean there are no repair steps for such damage. Let’s look at different wood floor scratch types and simple repairs for each one.
- Light scratch – if your wood floor has a light or insignificant scratch, you can use a pen marker to cover the defect. Also, applying a mixture of baking soda and oil, or using apple cider vinegar is effective. Visit your local hardware store and ask for other products you can use for this repair.
- Moderate scratch – a moderate scratch is a little more obvious than a light one. In this case, you can use steel wool or fine sandpaper to sand the area lightly. Afterward, use a wax stick to smoothen it. In some cases, you can also use a wood repair marker, but it depends on the scratch area and depth.
- Deep Scratch – a deep scratch on wood floors will require extensive sanding and a wood filler. You will need to apply a new protective coat over the area afterward. Deep scratches require more attention and detailed repairs.
- Extensive scratch or damage – the floor may need professional attention. Sometimes, the only repair is to replace the floorboards with new ones. But that is for a professional to determine.
Different Ways to Fix a Scratched Wood Floor
Not every scratch on a wood floor requires the same repair steps and attention. Some are more significant than others. But if you will do the repairs yourself, the following are methods to consider, depending on the level of damage as explained above.
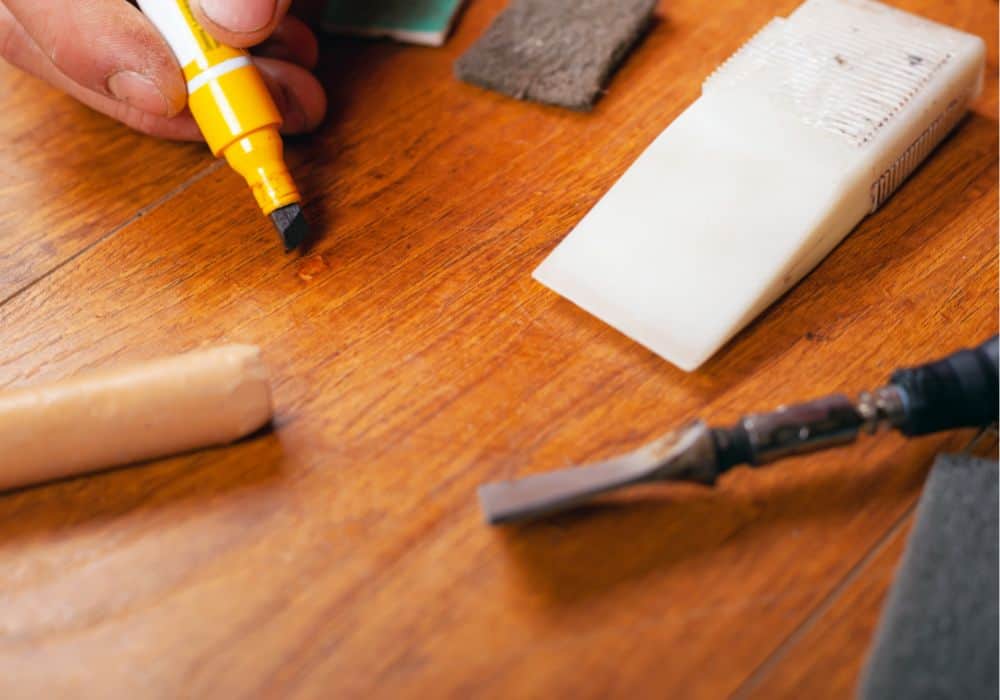
1. Using a Touch-up Marker
A touch-up marker is a pen-like tool filled with colored wax or pigment. It has a design to match the color of your wood floor, no matter the type. It is usually available in local stores and is quite affordable.
To use a touch-up marker to fix a wood scratch, simply color over the scratch. Give the marker time to dry before reapplying it if necessary. The wax or pigment will fill in the scratch and blend in with the surrounding wood. But this method works best for small, shallow scratches.
2. Using Wood Filler
Wood filler is a type of putty made specially to fill in scratches and gouges in the wood. It is available in different colors to match the color of any wood floor.
To use wood filler for a scratched wood floor, you will need to apply the putty to the affected area and smooth it out using a putty knife. Allow it to dry before sanding it flush with the surrounding wood. This method is best for deeper scratches or gaps in the wood.
3. Using a Wood Stain Marker
A wood stain marker is similar to a touch-up marker. But the significant difference is that it is available in the exact wood floor color you need. A touch-up marker has a general wood color. It contains a colored pigment you can use to stain the wood to match the surrounding area.
To use a wood stain marker, you will need to color the scratch area with it and allow it to dry completely. This method is ideal for light scratches and works when you need the exact color of the wood floor.
4. Using a Wood Touch-up Kit
A touch-up kit typically includes multiple colors of touch-up markers, wood filler, and a finish marker. These kits are a great option if you have multiple scratches that need fixing, as they allow you to match the color of the floor and fill in the scratch.
5. Sanding and Refinishing
If the scratch is deep or if you have multiple scratches, it may be necessary to sand and refinish the entire area. This method involves sanding down the surface of the wood floor to remove the scratch and any existing finish.
Next, you stain or finish the affected area to match the surrounding parts. This method is detailed, so you may not have the expertise to do it yourself. In other words, you may need the services of a professional if the floor requires extensive attention.
As a general rule, it’s best to start with the least invasive method, such as using a touch-up marker or wood filler. Progress to more detailed repair methods if the other methods do not fix the scratch. Keeping the area clean and free of dust and debris before repairs is also crucial.
Wood Filler Method: Steps to Take
We would like to explain the steps to take when using the wood filler method because it is the most popular one. It works for moderate scratches and grooves from high heels and other sources. So you may choose to use it for your scratched wood floor.
Required Materials
- Wood filler
- Putty knife
- Fine-grit sandpaper
- Wood finish (varnish or polyurethane will work)
Steps
- Wipe the wood surface thoroughly with a damp clean cloth to remove dust and dirt.
- Next, use a plastic putty knife to apply a small amount of wood filler to the scratch. You fill the scratch with the filler before smoothing it over the area. Wipe any excess filler from the wood.
- Give the filler time to dry completely, following the manufacturer’s recommended drying time.
- Once dry, use fine-grit sandpaper to sand the area until it is smooth and flush with the surrounding wood.n you do not want it to stand out from the rest of the wood.
- Now, clean the area again with a damp cloth to remove any dust or debris from sanding the wood.
- Apply a coat of wood finish to the area, following the manufacturer’s instructions. Ensure you evenly apply the finish and cover the entire area. You can also use wax coating if you want.
- Leave the finish for some time so it can dry, according to the label instructions from the manufacturer.
- When the finish dries, use fine-grit sandpaper to sand the area a second time until the repair is smooth.
- If it is necessary, apply a new coat of finish and give it time to dry completely.
- Finally, buff the area with a soft cloth to bring out the shine.
It is essential to use a wood filler that matches the color of your flooring so that the repair is less visible. If you are unsure about the color of your flooring, let a professional help you select one.
Factors to Consider When Fixing Wood Floor Scratches
Several factors affect the method you choose for fixing scratches on your wood floor. Before selecting one from our list, consider the following:
1. The Severity of the Scratch
The depth and width of the scratch will affect the method and materials you need to repair it. You can often fill shallow scratches with a touch-up marker or wood filler, while deeper scratches may require sanding and refinishing.
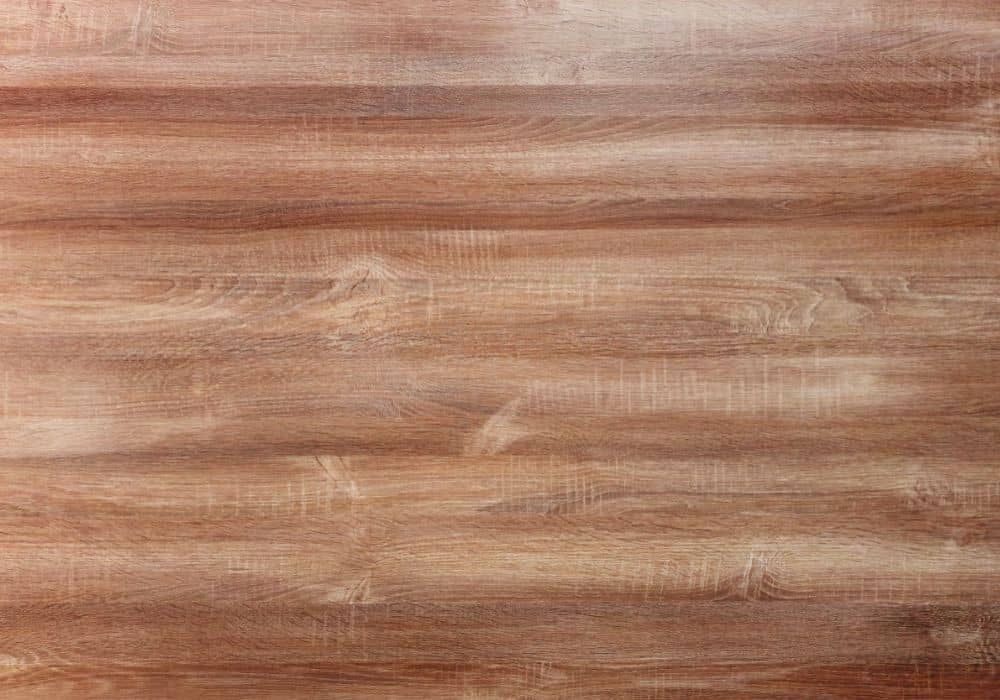
2. Type of Wood
Different types of wood have different properties and characteristics affecting the repair method and process. For example, some woods are softer and more porous than others, which can make them more susceptible to scratches.
Additionally, the color and grain of the wood can also affect the repair process. This is because the features can make it difficult to match the color of the repair to the surrounding wood.
3. The Finish on the Floor
The type of finish on the floor determines the repair method you use. Some finishes, such as oil-based or wax-based finishes, are more forgiving than others. Polyurethane finish is more difficult to repair.
4. Scratch Location
The location of the scratch can also affect the repair process. Scratches in high-traffic areas will take longer to set and may likely get damaged soon. You may also need to repair them more frequently than those in low-traffic areas.
5. Preference
Your personal preferences affect all your choices, including the repair method for wood scratches. Some people may prefer a more natural look, while others may want a more seamless repair.
Conclusion
Fixing scratches on real wood floors is usually an easy repair if it is not extensive damage. You can simply use a touch-up marker or wood filler, following the steps explained above. Wood stain marker is also easy to use, although it has specific colors for specific wood stains.
It’s always a good idea to test the method on an inconspicuous area first to make sure you’re happy with the results before fixing the scratch on the visible area. And if in doubt, it’s always best to consult with a professional.