Have you ever walked into your home to find that your laminate flooring has been damaged by water? Whether it’s from a leaking appliance or a flood, water damage can be a frustrating and costly problem. But with the right steps, you can fix the damage and restore your laminate floors to their former glory.
In this article, we’ll guide you through the process of how to fix laminate floor water damage, from removing standing water to preventing future damage. So, are you ready to tackle that water damage and give your floors a fresh new look? Let’s dive in!
Table of Contents
How To Fix Laminate Floor Water Damage?
Step 1: Remove all standing water as soon as possible
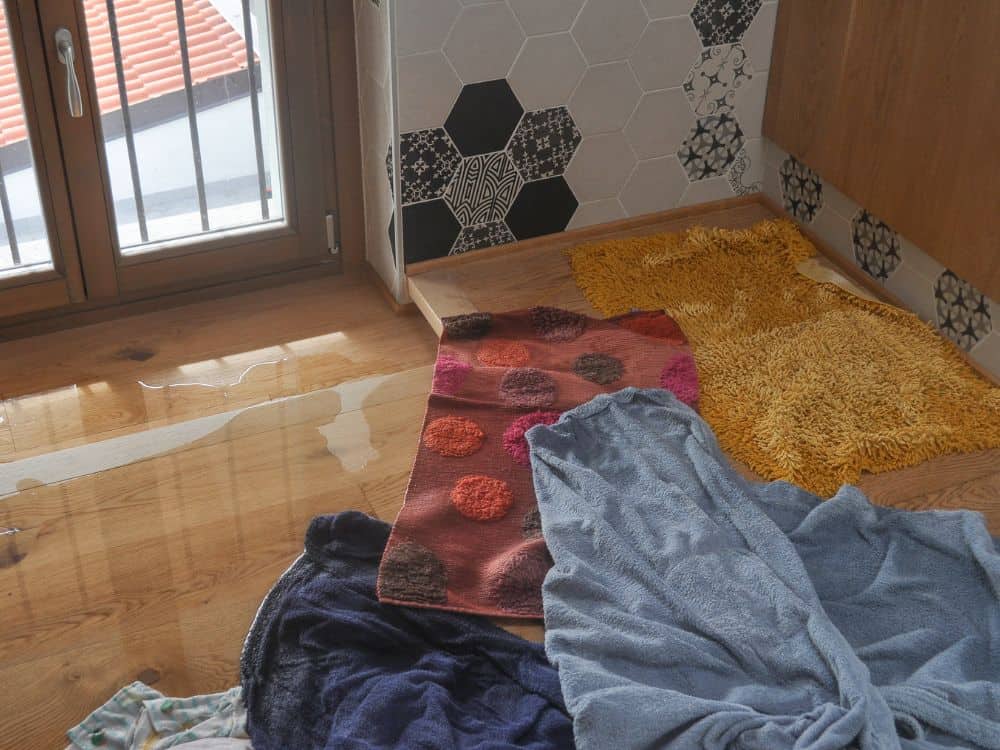
The first step in fixing laminate floor water damage is to remove all standing water from the affected area as quickly as possible. The longer the water sits on the floor, the more damage it will cause. Use a mop or towel to soak up as much water as you can and be sure to wring out the mop or towel frequently to avoid spreading the water around.
If the water is deep, you may need to use a wet/dry vacuum or a pump to remove it. It is important to remove as much water as you can to prevent further damage to the laminate flooring and subfloor. Keep in mind that some laminate flooring is not made to withstand high levels of moisture and may require professional help if the water is not removed quickly enough.
Step 2: Dry the area thoroughly
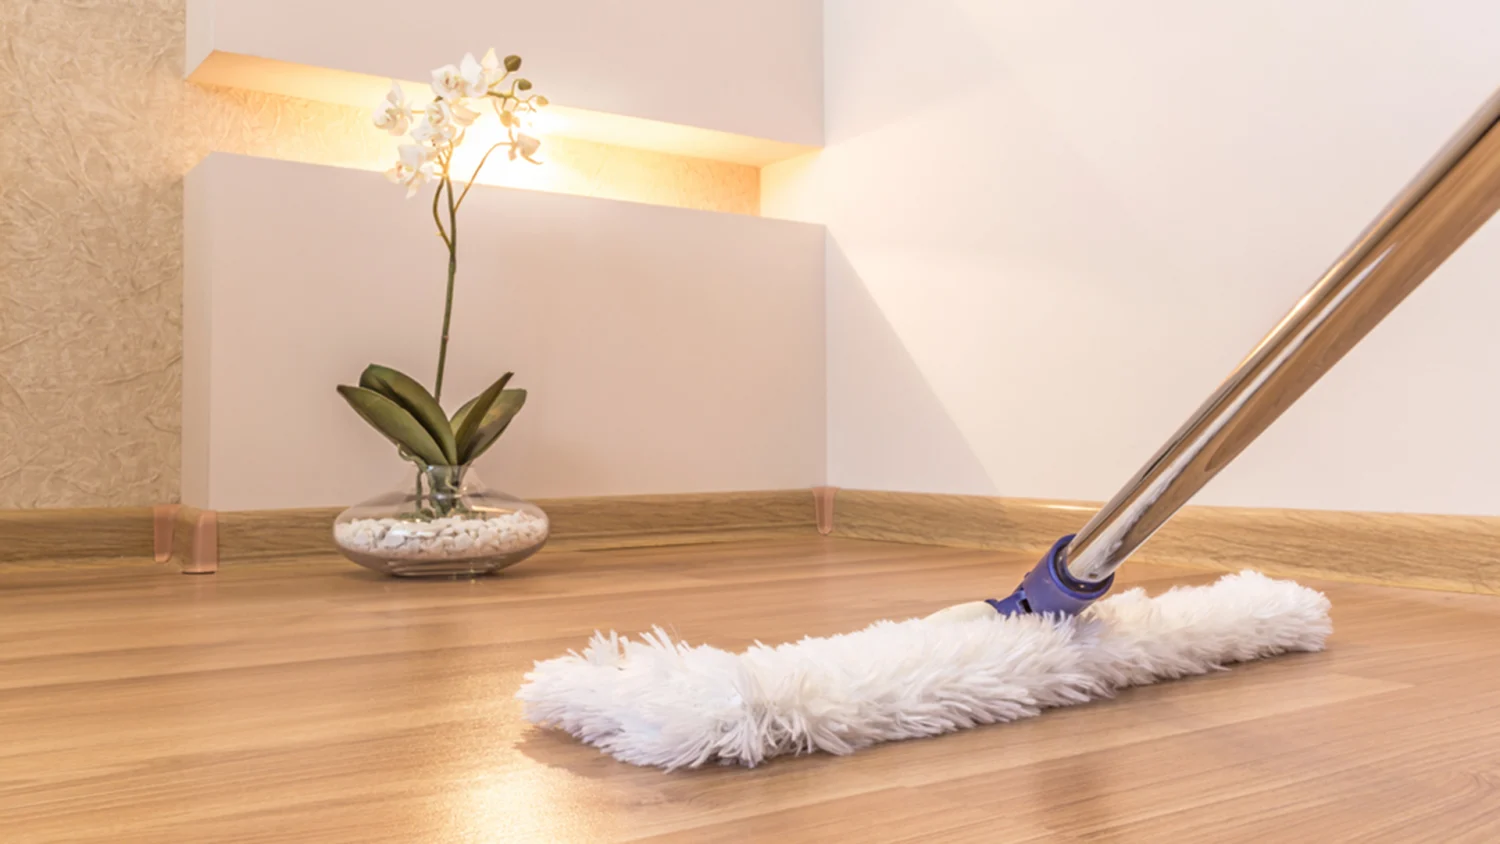
Once all standing water has been removed, the next step is to dry the area thoroughly. This is an important step to prevent mold growth, as well as to ensure that the laminate flooring and subfloor are completely dry before moving on to the next step. Use a fan or dehumidifier to dry the laminate flooring and the subfloor underneath.
Make sure to run the fan or dehumidifier for several hours or until the area is completely dry. If possible, open windows and doors to increase air circulation. Besides that, it is also important to check under the laminate flooring and subfloor for any hidden moisture, as it can lead to mold and structural damage.
If the subfloor is wet, you may need to remove the flooring and use a moisture meter to check the moisture levels. If the moisture levels are high, you may need to replace the subfloor before reinstalling the laminate flooring.
Step 3: Inspect the wood flooring for damage
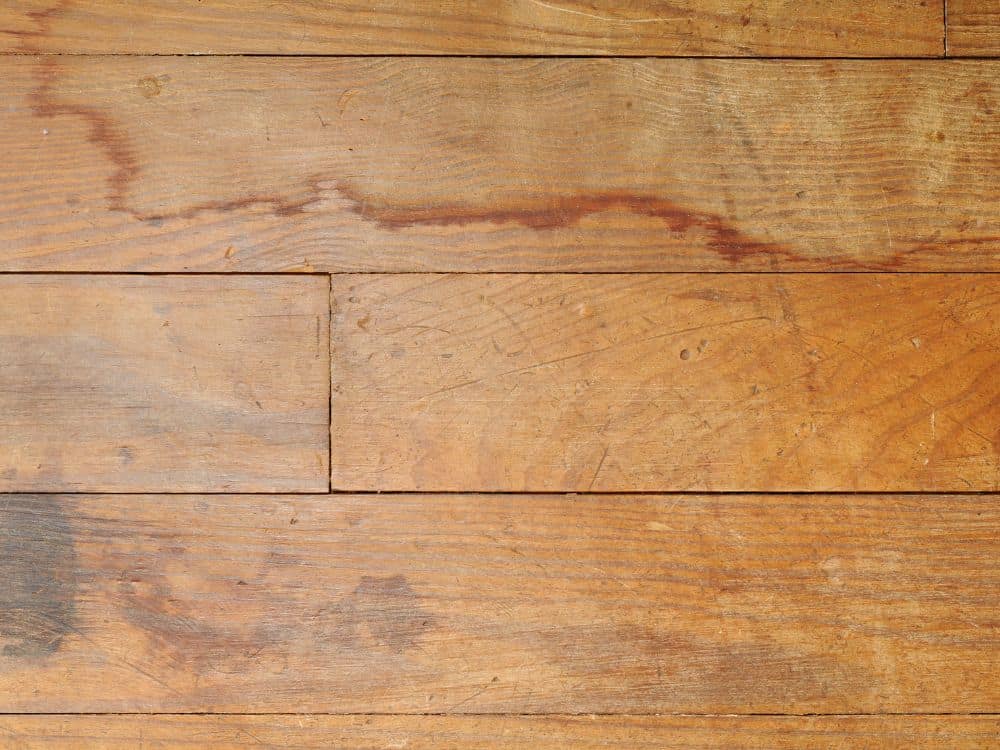
After the area has been dried, inspect the laminate flooring for damaged planks. If the water has been sitting on the floor for an extended period, the laminate may have warped or the adhesive may have loosened. Look for any signs of mold, warping, buckling, or discoloration.
Check the edges of the panels to see if they have become separated from the subfloor. If the damage is severe, it may be necessary to use replacement planks on the affected area. It is important to be honest with yourself about the extent of the damage, as trying to repair severely damaged flooring can lead to a poor final result, and could even be dangerous.
Step 4: Repair Minor Damage
If the damage is minor, such as small chips or scratches, you can use a laminate floor repair kit. These kits typically include putty or filler and a color-matching guide. You can use the putty or filler to fill in any chips or scratches, and then use the color-matching guide to find the closest match to your flooring.
Once the putty or filler is dry, you can use fine-grit sandpaper to smooth out the surface and make sure to clean the area thoroughly after sanding to remove any dust or debris. It is important to note that the repair may not be invisible and might be noticeable, especially if it is in a high-traffic area. In that case, you might want to consider replacing the affected panel if possible.
Step 5: Seal the laminate flooring
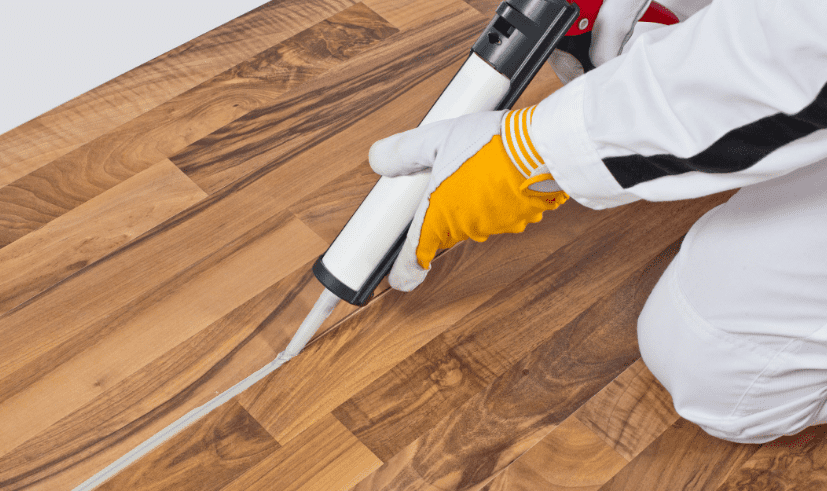
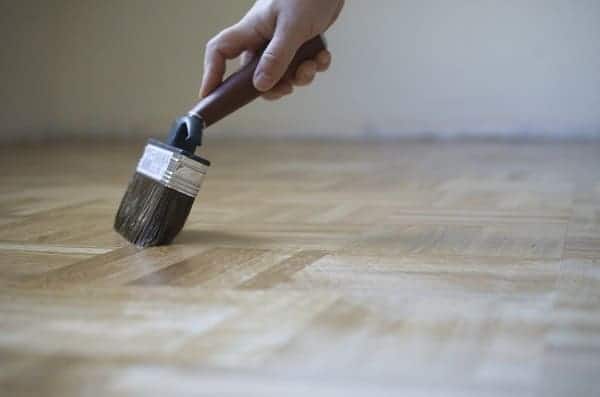
Once the area has been repaired and is completely dry, it is important to seal the laminate flooring to prevent future water damage. Laminate flooring sealers are available to purchase and are easy to apply. These sealers create a barrier that helps to protect the flooring from water and other liquids.
Be sure to choose a sealer that is specifically designed for laminate flooring, as other types of sealers may not be compatible. It’s important to follow the manufacturer’s instructions when applying the sealer, as the application process and drying time may vary depending on your product.
It’s important to note that some laminate flooring is pre-sealed, and in that case, it doesn’t need to be sealed again.
Step 6: Contact a professional
There are certain situations where it may be best to contact a professional for help with laminate floor water damage. If the water damage is extensive and affects a large area of the floor, it may be best to contact a professional. They will have the knowledge and experience to properly assess the damage and make any necessary repairs, especially if the source of the water damage is a broken pipe.
If you are installing new laminate flooring and the process is too complex, it may be best to contact someone who knows what they are doing. They will have the skills and experience to install the flooring correctly, ensuring that it will last for many years. By contacting a professional, you can rest assured that the job will be done correctly and that your flooring will be protected from future water damage.
How to Install New Laminate Planks?
Installing new laminate planks can be a relatively simple DIY project for those with basic carpentry skills.
- The first step is to prepare the subfloor. The subfloor should be clean, level, and dry. If the subfloor is not level, you can use the self-leveling compound to level it out. If the subfloor is not clean, sweep and vacuum it to remove any debris.
- Measure the length and width of the room to determine how many laminate planks you will need. Be sure to add an extra 10-15% to your measurements to account for waste and any cuts that may be required.
- Lay out the laminate planks in the room to get a sense of how they will look. This will also give you an idea of how many cuts you will need to make. Use a saw to cut the planks to the appropriate length. A circular saw or a jigsaw works well for this task, but make sure to measure twice and cut once to avoid any mistakes.
- Roll out the underlayment and cut it to fit the room. The underlayment will act as a moisture barrier and will provide insulation. Begin installing the laminate planks in one corner of the room. Use a tapping block and a hammer to tap the planks together. Be sure to keep the planks tight against one another.
Prevention
Taking preventative measures can help to minimize the risk of water damage to your laminate flooring in the future. Here are some tips:
- First, you can try to install a moisture barrier – a thin layer of material that is placed between the subfloor and the laminate flooring. This barrier helps to protect the flooring from moisture that may come up from the subfloor.
- Fix leaks promptly, and if you notice a leak from an appliance, such as a washing machine or dishwasher, or a pipe, it is important to fix it as soon as possible. Ignoring leaks can lead to serious water damage over time.
- Another helpful tool could be mats and rugs. Placing carpets and rugs in high-traffic areas, such as entryways and near sinks and appliances, can help catch water and other liquids in case of flooding or occasional spills before they can reach the underfloor. Regularly cleaning your laminate flooring can help to prevent the build-up of dirt and grime, which can trap moisture and lead to water damage.
Conclusion
Water damage on laminate flooring can be a frustrating and costly issue to deal with. However, by taking the proper steps in time, you can prevent further damage and make sure your laminate flooring will live a long life. Remember, preventing water damage is always better than fixing it, so keep an eye out for leaks, spills, and moisture, and take care of them promptly.
By following these steps, you can ensure that your laminate flooring will last for many years to come. And if you are still unsure about some of the steps, ask in the comments and we will find a solution for you.