It is normal that after a while your garage presents concrete cracks. Concrete is not a flexible material, so in climates of extremely dry summers or cold snow-filled winters, cement will expand and contract.
As a result, you will have cracks in the ground, but you should not be alarmed. Most people think that to fix the garage floor you have to call a specialist, but it is not always necessary.
In this guide, we will tell you how to do it yourself and save a significant amount of money. We will also give you the basic notions to identify if the problem is superficial or structural.
We recommend calling specialized professionals only in the case of structural problems, but as long as it is a superficial problem, you can always repair it yourself. Let us begin!
Table of Contents
Identifying Surface or Structural Problems
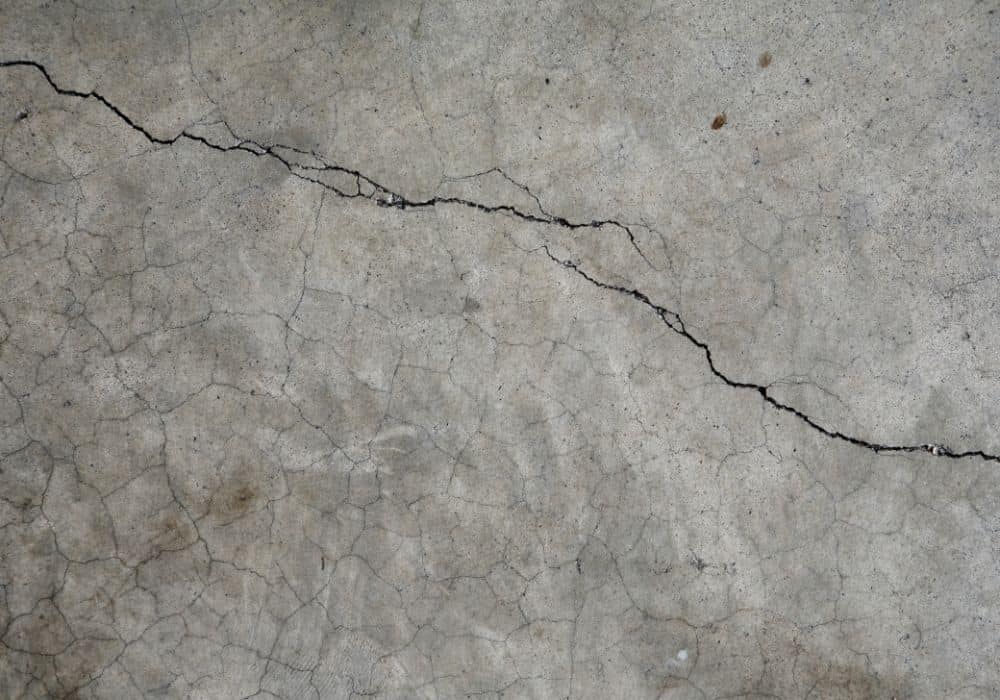
Before starting the project to fill garage floor cracks, you should check that the floor does not have structural problems. Garage floors can crack due to poor drainage, settling, extreme temperatures, or displacement of the subfloor.
It is also likely to present problems if a root from a large tree is making its way through the basement of your garage.
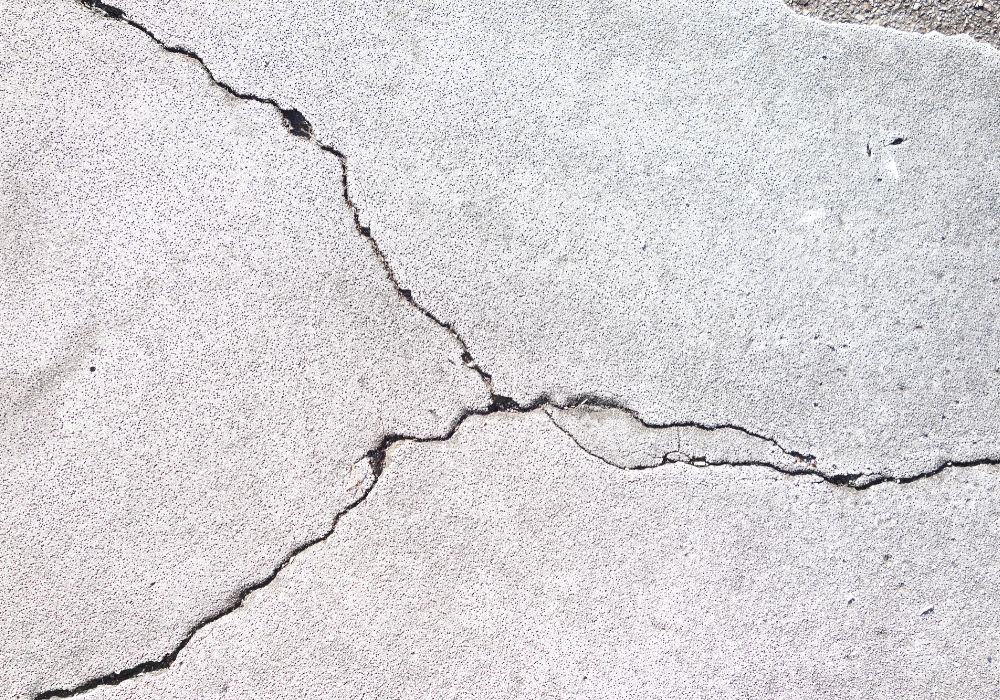
The first thing you must distinguish to solve the problem is to see if the level of the cement around the crack is the same level or if one of the sides is more bulging than the other.
If the floor is uneven on any side of the crack, it is an indicator that you have structural and subsoil problems and it is better to have the opinion and work of an expert in these cases.
But if the concrete floor is level, then cracks are a minor problem that is easily fixed.
You don’t need to have previous experience fixing cracks or working with cement to be able to fix your garage floor. In fact, it is a perfect project for you to do yourself and save a good amount of money.
You will only need to follow certain steps carefully and methodically to obtain optimal results. Also, take note of the materials you will need for the pitting and crack repair process.
Repair Materials You’ll Need
- Epoxy coating. They are a concrete crack filler easier to apply compared to cement. In addition, the cement mixture does not bond well to the existing concrete and it is likely that in a few months, you will have to invest money again in repairing new cracks. Products based on polyurethane are just as effective.
- Heat gun. If you choose to use the epoxy coating, it will be easier to apply with this gun as it comes with an auto mix tip which will save you from having to do it by hand and also makes it easier to apply.
- Silica sand. You will only need it if your cracks are deep. In that case, you will need to fill the crack with sand, otherwise, you will use the epoxy more than necessary and the repair may end up costing more than you expected.
- Hammer and cold chisel. They are essential tools for chasing the rift.
- Vacuum cleaner. Clean up all the dust and particles after each process is finished.
- Wire brush. It is used to eliminate weak edges and is essential to fill the crack correctly.
- Angle grinders with a masonry wheel. It has the same function as a chisel, but it makes the process much easier and faster. However, it is not necessary to use it.
- Putty Knife.
- Protection mask.
- Ventilator.
- Concrete sealant.
Repairing Cracks In the Garage Floor

Step 1: Prepare the work area
First of all, you must prepare the area in which you are going to work. We advise you to start by cleaning all the dirt and dust from the garage floor with a broom and dustpan. If possible, mop it with water and wait for it to dry, or use a dry mop to speed up the drying process. You need the floor to be completely clean and free of any particles or stains.
Check that the floor is not stained with car oil. Trisodium Phosphate is a product that you can find in any hardware store and it combats grease stains that may be in your garage very well.
All this work may seem unnecessary, especially since later you will start to chop the cement and it will fill with dust again. But we assure you that this step is very important so that the mixture with which you will fill the cracks is not contaminated with any particles and have perfect adhesion.
Keep the mop with a bucket of water nearby for reuse after the cement floor chipping process.
Step 2: Crack Chasing process
After cleaning all kinds of contaminants we will start the fun part. We have to go after the crack with a hammer and chisel to remove all loose or sharp edges of the crack.
Place the chisel in the crack and start chasing the entire trajectory of the crack while you are hammering, this will make all the weak parts come loose, and thus make sure that it does not crack again after a few months.
When you are done all the way through the crack, use a wire brush to scrape down the edges and pick up any small particles that have been dislodged.
Another way to do the same process is with an angle grinder with a special masonry wheel for chasing cracks. This process is made very easy with this tool but we are aware that not everyone has this tool, so use it only if you already have it or if a friend or family member can lend it to you.
Finish this process by cleaning all the dust and particles of cement to continue the filling of the concrete floor cracks.
Step 3: Fill in the cracks
You must previously identify your concrete surface. There are two types of cracks, small cracks, and deep cracks.
For small cracks the work is simple. After you have chased the crack with a chisel and cleaned and swept up all the dust, you should apply the mixture that you have purchased for the filler.
Most polyurethane or epoxy-based products come in a gun with precise instructions for each product. We recommend that you always opt for this option, not only because it is more effective than the traditional method, but also because you will save yourself the process of making the mixture yourself.
Many people have no previous experience with cement and make too much mix, which dries quickly and ends up wasting a lot of material. With Epoxy guns, you won’t have to worry about that.
They also ensure a neat job and its application is much easier. After applying the mixture to the cracks, use a putty knife to even out the filler for a smooth finish.
If the depth of the cracks is considerable, the process varies slightly. We recommend that for large cracks, you fill the bottom with silica sand and then apply the mix. This will prevent you from using an excessive mix and will save you money and labor.
This job requires patience. So after applying the mixture you will have to wait for it to dry to see the results. Each product has a drying time, so read the instructions carefully. We advise you to do the work in the afternoon or at night, to give the mixture time to dry.
Step 4: Sealing process
The problem with cement is that it is a material that easily absorbs other materials. That’s why grease stains don’t come off easily and other liquids can seep in over time, causing more cracks in the future.
That’s why a sealer for your garage floor is essential if you want lasting repairs.
We recommend you use a high-strength water-based polyurethane sealer. Another advantage of this product is that it does not take long to dry completely, allowing you to apply several coats of sealer in no time.
An extra tip for homeowners with a rough floor is to apply the sealer with a broom or any tool that has thick bristles so that the sealer can cover unnoticed grooves and pockets in the surface.
After applying the sealant, finish by smoothing the floor with a squeegee or, failing that, a roller. You can apply several coats depending on your needs. For garages that see frequent use and will support a lot of weight or more than one car, it is recommended that you apply three to four coats of sealant.
Conclusion
Don’t be afraid to fill in the cracks in your garage floor yourself. With the modern and effective products you find on the market, you won’t even have to prepare the cement mix yourself.
But remember to examine the cracks and the level of the floor to determine if it is a do-it-yourself job or if you need the assistance of a professional.
Follow the simple steps of this guide to the letter and you will have the satisfaction of having completed this DIY project.