Allure vinyl plank flooring is beautiful, elegant, and durable, and an excellent option for people looking for a stylish floor on a budget.
More than that, this flooring is one of the easiest to install. With a unique grip strip technology that glues the planks to each other, Allure vinyl planks can float on any subfloor to create a modish and easy-to-maintain flooring.
Read on to find out how to install Allure vinyl plank flooring, the tools you require, and the things you need to do to get the best results from your project.
Table of Contents
Materials Needed for Installing Allure Vinyl Plank Flooring
Below are all the supplies you need to install Allure vinyl planks on any subfloor:
- Allure vinyl planks: Buy enough flooring to cover the entire room and an extra 10% to account for any waste and mistakes.
- Patching compound (optional): If you are installing your planks on a ceramic tile subfloor that has large grout lines, use this compound to fill and level the lines.
- Moisture meter: Use this to check your subfloor for moisture especially if it is made of concrete.
- Underlayment (optional): Get a 6 mil polyethylene
- Tape measure: Have a measuring tape handy so you can take the right measurements of the room and the planks.
- Utility knife: Use a utility knife to cut your planks. Make sure to get a sharp one to guarantee clean cuts.
- Bucket and mop: Use these to clean the floor.
- Water: Get about 2 gallons of clean, cold water.
- Soap: You can use the normal laundry soap or dishwashing liquid.
- ¼ inch spacers: How many spacers you will need will depend on the size of your room. Aim to have at least 2 spacers per plank.
- Hand roller: With a hand roller, you will be able to apply more force on the planks’ seams so the grip strips can form a much stronger bond.
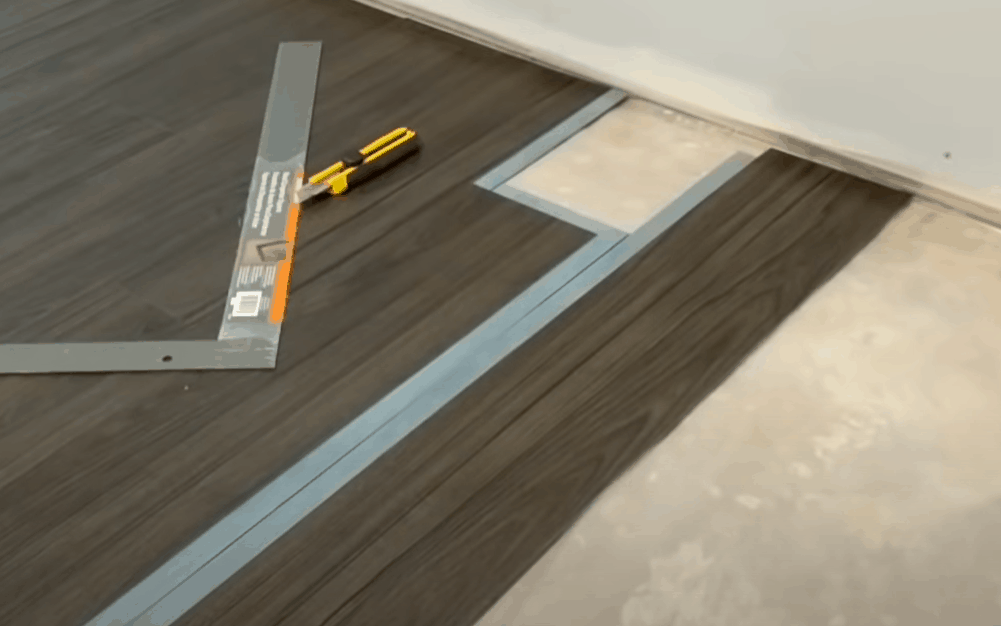
- Straightedge: Use this together with the utility knife to make straight, clear cuts.
- Pencil: Use a pencil or erasable marker to mark where you need to cut.
- Jamb cutter: A jamb cutter will help you trim door casings so the planks can slide beneath them. You can rent one from your local hardware. In the presence of a jamb cutter, use a handsaw.
- 75 – 100 pound floor roller: Run this back and forth across your new flooring to seal the seams and create a more permanent bond.
6 Easy Steps to Install Allure Vinyl Plank Flooring
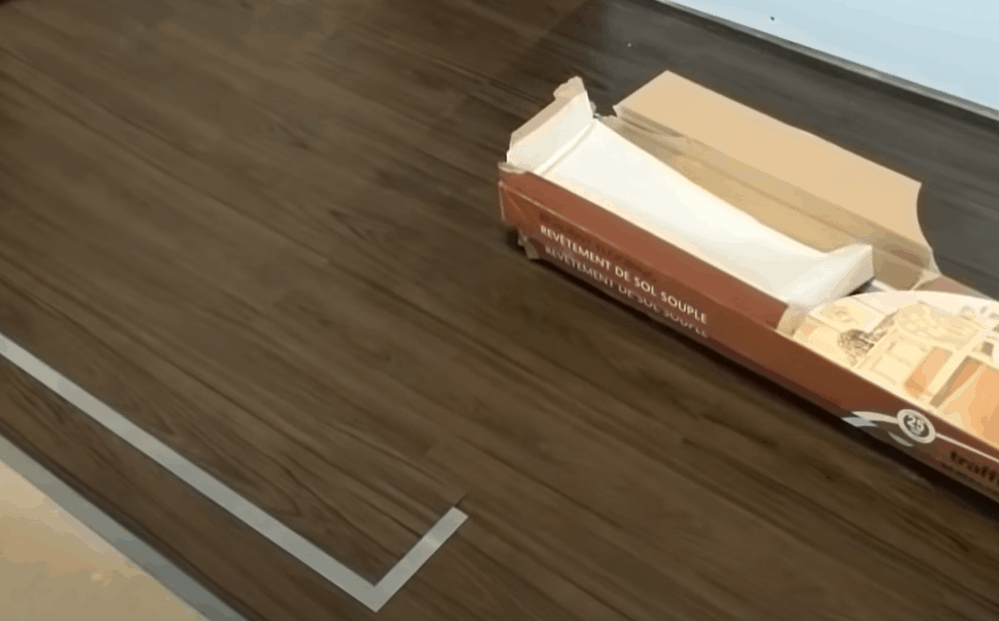
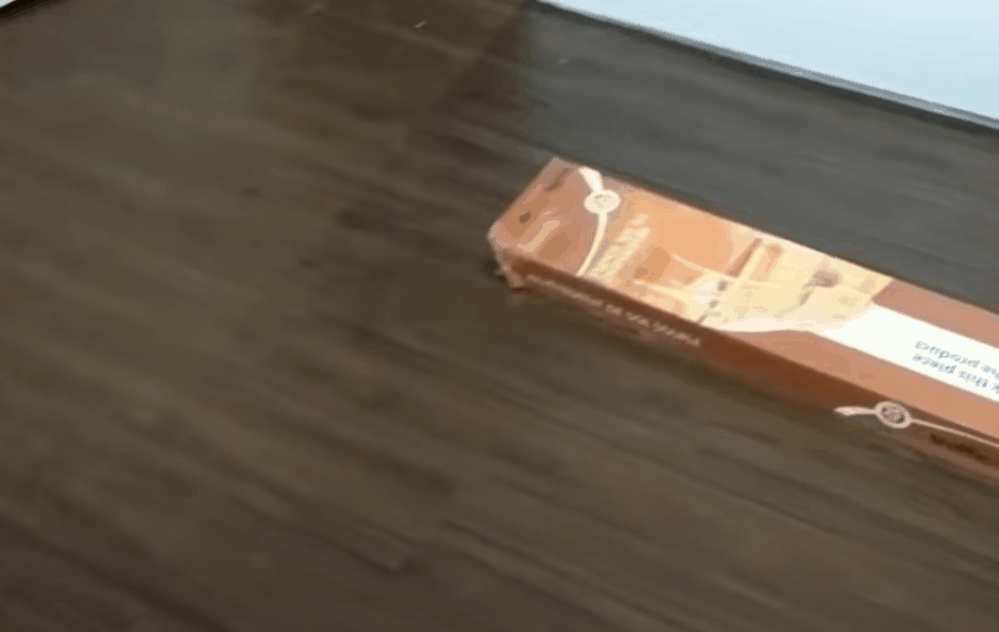
In this project, we will be installing Trafficmaster Allure vinyl planks. Here are simple step-by-step instructions to get you started.
Step 1: Prepare the Work Area
Allure vinyl planks, like most floating floors, can be installed on any subfloor including concrete, hardwood, tile, or even existing vinyl flooring. However, for the installation to be successful, the subfloor must be in good condition and not flexible. It should also be smooth and level.
If you are laying the planks on a ceramic tile subfloor, for instance, make sure the grout lines aren’t too wide. This is because Allure planks are pliable and if you lay them on a subfloor that has large grout lines, over time, these lines will become visible. If your grout lines are wider than a ¼ inch, it is important that you level them before you start your installation.
Enough preparation would also be required if you are laying the planks over a concrete slab. In addition to the subfloor being flat, it must be moisture-free. If the moisture level is above 5%, consider laying a polyethylene underlayment before setting the planks.
No matter your subfloor type, it is also important that you clean it thoroughly prior to the installation. It will help get rid of any dirt and debris that may prevent the planks from adhering firmly to the ground. Simply pour water into a bucket, add some detergent, and mop the subfloor. And make sure to allow the floor enough time to dry before you proceed to the next step.
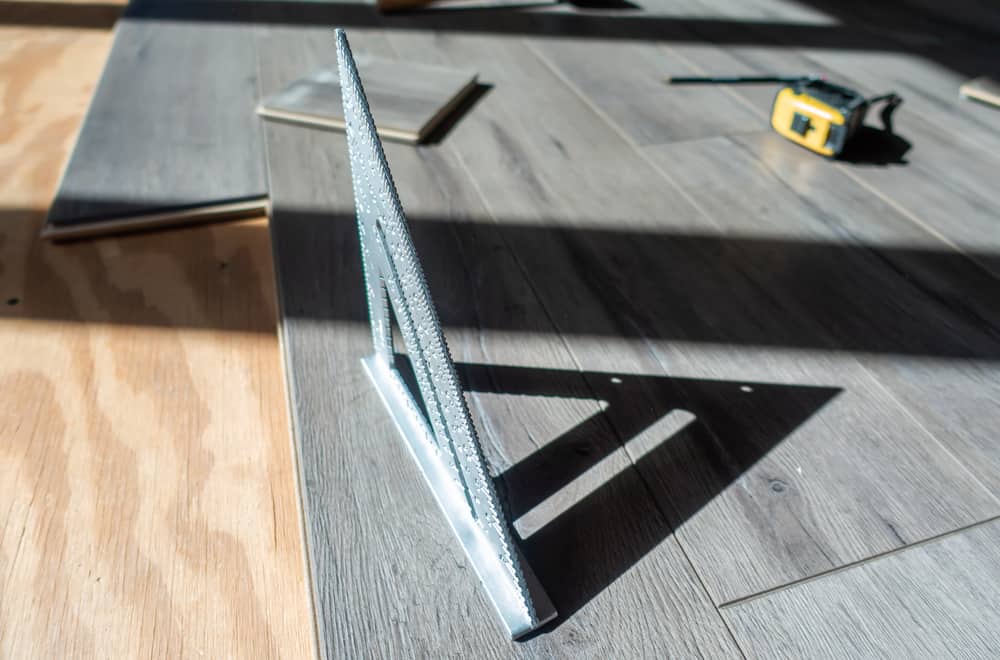
Step 2: Plan Your Installation
Measure the length of the room and divide it by the planks’ length to know how many panels you need, making sure to leave a ¼ inch gap on each end to allow for effective expansion and contraction. Cut your first and closing planks of each row accordingly so you can have uniform boards on each end.
Now, measure the room’s width and divide it by the planks’ width. And as with the length, make sure to cut the planks on the first and last row accordingly to obtain a more balanced look.
If you don’t know how to cut vinyl planks, watch this video. It shows you how to properly measure the length and width of your planks and cut the panels to size using both basic and advanced tools.
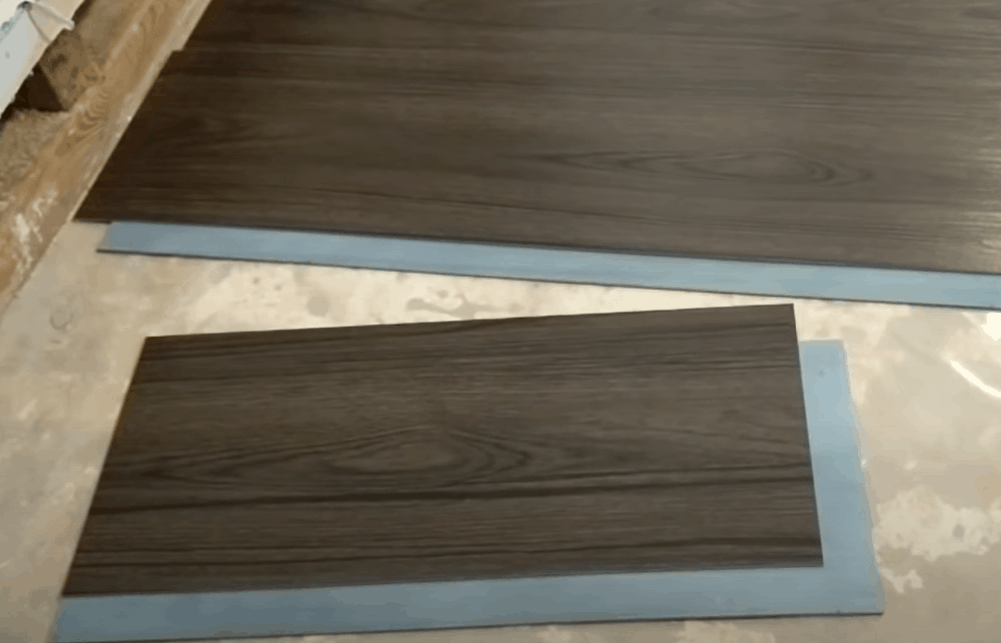
Step 3: Lay the First Plank
Now that you have your corner planks ready, you can go ahead and install your first panel. Lay down your initial plank, starting from the corner of the room. You need to position it such that it’s under edge faces away from the wall.
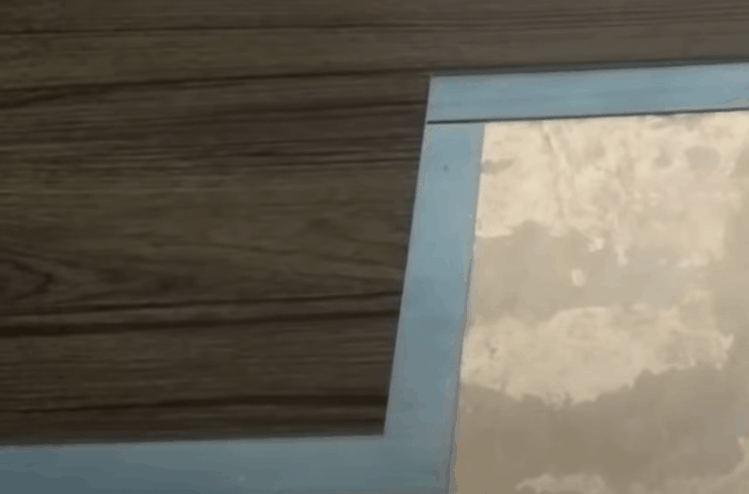
Place spacers between the planks and the wall as you do the installation; this will allow the subfloor to expand and contract without interfering with the vinyl.
Step 4: Complete the First Row
Lay the second panel, holding it at 45°, and position it such that its top edge rests over the bottom edge of the previous panel. Adjust the plank so it attaches firmly to the first one and creates a tight seam.
Use your hand to press the plank down on the joint so the grip strips can create a tight bond. Follow this up with a hand roller for a tighter, better bond.
If you feel that the seam isn’t tight enough or some parts appear to be warped, you can slowly pull off the second plank and install it again. Just be careful not to break or damage the grip strips, as this can make the planks not bond properly.
Once done, adjust and press down the seam again. And don’t worry about the adhesive becoming permanent; Allure planks can be reworked for up to ten minutes before the glue dries up.
Continue installing the planks and pressing down the seams until you have completed the first row. When installing the end planks, make sure to lay them such that the cut edges are facing the wall. You will cover these with baseboards once you have finished the installation.
Step 5: Install the Rest of the Planks
After the first row is complete, go on and lay the rest of the planks using the same procedure. Make sure to place spacers at both ends of each row to maintain a uniform gap and check to see that all seams are firmly pressed down.
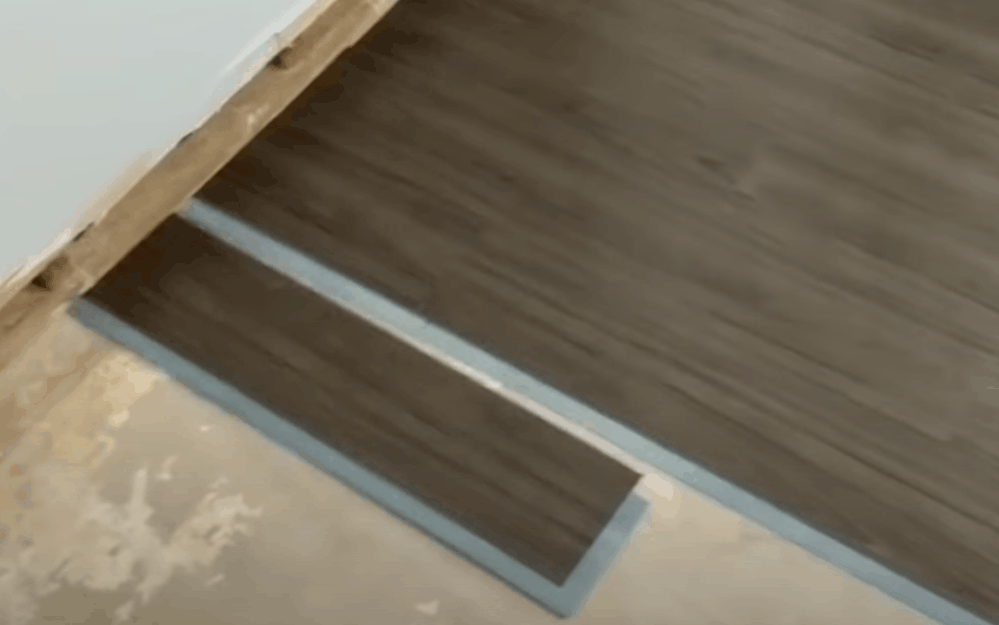
When fitting planks around a door opening, consider cutting the door casing so you can slide the planks underneath. To do this, measure the thickness of the plank and use the measurement to mark the door casing. That is how much you need to cut the casing.
Step 6: Finish Up
Get a larger floor roller and move it back and forth across the floor. This will help press down and smooth the seams so they can form a tight seal.
Once done, install your baseboard trim and molding to hide the ¼ inch expansion gap and the trimmed edges of the planks.
Additional Tips for Installing Allure Vinyl Plank Flooring
- In order for the grip strips to function properly, you should let your planks acclimate at room temperature in the space where they will be installed. Ideally, the planks, subfloor, and room temperature should all be at least 64° F for about 48 hours prior to the installation as well as during and after the installation.
- During the installation, do not remove the strips’ seal until when using the planks; it will help keep the adhesive free of dirt and oil.
- Even if you have installed a similar product before, read the manufacturer’s instructions for installation to make sure you are not making any mistakes.
- Before the installation, avoid placing the flooring in direct sunlight or near heating or cooling ducts.
- Wear a mask to avoid inhaling your floor’s ‘new smell’ and keep the room well ventilated for the first one week after installation to quickly get rid of the smell. Sure, Allure vinyl planks may be low in volatile organic compounds, but no vinyl flooring is 100% non-toxic.
The Takeaway
Allure vinyl planks rank among the top flooring options for residential and commercial spaces, all thanks to their quick installation process. If your subfloor is flat, smooth, and in good shape, you can literally have your planks installed in just a few hours.
But keep in mind that the integrity and life of your floor will depend on how well the planks are adhered to each other, so make sure they are pressed down real good. It’s also important that you give the flooring enough time to acclimate to the surrounding environment before the installation.