Vinyl siding has been used by homeowners to revamp the exterior of their homes for many years. The good thing about vinyl is that it can be fitted on an existing siding, without causing damages to the siding.
So, if your house has old wood siding and you would like to refurbish the outside with vinyl, you can install the new siding directly over the old one. The process is pretty straightforward as explained in this article. Keep reading to learn how to install vinyl siding over wood siding with 6 simple steps.
Table of Contents
Materials Needed for installing vinyl siding over wood siding
- Vinyl siding: Measure the exterior of your house to know how much siding you need. Buy enough vinyl panels to fit the entire house and 10% extra to cover any waste or damages.
- Furring strips: Get 1×4 inch or 1×2 inch pressure-treated lumber. The number of strips will depend on the size of your house. Measure the house to know how many strips you need.
- Form board: If the current wood siding has huge bumps or dents, use rigid foam boards to create a flat surface for the vinyl siding.
- Measuring tape: A tape measure will help you figure out how many foam boards, furring strips, and vinyl panels you need to cover your entire house.
- Broadhead nails: Use stainless steel or galvanized steel nails to avoid corrosion.
- Moisture barrier: If the existing wood siding doesn’t have a moisture barrier underneath it, get one. We recommend installing a polyethylene sheet or similar material.
- Vapor barrier tape: Use this to seal the moisture barrier at the seams.
- Brick mold: Use this to make the door and window frames a little wider so they can accommodate the new wall width.
- Chalk line: A chalk line will help you mark a straight line around your house where the starter strip will be installed.
- Level: Use this throughout your installation to make sure the panels are laid in a straight line.
- Utility knife/tin snips: Use these to cut your vinyl siding as needed. A utility knife will help you make horizontal cuts while the tin snips will help you make short, vertical cuts.
6 Easy Steps to Install Vinyl Siding Over Wood Siding
While fitting vinyl siding over an existing wood siding is a simple DIY project, it does require some preparation. Here are quick guidelines on how to prep your wood siding and install the vinyl over it.
Step 1: Examine the Wood for Damages
For your vinyl siding to have a strong and stable foundation, last longer, and serve your desired purpose, the existing wood siding must be damage-free and in sound shape. Knowing the condition of the wood can actually help you figure out whether keeping the siding would be a wise decision.
If the wood has rot or mold, make sure to remove the affected parts or replace the siding with fresh boards. Also, check to see that all boards are tightly fastened to the wall sheathing.
This would also be a good time to remove the door and window trim. In other words, before you start, you should remove any obstacles from the walls to remain with just the wood siding.
Step 2: Install Furring and Foam to Smoothen the Surface
The surface on which you install your vinyl siding must be smooth and flat. That said, if your wood siding is slanted or has huge protrusions, you will need to flatten it out before the new installation.
Installing rigid foam boards can help provide the flat surface required by the new siding, and not just that, if installed properly, they can also provide extra protection against moisture.
Nail the furring strips vertically to the wall, 16 inches apart, then attach the foam such that it is sandwiched between the wood siding and vinyl siding.
Step 3: Set Up a Moisture Barrier
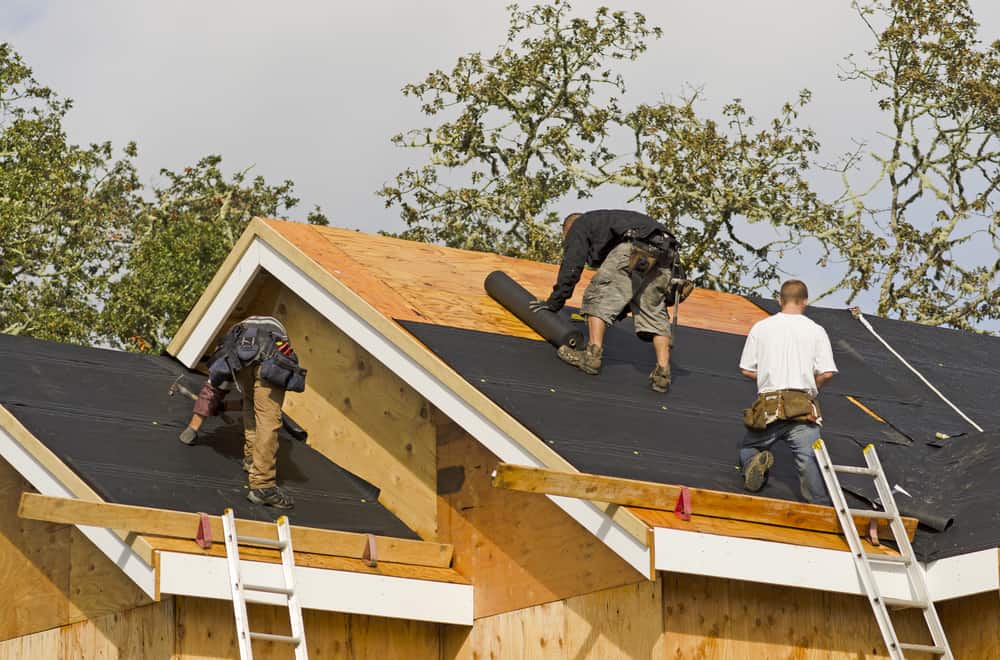
There is a good chance that the existing wood siding has a house wrap underneath it to keep moisture out of the house structure. But if not, you will need to install one.
Place it over the foam boards and tack it in properly with wide-headed nails. If possible, use nails with plastic washers to attach your wrap in place. Make sure to seal the seams of the barrier with tape to completely lock vapor out.
Step 4: Adjust Door and Window Frames
While installing vinyl siding over an existing wood siding reduces the overall amount of work that needs to be done, it also increases the thickness of the wall, meaning, some adjustments must be done to some parts of your house to keep these parts functioning properly.
Things like doors and windows, for instance, will require a thicker frame to accommodate the thicker wall. If you have casement windows, especially, the extra layer of siding may create an obstruction, preventing the windows from opening all the way.
To fix this, measure the width of the existing wall, foam boards, and vinyl panel and use a brick mold to extend the frames. Also, make sure to install metal flashing around doors and windows to keep moisture at bay.
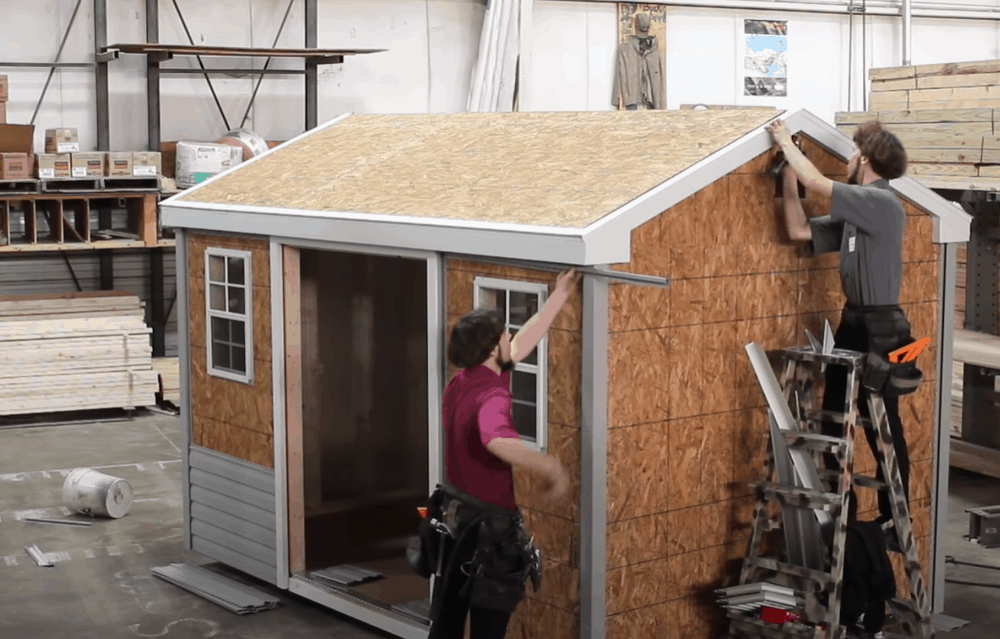
Step 5: Install the Foundational Strips
These include the starter strip, the J-channel, and the utility trim, and their job is to hold the vinyl panels at the bottom of the wall, on the edges, and at the top of the wall.
To install a starter strip, start by snapping a chalk line at the bottom of the wood siding, about one inch from the ground. This line should run in a straight line around the house, to mark where you will begin your installation.
Attach the starter strip above the chalk line, making sure it is as level as possible. This will ensure that the rest of the planks are also straight. For best results, the nails should be driven in at the center of the provided nailing slots and a ¼ inch gap should be left at the ends to allow for expansion. For more insights on how to install a starter strip for vinyl siding, watch this video.
Once you have your starter in place, you can now go ahead and set up your J-channel and under sill trim. Install J-channel vertically at the ends of the walls, corners, and around doors and windows to give the vinyl around these areas a nice, polished finish.
Next, install utility trim at the bottom of each window, wall tops, and underneath roof soffits. And as with the starter strip, make sure to leave room for expansion, with nails driven in at the center of the fastening slots.
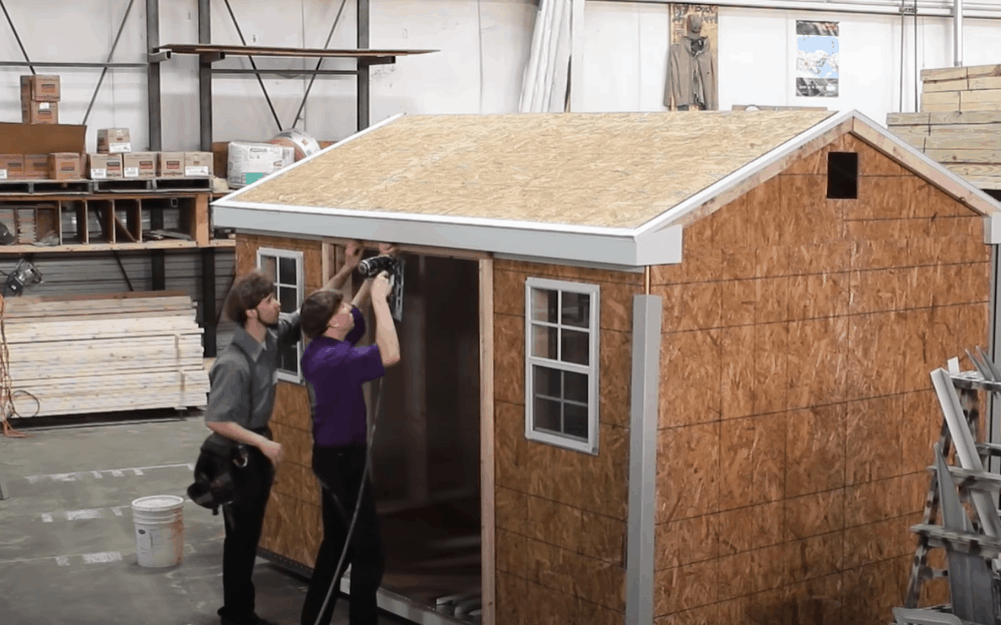
Step 6: Install the Rest of the Vinyl Siding
Install the first panel such that its bottom is secured into the starter panel and its end is pushed into the J-channel. Use a level to keep the panel straight and place nails in the middle of the nailing slits.
Once done, install the rest of the panels to complete the first row, making sure to overlap panels by about 4 inches or as instructed by the manufacturer. Maintain a uniform ¼ inch gap at the ends of the panels, corners, and openings for expansion.
Use the same technique to install the remaining panels, trimming the panels where necessary to fit around corners, doors, and windows. Use a level to align each row.
If possible, work around the house; it will make it easier for you to keep panels aligned at the corners. While how you do the installation boils down to your own preference, working around the house rather than one wall at a time ensures continuity and keeps the rows level.
Additional Tips for Installing Vinyl Over Wood Siding
- Follow the manufacturer’s instructions to install your vinyl siding; some companies may void the warranty if the product is not fitted as directed. Sticking to the given guidelines also increases your chances of installing the siding correctly, which keeps it in good shape.
- Wear a mask when installing vinyl siding. Even if the brand is said to contain low volatile organic compounds, no vinyl product is 100% toxin-free. Putting on a mask will prevent you from inhaling any off-gassed material. Wear leather work gloves, too, to avoid unnecessary cuts and scratches.
- Because your vinyl siding will be constantly exposed to harsh elements, it is important that you buy a high-quality product to avoid experiencing problems with it in the future. Substandard siding may chip, crack, or wear out quickly, subjecting you to costly repairs.
The Takeaway
Installing vinyl siding without removing an existing wood siding can save you a considerable amount of time and money. However, the wood itself must be level, without decay, and generally in excellent condition. If a huge section of the wood siding is damaged beyond repair, it would be wise to completely remove it before the installation.
And when it comes to the actual installation, make sure to keep the panels straight. Importantly, allow some room for expansion and place nails at the center of the fastening slots.