If you want siding material that is durable, easy on your budget, and one that doesn’t rot or require painting, consider vinyl. Millions of homeowners have turned to vinyl siding not just because of the aforementioned benefits but also because it is easy to install.
Of course, if you are a first-time DIYer, the technicalities of the installation process can seem a little intimidating. That’s why we have prepared this article that explains how to install vinyl siding and simplifies all the mechanics of the process for you. We hope it helps.
Table of Contents
Materials Needed for Installing Vinyl Siding
- Vinyl Siding: Measure your house exterior to determine how many boxes of siding you need and buy an extra box to account for damages.
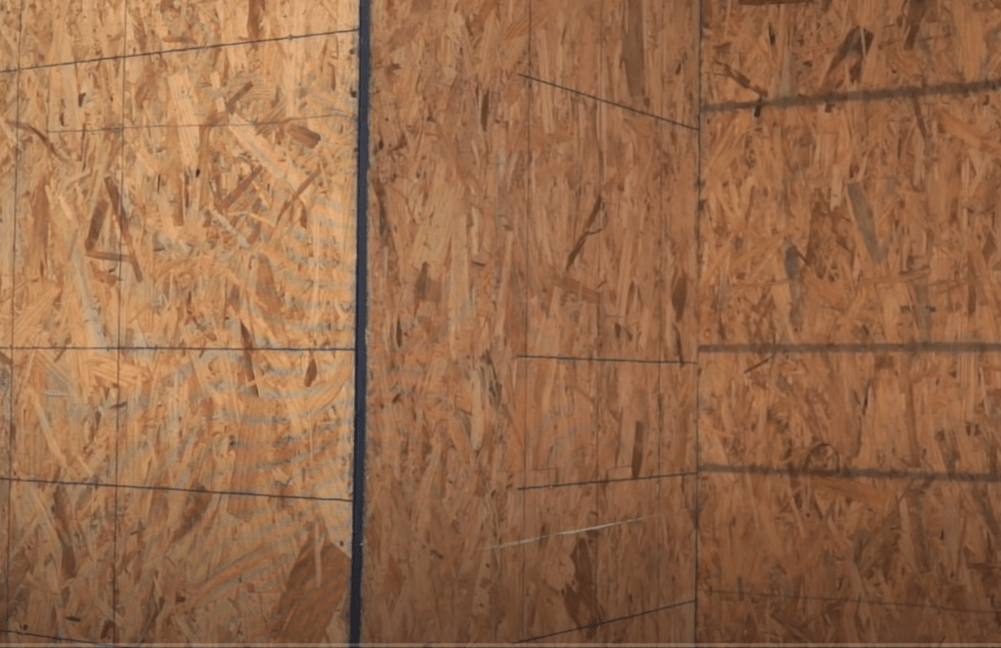
- Plywood/OSB: Any of these can be used as sheathing, to provide a flat surface for the siding.
- Ladder: Use a ladder or scaffolding to reach high points of the wall safely. Make sure to place your ladder on a flat surface.
- J–channel: This will help conceal the edges of the cut soffit and siding pieces.
- Nails: Use corrosion-free nails to attach your siding to the wall.
- Hammer: Get a claw hammer so it can be easier for you to extract any nails you don’t need from the siding.
- Measuring tape: Use this to measure the wall and the siding.
- Utility knife/power saw/tin snips: These will help you cut clean pieces of vinyl siding to size.
- Straightedge: Use this to make straight cuts.
- Marker pen: With a marker pen, you can put marks on the siding so you know where to cut.
- Chalk line: Use this to mark the point where you want to begin your installation.
- ½ inch foam sheathing strips: These will provide a flat surface at the corners for the channels to attach to.
- Plumb bob: A plumb bob will help you align the corner posts.
- Flashing tape: Use this to seal your doors and windows.
- Caulk: Use caulk to seal any gaps around doors and windows.
8 Simple Steps to Install Vinyl Siding
Step 1: Prepare the Exterior of Your House
Because vinyl siding is installed over an existing structure, it tends to mask structural defects like cracks, holes, moisture problems, etc., which can cause problems afterward. It is, therefore, important that you do any necessary repairs before installing the siding.
Things like scraping away old sealant from door and window frames, replacing decayed wood, tightening any loose structures, and recaulking problem areas, for instance, can go a long way in making your project a success.
Once you have all the structural failures fixed, clear your work area to remove any obstacles that may interfere with the installation. Remove protrusions like light fixtures, molding, and downspouts and tie back plants and flowers so they don’t get damaged.
Step 2: Sheath the Walls and Install a Moisture Barrier
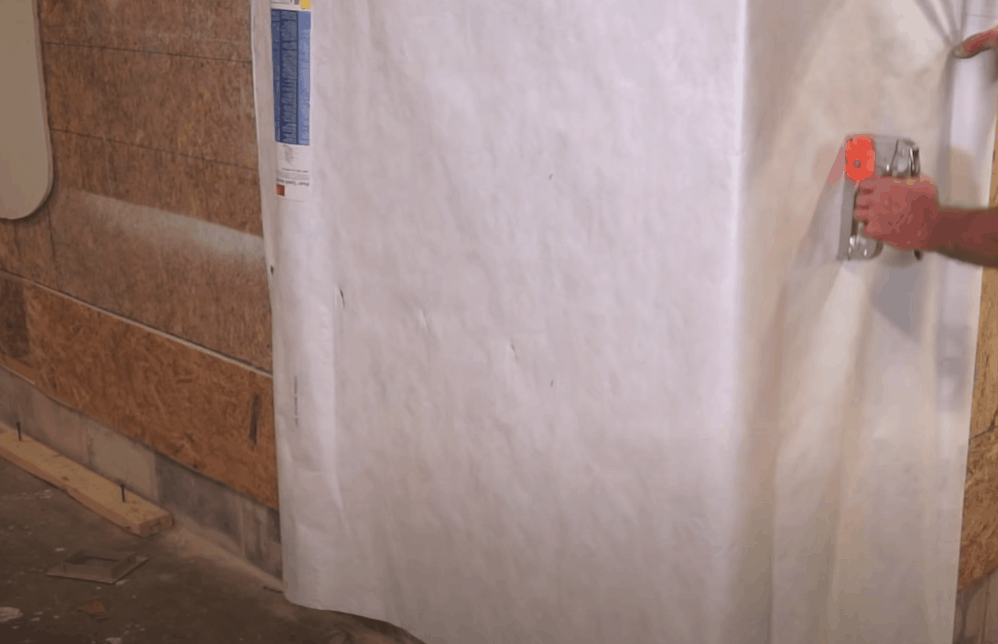
Vinyl siding should not be installed without sheathing. Sheathing material like ½ inch plywood or oriented strand board (OSB) provides a flat, smooth surface for the vinyl, enabling it to sit properly on the wall. Choose the one recommended for your siding, then install a water vapor barrier.
Step 3: Install Soffit and Fascia Siding
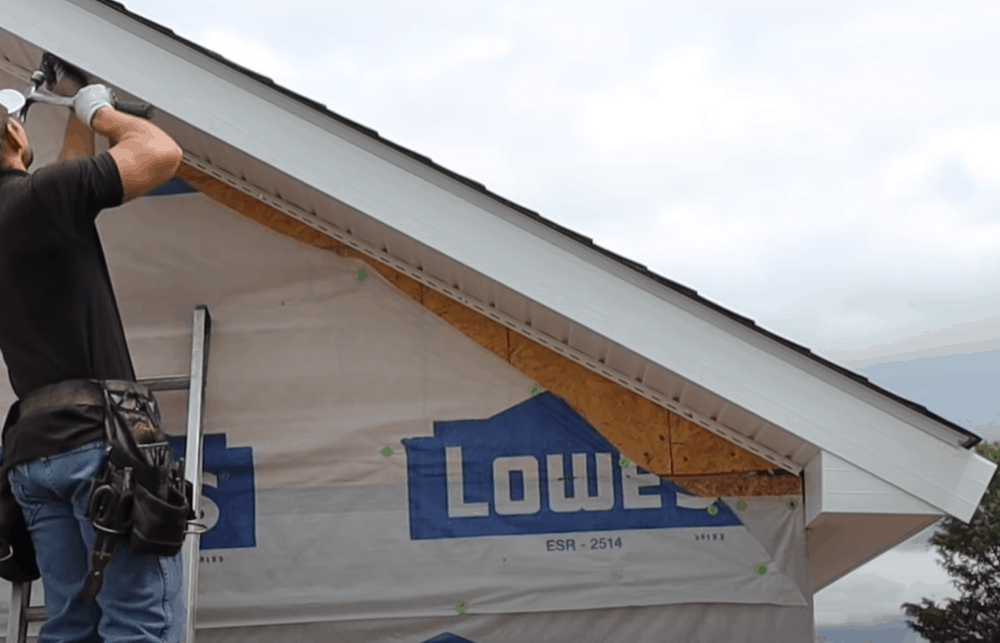
Soffit is the siding installed underneath your roof’s overhang while fascia is the exposed board placed on the front. In most instances, these will be the same color and design as the rest of the siding.
To start your installation, nail pieces of J-channel under the fascia. It will help hide any cut edges of the soffit siding, all while providing a watertight seal.
Now, measure and cut the 12-foot long vinyl siding to fit your soffit. Make sure to cut the pieces ¼ inch shorter than the real length of the soffit; it allows for expansion during hot weather.
Install the soffit pieces by pressing them into the J-channel you installed earlier. You can bend them to fit where necessary. After you have installed the soffit siding, install the fascia siding, securing the top edges with galvanized nails.
For more information on how to install soffit and fascia siding, watch this video.
Step 4: Measure the Walls
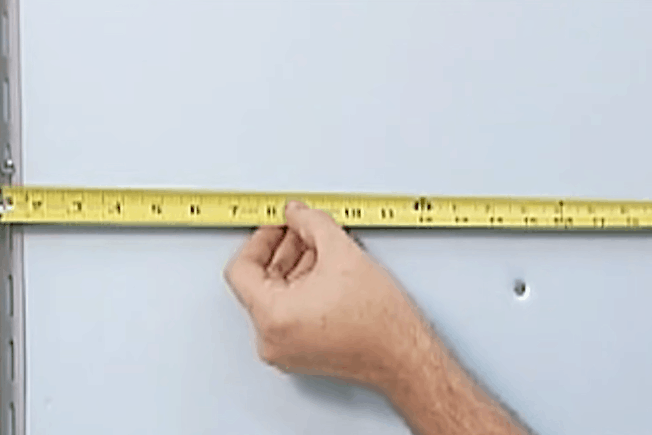
Measure your walls’ length from the bottom edges of the roof to the bottom of the wall so you can know how many pieces of siding each wall will require.
Divide the number by the width of one panel (usually 8 inches). If you get a whole number, then you will be able to apply the siding without having to trim the panels to size. If you don’t get a whole number, however, the last piece of the siding must be cut to fit in the remaining space.
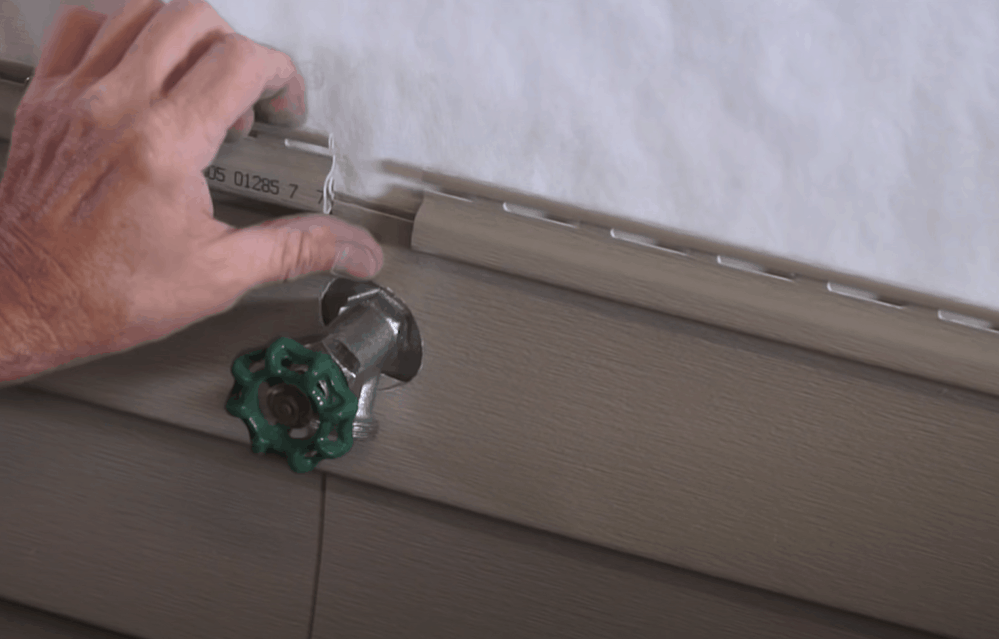
Step 5: Install the Starter Strip
A starter strip is fitted where the siding begins to hook the first row of the siding. Once you have identified your starting point, drive a nail through it and use a chalk line to mark the point around the perimeter of your house.
Now, install the starter strip over the chalk line, making sure it is not nailed in too tightly that it restricts the movement of the panel. Also, don’t forget to leave a ¼ inch gap between each strip to allow for expansion, and check to see the panel is level before proceeding.
Step 6: Set Up Corner Posts

Install these on each corner of the house to run from ¾ inches beneath the bottom edge of the starter panel to just below the eaves. Nail the posts to the wall starting from the top and drop your plumb bob regularly to make sure they are completely straight.
Step 7: Install Flashing and J-Channel Around Doors and Windows
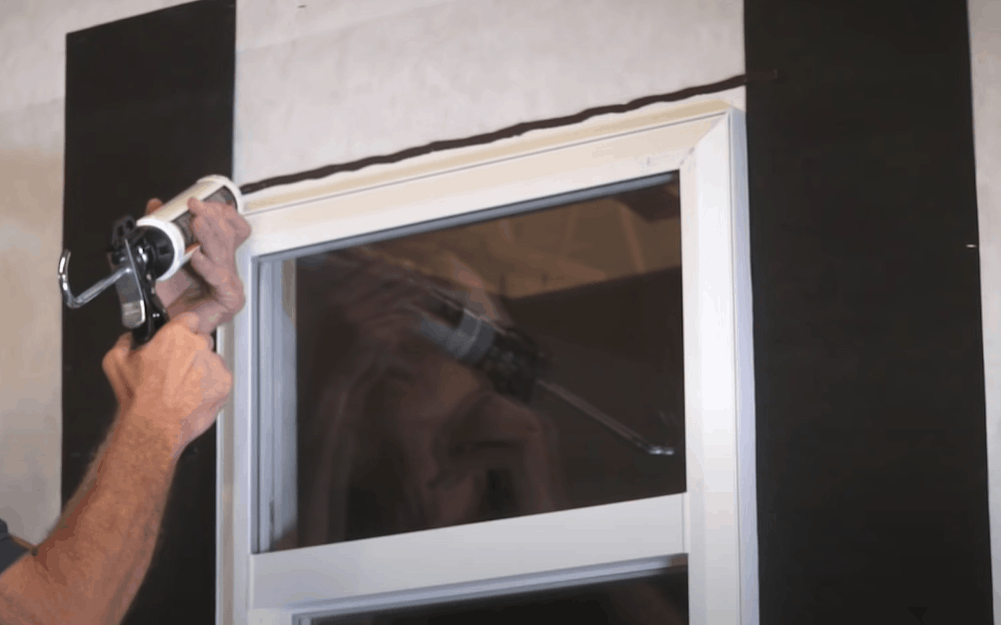
Fit flashing tape on all four sides of doors and windows to prevent moisture from entering the interior of your home. Seal any spaces with caulk.
Next, measure the perimeter around doors and windows and cut off J-channel pieces that match this size. Then, install the channels, working from the bottom to the top. Lock the pieces snuggly with the door and window casing, making sure not to nail too deep, as this can restrict movement.
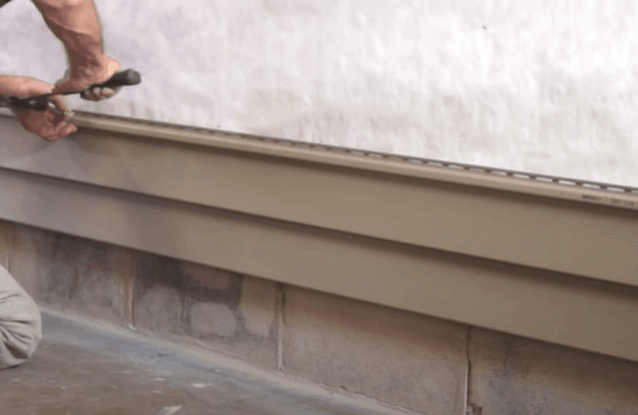
Step 8: Install the Siding Panels
Measure and cut pieces of siding, such that there is a ¼ inch gap between the edges of the panels and the corner posts to allow for proper expansion. If you live in cold climates, you may be able to get away with a smaller gap.
Fit the initial row of siding, ensuring that the bottom lip of each panel is properly hooked under the starting strip.
Nail the vinyl pieces to the wall, keeping your nails 16 inches apart and at the center of the provided nailing slots. And as with the J-channel, don’t nail too tightly; leave enough space between the holes and the nail heads to allow for expansion and movement. Overlap panels at the seams by about one inch or as instructed by the manufacturer.
After you have completed the first row, work your way up. Begin each row from behind the house and move to the front, staggering your seams properly and lapping them away from the entrance.
Additional Tips for Installing Vinyl Siding
- When driving nails into the siding, keep them straight and level. Crooked fixtures can distort the vinyl, causing it to buckle. Also, only drive nails through the provided slits; do not nail through the panels (face nailing), as this could also cause the panels to buckle.
- While the majority of cuts can be made using a utility knife and a pair of tin snips, if you use a power saw, install a fine-tooth blade and make sure the blade is reversed so you can get smooth cuts.
- If you are installing vinyl siding over a brick wall, ensure the wall is completely dry. This will not only keep the furring strips firmly adhered to the wall but also prevent them from mold and decay caused by excess moisture.
- Find out what type of insulation is recommended for your vinyl siding. Some manufacturers caution against using drop-in foam and fiber boards behind their product, as these types of sheathing have been found to change the contour of the siding, causing it to bulge or ripple.
- Familiarize yourself with the local building codes, permits, and regulations. Some communities may require you to have a building permit before installing or replacing vinyl siding.
- Because moisture may be trapped behind the siding or house wrap, only do your installation in dry weather.
The Takeaway
For most people, installing vinyl siding means having to learn something new, and the process can seem a little daunting at first. But once you have fitted the first three rows, things get much easier and it becomes a matter of doing the same task throughout the project.
One of the things you need to pay attention to is keeping the panels straight. Your starter strip and corner posts will determine how level the rest of the siding will be, so keep these as straight as possible and check with the manufacturer of your specific vinyl siding for any additional installation tips.
Yeah, installing vinyl siding by own is a daunting task for fresher. But with your easy and simple step-by-step guide, I think everyone can easily do that task.