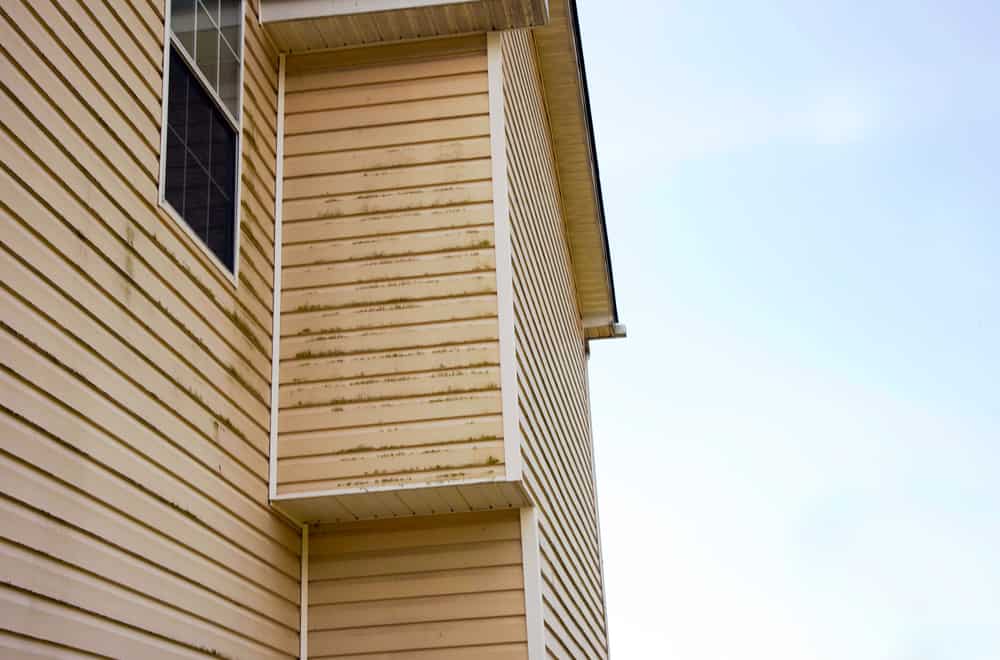
Are you frustrated with those nasty dark fungi growing on your vinyl exterior? Yes, we’re talking about molds!
Molds not only make our home exterior look abandoned and hideous, but they can also release mycotoxins onto the surrounding air. So, it is imperative that you get rid of these invaders as soon as possible.
How? We’ll tell you! From the reasons why mold grows on your vinyl sidings to ways of getting rid of them and preventing them in the future, we have answers to all! Let’s begin!
Table of Contents
Causes of Mold Growth on Vinyl Siding
Before heading on to the section to find out what steps you can take to get rid of mold problems from your vinyl siding, let’s discuss why molds grow on vinyl sidings in the first place.
1. Sap/sugar aerosols from trees
You might be wondering – how can mold survive on PVCs? Well, the problem is deeper than you realize. The months-old dirt accumulated on the vinyl siding of your home exterior acts as a breeding ground for molds.
Moreover, trees and other smaller nearby plants are also likely to release sappy aerosols rich in sugars. Molds are fond of such organic matters. So, what molds are actually feeding on are not plastics but delicacies that have been accumulated on your vinyl sidings over time.
2. Moisture issues
The mold issue on vinyl siding is a really perplexing problem. We know that molds love moisture. But aren’t vinyl sidings waterproof? The good news – yes, vinyl sidings are waterproof, i.e., they do not absorb moisture, and we don’t have to worry about water issues destroying or rotting the sidings.
However, moisture can sit on vinyl siding surfaces, at least long enough to cause mold problems. Moreover, incorrect use of pressure washers might force water to seep through between the sidings and other cracks and crevices, resulting in mold problems in such areas.
Moreover, if you have a blocked gutter on your roof or some broken pipes or drains, that might result in wetting vinyl sidings continuously, thus, aiding in the growth and proliferation of unwanted molds.
3. Lack of sunlight
One major factor that makes moisture last longer on siding surfaces is the lack of sunlight. Molds often grow in shady places of homes, which often tend to be moist and damp. Moreover, sunlight also kills molds.
So, if certain shady parts of your home have fallen victim to mold infestation, try increasing the sunlight exposure to such places. For instance, you can consider cutting some of the tree branches or trimming the bushes if such plants are the reasons why the area is shady.
Cleaning Solutions For Mold Removal From Vinyl Siding
Excellent vinyl sidings cleaning solutions are available in the market, and they often attack molds effectively. However, if you’re someone who’d opt for a more clean and environment-friendly cleaner alternative, we’ve got something for you as well.
And the best part is that these alternatives are mostly DIY cleaners and impressively cost-effective. Let’s jump into this section to have a look at these amazing mold cleaners!
1. Bleach
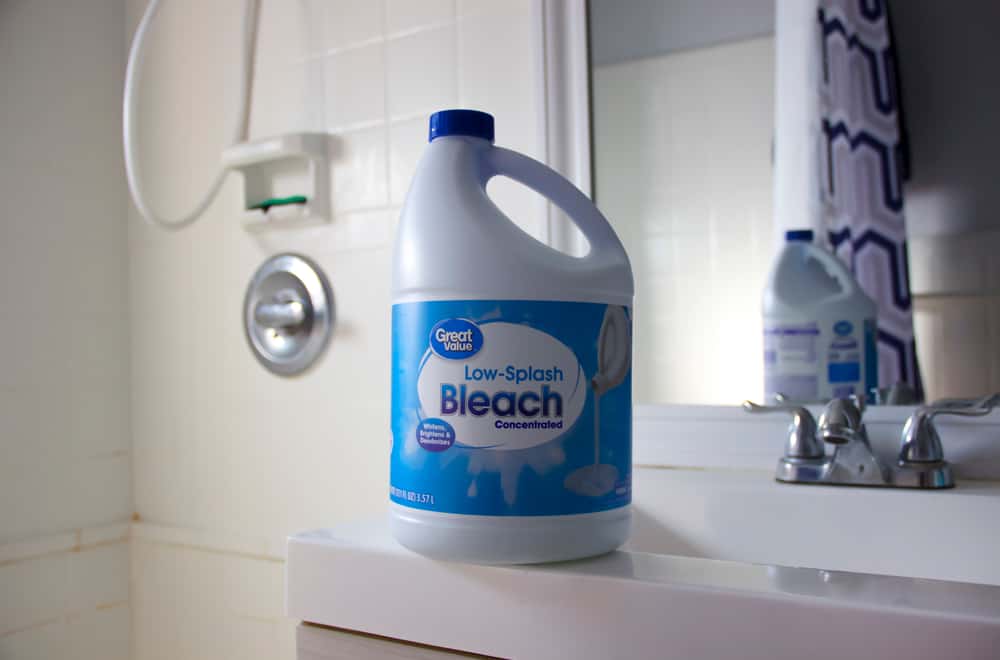
When it comes to DIY cleaning solutions, bleach pops up in the minds of almost everybody. To be fair, it does its job pretty well. Dilute one part bleach to four parts water, and your cleaning solution is ready!
However, there are certain downsides to using bleach. The first being that it can discolor clothing that it comes to contact with. Likewise, bleach isn’t safe for plants. So, before cleaning the vinyl sidings with the bleach solution, cover your nearby plants well.
2. Oxygen Bleach
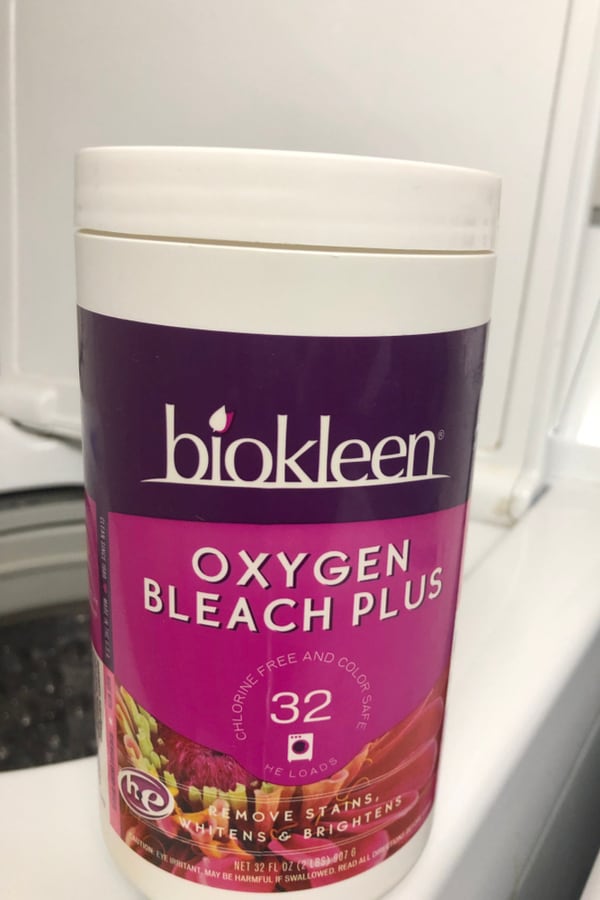
Another great alternative to using chlorine bleach is oxygen bleach. Oxygen bleach is generally more preferable to chlorine bleach because they don’t discolor the sidings or clothing that it touches.
Moreover, using oxygen bleach is more recommended if you have plants very near to your sidings, as plants are relatively safer around this bleach. To make the solution, just dissolve one cup of oxygen bleach powder into a gallon of warm water.
3. 30% vinegar
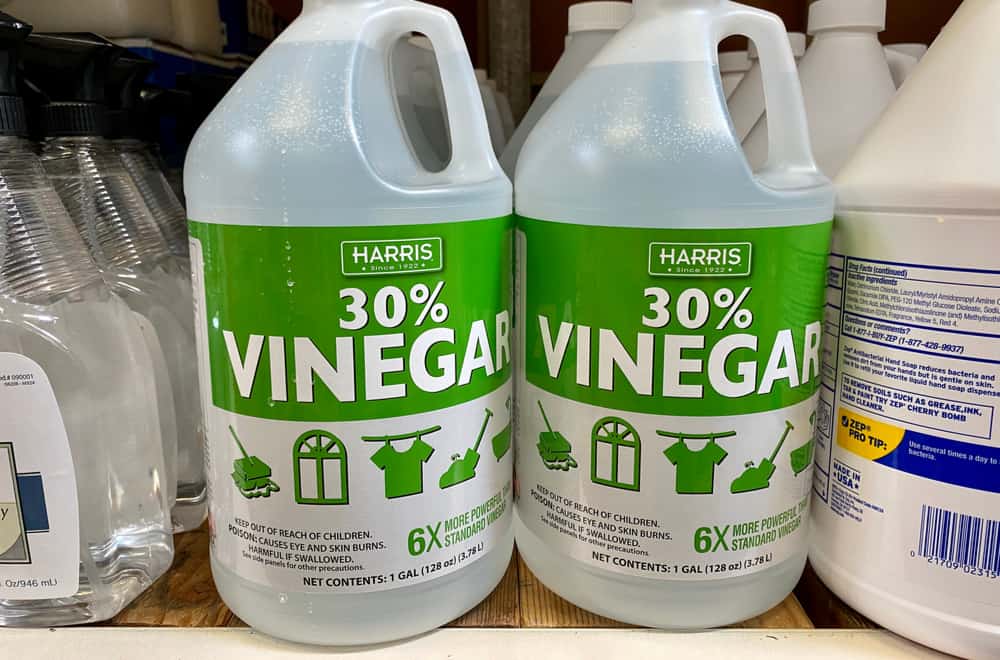
Vinegar – another DIY magic mold cleaning ingredient. From sinks to vinyl sidings, it does a wonderful job of cleaning around your home. Make a solution of 30% white vinegar and 70% water.
However, if you have stubborn mold stains on your siding that doesn’t seem to be reacting to this cleaning solution, you might need a stronger, abrasive, or even a commercial cleansing agent for the purpose.
4. Dish soaps and laundry detergents
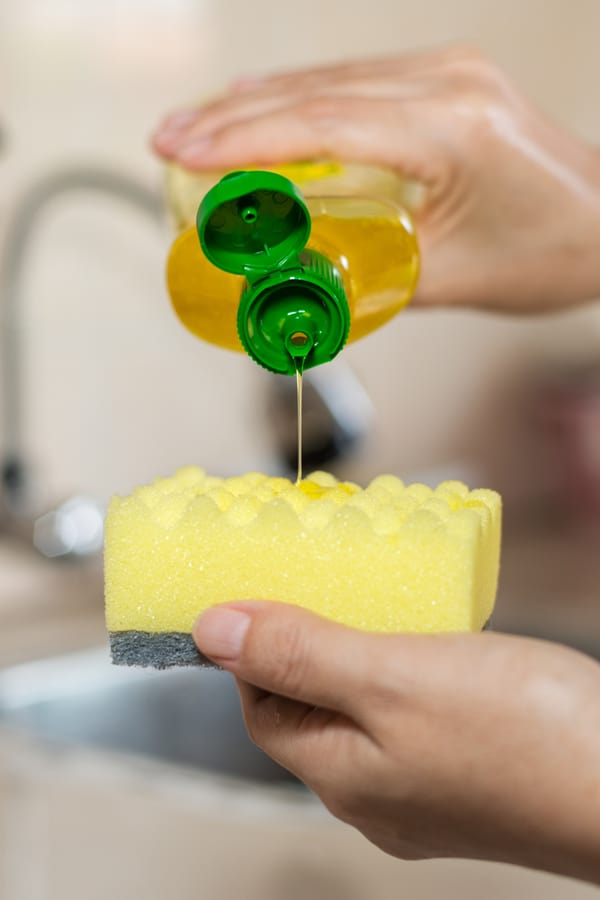
When it comes to cleaning your vinyl siding exterior, don’t discount your household soaps and laundry detergent as well. You can use a diluted solution of these for routine cleansing. However, for cleaning molds or deep-cleaning purposes, mix these ingredients to create a stronger solution.
A simple recipe that includes laundry detergent is to dissolve 1/3 cup of laundry detergent and 3 quarter cups of trisodium phosphate to a gallon of water. Trisodium phosphate is a great stain remover and thus, will help to remove the mold stains brilliantly.
5. Commercial sliding cleaning products
Finally, if none of the above-mentioned products seemed to work for you, you might have to invest in a commercial mold and mildew remover cleaning solution.
However, as you won’t have enough information on the toxicity and eco-friendliness of ingredients provided on a commercial cleaner’s label, make sure to handle such cleaners with care.
Step-by-step Guide To Clean Vinyl Sidings
Now that we have all the necessary information regarding the available vinyl siding cleaning solutions let’s find out steps on how we should carry out the process.
According to us, the first and the most important step is to protect yourself from chemical exposure. So, let’s start with that, shall we?
Step 1. Wear protective clothing

Before you start handling cleaning solutions, wear protective clothing. Don’t wear your casual outfits, as they might be ruined when exposed to bleach. And while handling commercial cleaners, make sure to wear gloves and safety goggles.
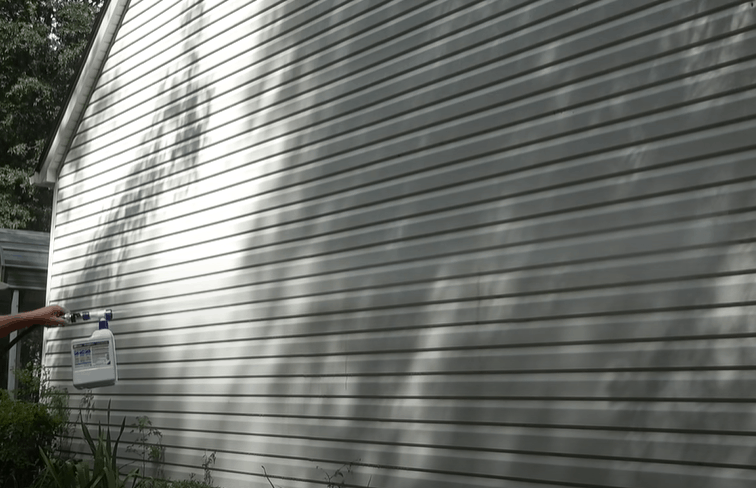
Step 2. Wash the siding gently
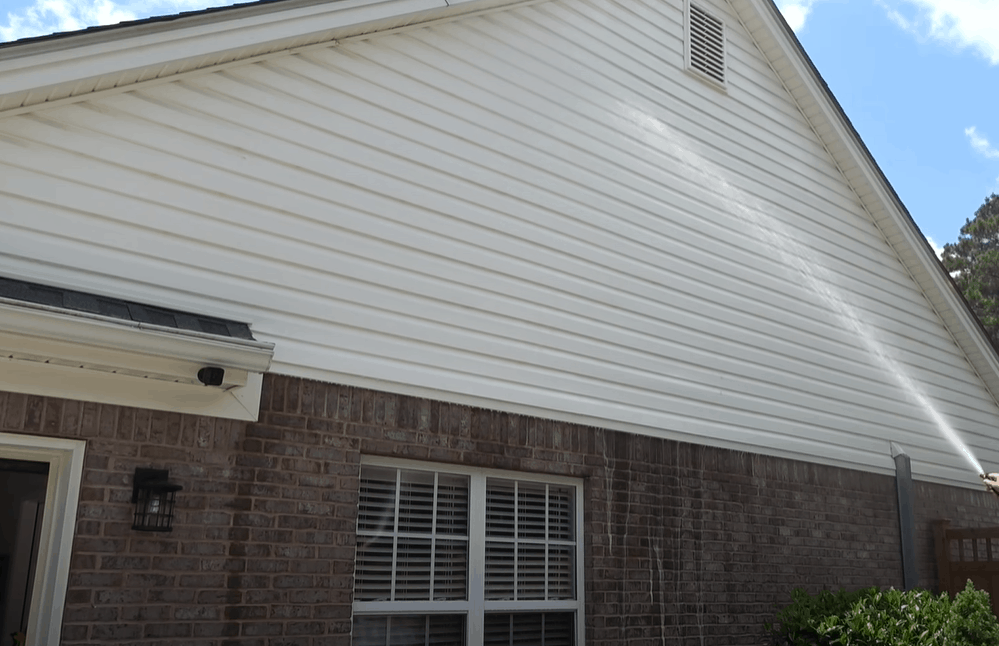
Using a garden hose or a pressure washer, wash the siding gently. Dirt and newly formed light accumulation of mold might easily come off with just the pressure of water alone, saving you from remaining time-consuming steps.
However, if you choose to use a pressure washer, ensure that you don’t force water through the cracks and crevices, which might end up adding the problems rather than eradicating them. You might as well turn down the pressure of the washer to be safe.
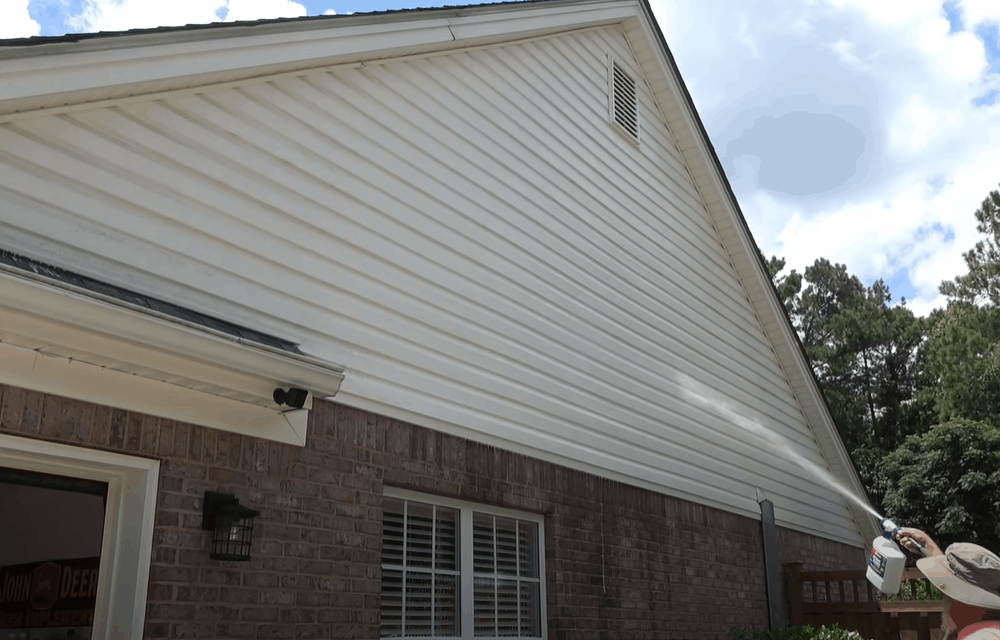
Step 3. Apply cleaning solution
Now, the next step is to apply your handmade or commercial cleaning solution. Spot treat the affected areas or thoroughly clean the entire siding for a brand-new look; the choice is entirely up to you.
If you decide to clean the whole wall, partition it into smaller areas and then treat it accordingly, i.e., clean and rinse a smaller area and then only move on to the next section. Doing so makes sure that the cleaning solution doesn’t dry up, as dried cleaning solution might be difficult to rinse.
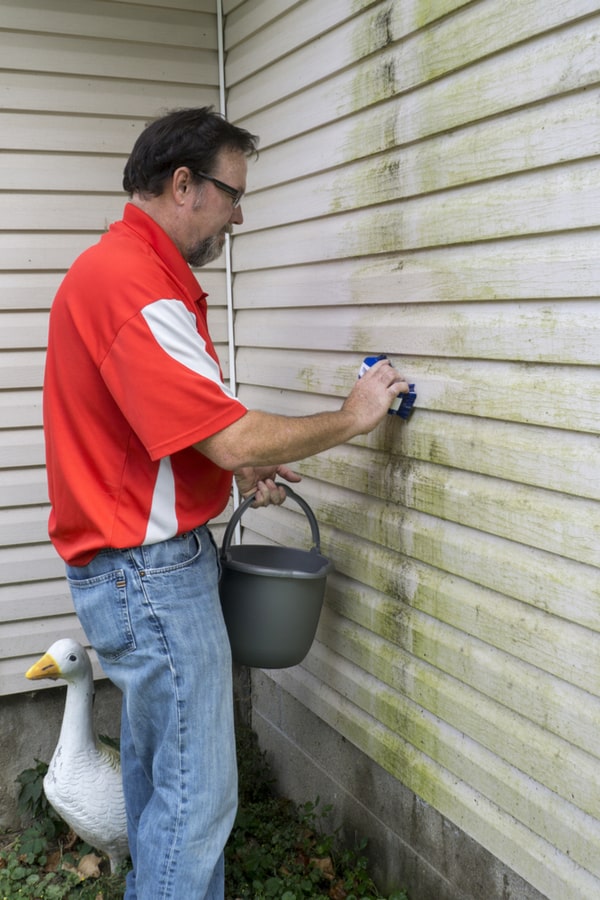
Step 4. Scrub with a soft cloth or soft-bristled brush

Let the cleaning solution sit for a few minutes and scrub the mold affected regions with a soft-bristled brush to remove the stain. You can also use soft cloth for the purpose. Remember that too much abrasion might damage your siding surface, so use abrasive force only if necessary.
Step 5. Rinse the sidings
Finally, it’s time to rinse the sidings! If you still notice the stain, repeat applying solution and scrubbing steps a few more times and switch to a stronger cleanser if you deem it necessary.
How to Prevent Mold Growth From Vinyl Siding?
Even if you clean the molds thoroughly, we can never be sure that they are permanently gone. So, to make sure that they no longer bother you, here are a few measures you can take beforehand.
1. Trim nearby trees and bushes
As we’ve mentioned multiple times before, trim your plants to provide as much sunlight to your home exterior as possible.
2. Take care of hidden moisture issues
We all know molds are moisture-maniac organisms. So, if you notice water leakage or other moisture problems such as clogged gutters, make sure to resolve them immediately.
3. Clean your vinyl sidings thoroughly every once in a while
Cleaning your vinyl sidings once or twice a year, as many suggest, might not be enough for you if you have plenty of plants releasing their saps onto your sidings or if you don’t have enough sunlight on your home exterior. If your sidings feel dirty or sticky, clean them to avoid mold and mildew problems.
Summary
Cleaning mold from your vinyl sidings can be an annoying and confusing task. But with all these tips and guides, it doesn’t have to be anymore! Just follow the steps straight-forward and eradicate all the molds from your sidings.
Also, make sure you take the preventative measures suggested above. As we all know – prevention is better than cure. If you have any more queries regarding mold removal from your vinyl sidings, feel free to ask us.
Its great when you said that sunlight can kill mold. I want to clean some mold that has accumulated on my roof and I cant do it myself. Thanks for proving information on mold removal and I hope that I can find a cleaning service that can help me to do it soon. Thanks for the article!
Loved this video. I have mold on the back of my house but just don’t want to call somebody to pressure wash. The last time I did that, some screens got damaged and I wonder if the sprayer lifts the edges of the siding causing damage and leaving water underneath.