Vinyl siding can be installed over almost any exterior wall surface to provide extra protection against elements and improve curb appeal. When it comes to brick walls, especially, vinyl siding can also help prevent water from seeping into the inside of the house through tiny cracks and crevices between the brick and mortar.
Stay tuned to learn how to install vinyl siding over a brick house using simple supplies from your local hardware store. Whether you’re doing it for added insulation or to enhance the look of your old brick, we’ve shared useful insights below that’ll make your project successful.
Table of Contents
Materials Needed for Installing Vinyl Siding Over a Brick House
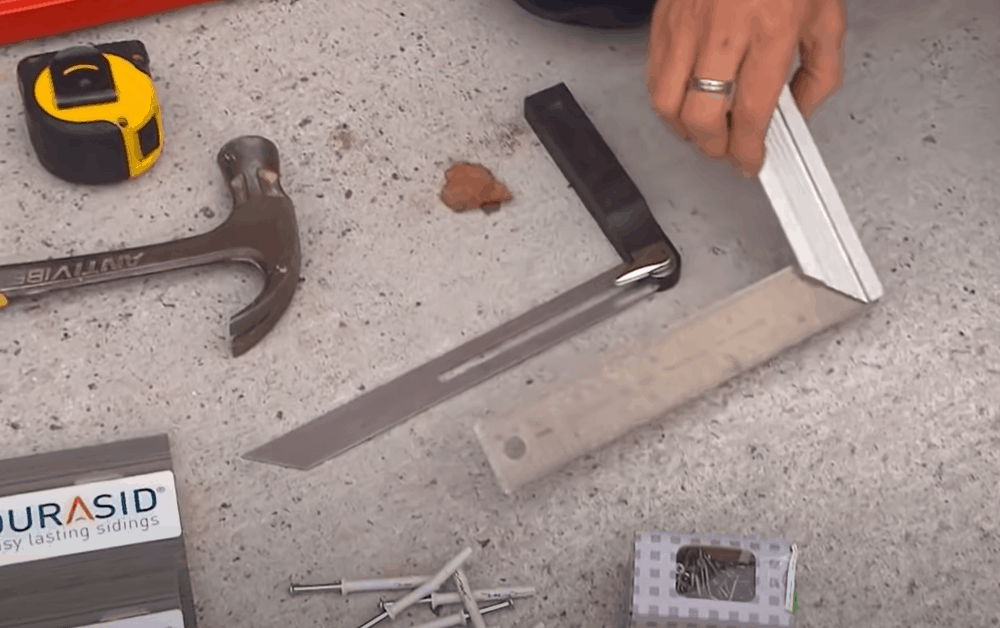
- 1×3 pressure-treated furring strips: Furring strips will provide a smooth backing surface for the vinyl siding to attach to. How many you need will depend on the size of the surface you are covering.
- Chalk/marker pen: Use any of these to mark the brick wall where you want the furring strips to be attached.
- Plumb bob: A plumb bob will help you put marks on the wall in a straight line. If you don’t have one, use a spirit level.
- Ring shank nails: You can always use ordinary nails to attach the strips to the brick wall, but ring shanks are more recommended because they are stronger. Their unique spirals or ridges have been found to increase the nails’ holding power by up to 40%.
- Circular saw: Use this to cut the furring strips to size.
- Power drill: With a drill, you will be able to create guide holes through the strips into the wall.
- Masonry bit: Do not use regular drill bits; get something designed to pierce through brick, concrete, stone, and other harder materials. The size of the bit will depend on the thickness of your fasteners.
- Sheathing: Get rigid foam boards with a thickness of between a quarter inch and one inch.
- Cap nails with plastic washers: Use these to attach the sheathing material to the brick.
- Vinyl siding: Measure the exterior of your house to find out the amount of siding you need, and buy a few extra panels to account for any waste or damage.
- Utility knife/tin snips: Use a utility knife or a pair of tin snips to cut the siding lengthwise or vertically respectively.
- Measuring tape: This will help you measure and cut the right panel length.
- Level: Use a carpenter’s level to keep courses of vinyl siding in a straight line.
7 Simple Steps to Install Vinyl Siding Over a Brick House
The process of installing vinyl siding is the same regardless of the material used to make the wall. Brick, however, may require a little bit of work but if you know what you need to do, things get easier. Use the following steps to quickly spruce up your old brick wall with vinyl siding.
Step 1: Inspect the Brick for Flaws

If you are installing your vinyl on an old brick house, it’s important that you examine the walls for structural failures because once you have the siding in place, it won’t be easy to spot these defects, which could lead to even more serious problems in the future.
That said, look for any bulging, cracking, or signs of collapsing. These can be caused by excessive or uneven foundation settling or huge amounts of water seeping through the walls as a result of a roof leak.
If you notice any of these problems, consult a professional. They will advise you on the best and safest way to resolve it so you can install your siding. Brick wall issues can be catastrophic and sometimes you may need to take down and rebuild the wall.
Step 2: Mark Where You Wish to Affix the Furring Strips
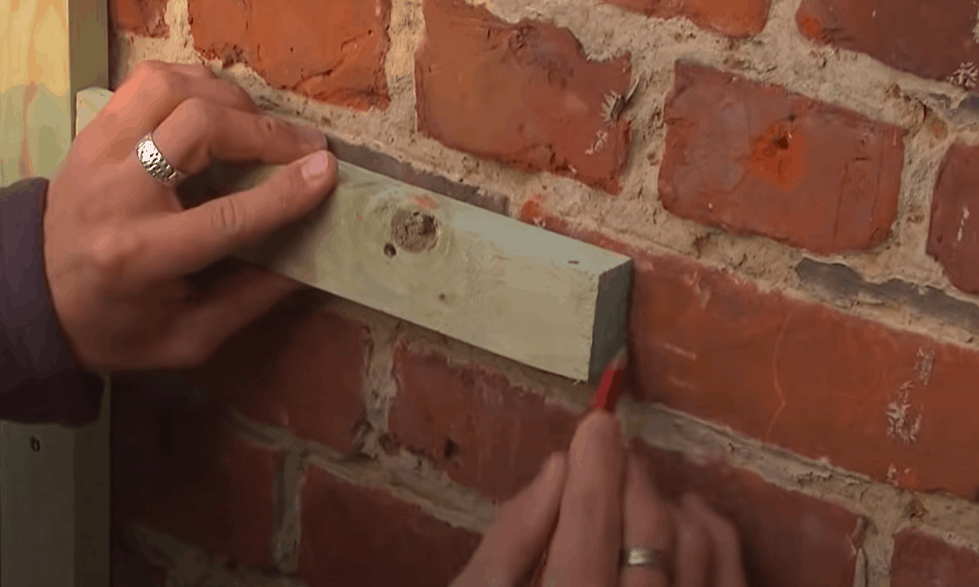
If your wall is in sound shape, you can begin the installation. Grab your chalk or marker pen and put marks on the wall where you want to attach the furring strips. Then, use a plumb bob to draw straight vertical lines to join these marks; it will help keep the strips straight.
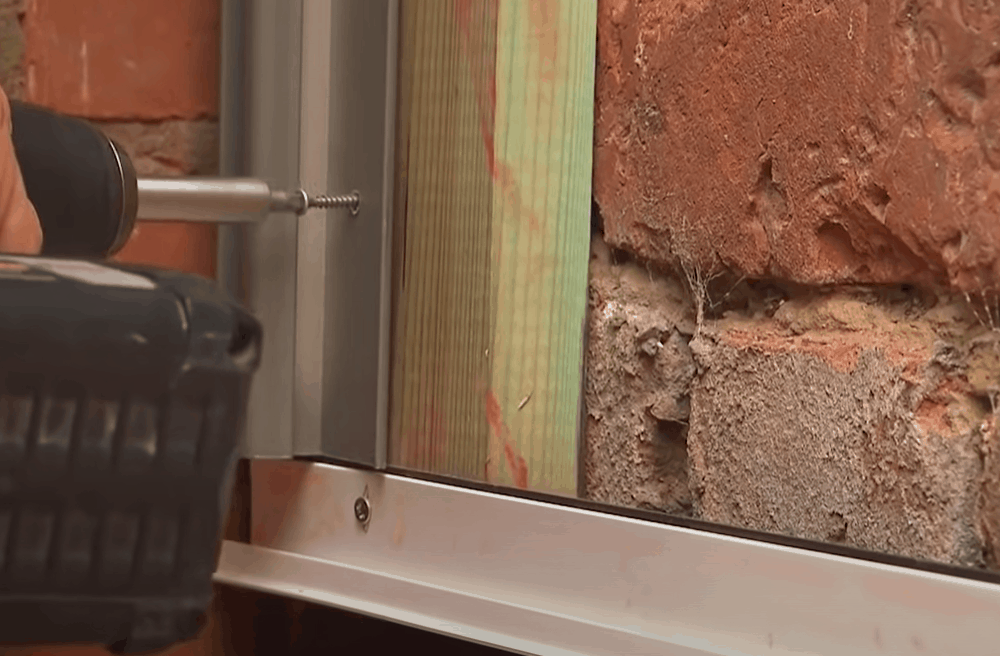
Step 3: Nail the Furring Strips to the Brick
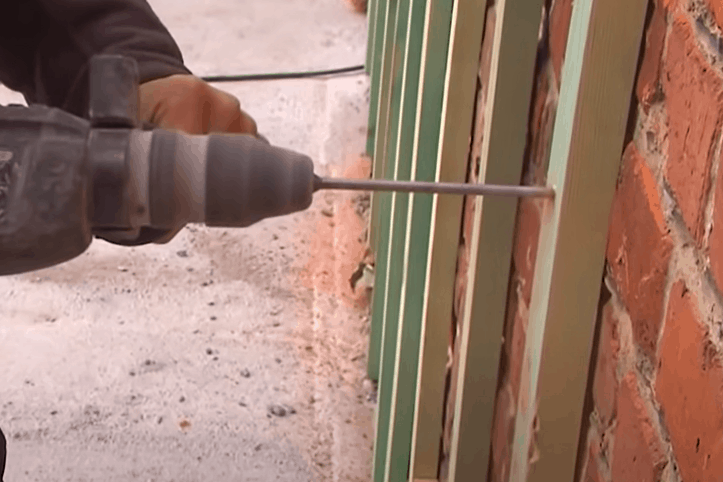
Using the straight lines as a guide, drill holes through the strips into the wall, then drive in your nails or any other masonry fasteners that work for you.
To provide a strong attachment for your vinyl siding, make sure the strips are attached 12 inches to 16 inches apart. It is also important that you have strips at the joint of every panel.
Pro Tip: Although most furring strips are attached to the wall using nails, you could also use adhesive. If you choose this route, however, make sure to choose the appropriate glue. Also, resolve any moisture problems you may have with the brick before affixing the strips or the glue won’t stick to the wall.
Step 4: Install Sheathing
One important requirement of installing vinyl siding is that the surface be level. Because brick walls do not meet this requirement, a solid sheathing material must be installed over it. This layer will not only provide a flat surface for the siding; it will also act as insulation, providing thermal protection to the internal structure of the building.
Follow the manufacturer’s guidelines specific to your type of sheathing boards to attach the product to the furring strips. Make sure the edges of the boards are butted tightly together to eliminate spaces.
It is also important that you use cap nails with plastic washers to secure the foam in place; these will keep the nail heads from damaging the surface of the boards.
Here is a short video that gives you insights on how to install sheathing and the different types of sheathing material available on the market.
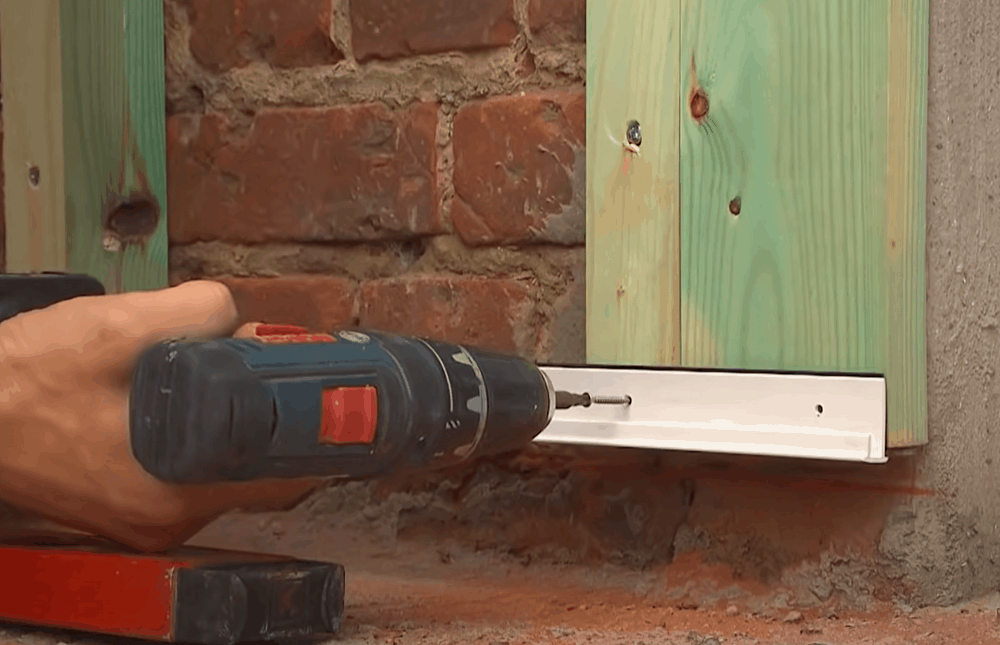
Step 5: Install the Starter Strip
Now that you are done installing the furring strips and sheathing, go ahead and install your vinyl siding.
Begin with the starter strip and fit it about one inch from the ground. This is where the first row of siding will attach to. Use rust-resistant nails to attach the starter panel to the furring strips. Do not drive the nails all the way in or you will warp the starter strip.
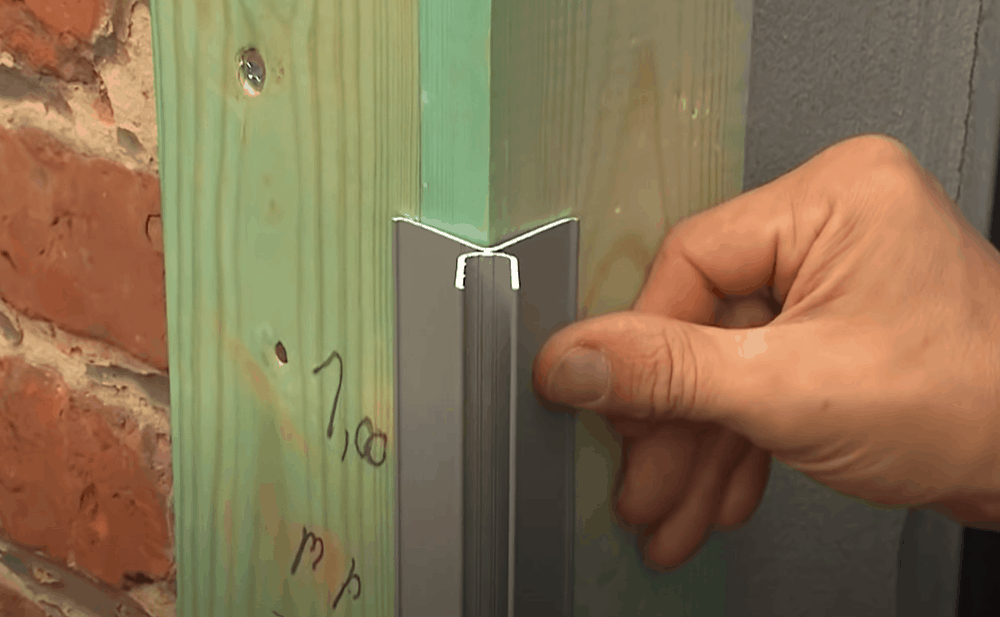
Step 6: Fit J-Channel at the Corners and Around Openings
Install J-channel at the house corners and around doors and windows. Use your tin snips to trim the J-channel panels to fit around these areas.
Attach the pieces to the wall, placing the nails at the center of the nail slots. Make sure to leave a ¼ inch gap between the pieces to give room for expansion during hot weather. And as with the starter strip, don’t drive the nails too deep into the wall; leave a part of the shaft exposed so the panels can move freely when they expand and contract with temperature changes.
This would also be a good time to install the utility trim underneath the windows and along the horizontal eaves and pieces of J-channel on the vertical eaves.
Step 7: Install Siding Panels
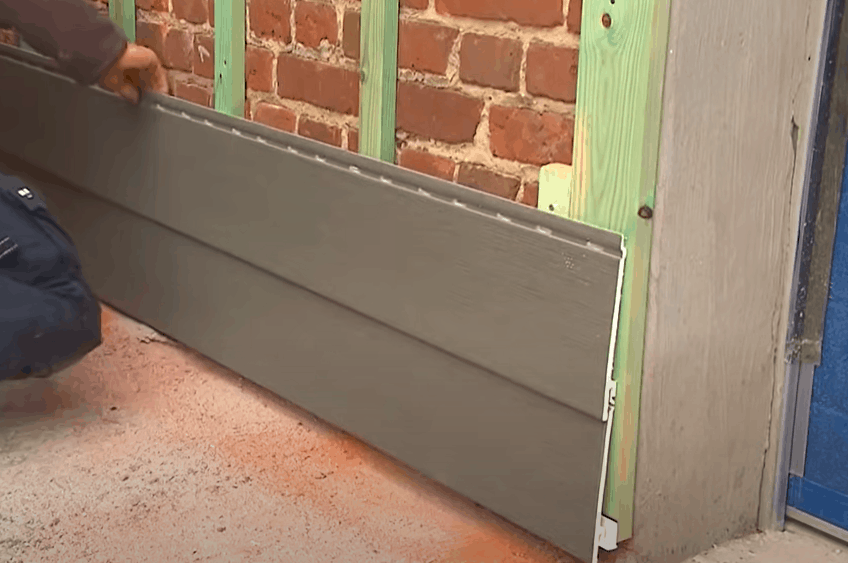
Attach the first row of your vinyl siding onto the starter strip, with the ends positioned in the J-channel. Leave a ¼ inch gap between the back of the J-channel and the edge of the vinyl piece and overlap the seams by 4 inches where two pieces of vinyl meet.
Once you have your initial row in place, use the same procedure to install the rest of the panels, cutting vinyl pieces to fit around doors, windows, and other openings.
It is important that you check the level regularly during the installation. If you see it getting off track, make the necessary adjustments right away. You don’t want to wait until you have finished your installation to do the repairs, as sometimes this could mean dismantling several courses of the siding.
After you are done with your installation, use a snap lock tool to punch lugs on the cut edges of the panels. This will help properly lock panels into place, especially around doors and windows.
Additional Tips for Installing Vinyl Siding Over a Brick House
- Use furring strips that are pressure-treated. These are usually highly durable and less susceptible to rot, mold, pests, and fungal decay. They also don’t deteriorate as untreated wood does.
- While the steps we’ve provided here can help you perform your installation correctly, we also recommend checking what your siding manufacturer’s guidelines say in regards to installing vinyl siding over brick just to be sure you’re doing things right. A simple mistake can affect the integrity of the siding, resulting in costly repairs or voiding of the warranty.
The Takeaway
Hopefully, after reading this guide, you now have the confidence you need to install vinyl siding over your brick wall yourself. The most important thing is to make sure that the wall is in good condition.
If there is no significant damage, attach your furring strips and apply the siding. Cracked or bulging brick walls and those showing signs of falling should be carefully inspected by a professional before the installation of any siding material.
CAN I PUT THE VINYL SIDING JUST OVER THE FIRM STRIPS WITHOUT USEING SHEATHING