When it comes to installing vinyl siding, there are several building tricks you should have in your back pocket to produce the best results. Among the most important is the positioning of the starter and trim strips, which is the purpose of this post.
So, read on, as we have discussed in detail how to install vinyl siding starter and trim strips the correct way. We also tell you what starter and trim strips are and why they are important in your installation.
Table of Contents
Materials Needed to Install Vinyl Siding Starter & Trim Strips
The materials and tools listed below can be used to install both starter and trim strips. Some, however, will be more useful when installing trim strips.
- Tape measure: You will need a measuring tape to measure the area on which the starter strip will be installed.
- Pencil: Get a pencil or an erasable marker to put marks on your points of measurements. If you will be using a marker, however, make sure to have white vinegar or rubbing alcohol handy to remove the marks afterward.
- Nails/screws: These will be driven into the marked points and through the strips to hold them in place.
- Hammer: Use a claw hammer to drive nails into the marked spots.
- String: Bring a string long enough to cover the length of the wall being sided.
- Level: This will ensure the string runs in a straight line from one nail to the next.
- Chalk line: Use this to snap a straight line between two nails.
- Caulk (for trim strips): You will use this to seal the openings around doors and windows before laying your trim.
- Tin snips: Use it to cut starter or trim strips where necessary. You could also use a utility knife; simply score the strip and break it. Make sure any tool you use for cutting is sharp to ensure a clean cut.
- Trim strips: Get J-channel trims, under-sill trims, and base trims.
5 Easy Steps to Install Vinyl Siding Starter Strips
The vinyl siding starter strip, as the name suggests, is installed before the first row of the siding to help keep the planks level and straight. It usually has a locking channel to which the first siding plank attaches.
This strip must be installed correctly if you hope to lay the rest of the siding properly and save yourself hours of disappointment later on. Here is how to install vinyl siding starter strips the right way:
Step 1: Find the Lowest Point of the Wall
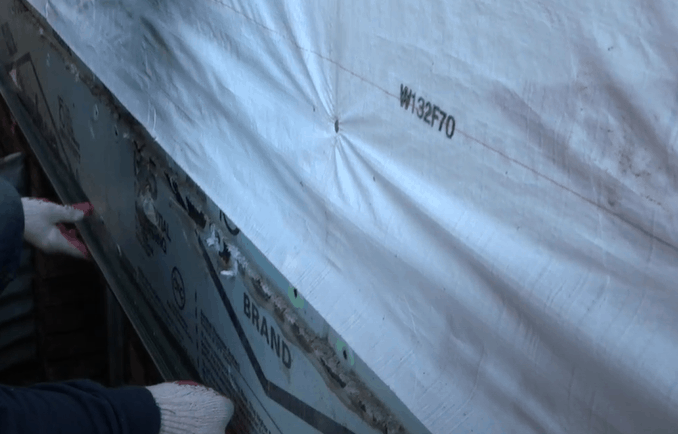
Examine the wall you want to side to find its lowest corner. Then, from this corner, use a tape measure to take a measurement that is up to a ¼ inch less than the width of your starter strip. Mark the point with a pencil. It is important to pick a corner that has sheathing to give the strip a strong structure.
Step 2: Drive a Nail Into the Marked Point
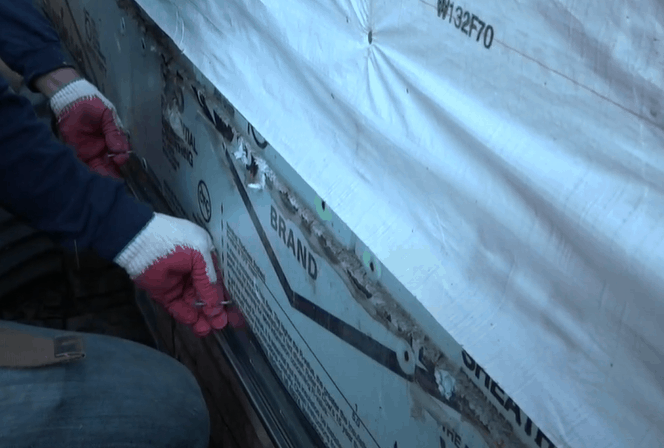
Using a claw hammer, hit a nail into the marked area. Do not drive it all the way through; hammer it partially, as you will still need to pull it out after the installation is done.
Step 3: Tie a String Around the Nail
Grab a long string and make a knot around the nail you just hammered to the wall. Stretch the string as you walk to the opposite corner of the wall, making sure to use a level to keep the thread aligned with the nail.
Now, partially drive another nail into the wall in this other corner, ensuring it aligns with the first nail. Extend a chalk line between the two nails and remove the thread and nails.
Step 4: Measure the Widths of the Corner Posts

Using a tape measure, get the widths of both the inner and outer corner posts of the wall you are siding. Then, measure the bottom of the wall from the corner, leaving an allowance of the corner posts and an extra ¼ inch.
Step 5: Position the Starter Strip
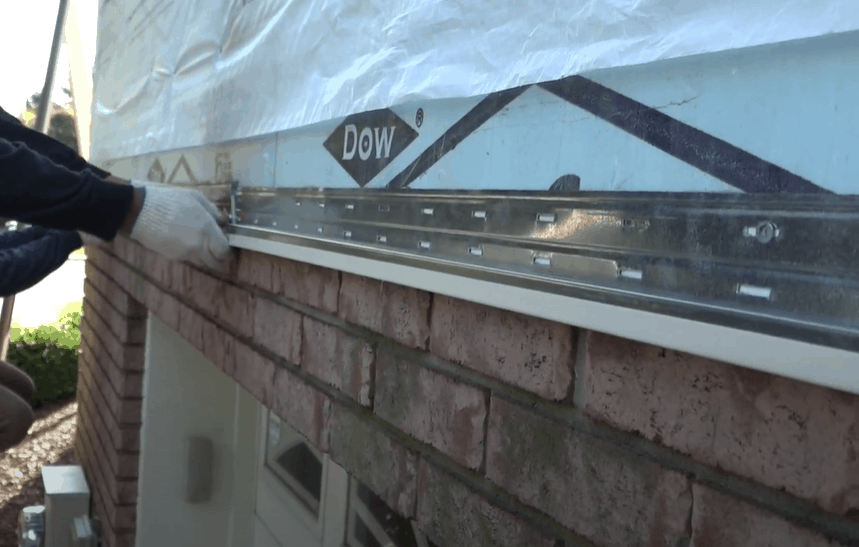
Place the end of your starter strip at the point where you have made the measurement, with its top edge aligned with the chalk line.
Drive nails or screws into the strip’s nailing slots, leaving a distance of about 10 inches between one nail to the next.
Install more starter strips along the chalk line, as necessary, until you have covered the entire length of the wall. Once you are done, proceed to the rest of the walls using the same technique you have used in the first wall.
If you follow the above procedure keenly, you will be able to install your vinyl siding starter strips without having to enlist the services of a professional. Here is a video that explains the installation process in detail.
3 Quick Steps to Install Vinyl Siding Trim Strips
Vinyl siding trim strips are used to encase doors and windows to create focal points and add curb appeal. While they may appear simply cosmetic, trim strips play a huge role in finishing the seams around doors and windows, which helps keep moisture at bay.
Not sure how to install vinyl siding trim strips? Follow the easy steps below.
Step 1: Create a Seal for Air and Moisture

Before you install door and window trims, make sure to first apply a filler or sealant around the openings. It will help keep the area around the trim air and moisture proof.
Once done, go ahead with your installation, starting from the tops, then the sides, and finishing with the bottoms. For the tops, you will be installing j-channel trims with a horizontal siding and base trims with a vertical siding.
Step 2: Cut the Trims
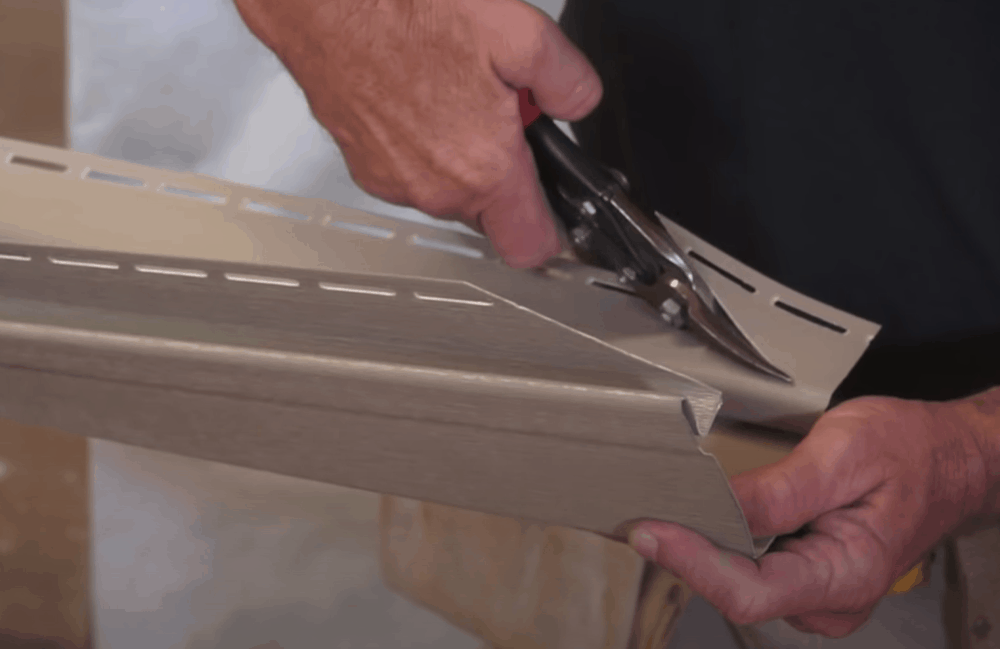
Using a utility knife or a pair of tin snips, cut the trim strip such that it’s 2 channel widths longer than the width of the opening.
Step 3: Attach the Trim
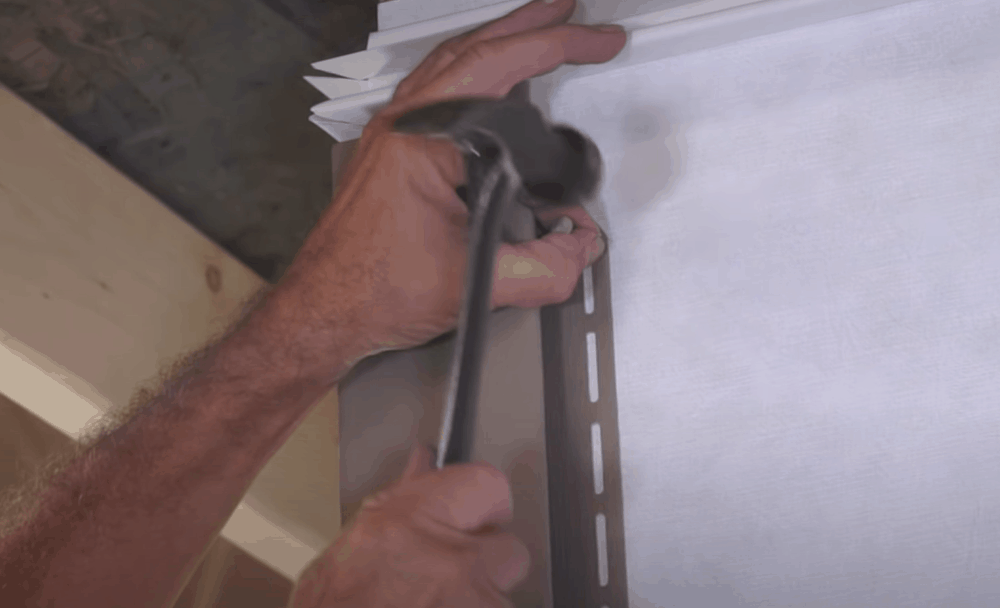
Put the top trim in place and drive nails into the nail slots at the center, with the nails being 10 inches apart. Next, install the side pieces, hammering each nail 12 inches away from the next. At the bottom, install a J-channel trim for the vertical siding and an under-sill trim for the horizontal siding.
Repeat the above steps to install trim strips on the rest of the doors and windows. To get a better understanding of how to install vinyl siding trim strips, watch this video.
Additional Tips for Installing Vinyl Siding Starter & Trim Strips
Start With a Flat Surface
For best results, make sure the surface of the wall on which you lay your strips is flat and level. This is especially important when installing starter strips. Keep in mind that the rest of the siding will only be straight if the starter strip itself is straight.
Apply a Weather Resistant Barrier
This does not only apply to the starter or trim strips but to the rest of the planks as well. You should set up a good weather-resistant blockade before installing the siding. This will help keep the wall structure from absorbing moisture, which will prevent the development of mold and mildew.
Trims Should Freely Move From Side to Side
When installing your vinyl siding starter and trim strips, you have to remember that these panels can expand and contract with temperature changes.
So, whether you are using nails, staples, or screws to fasten the trims, avoid driving the head of the fastener too close to the wall. Tight nailing, stapling, or screwing will cause the trim to buckle when the temperature changes.
Follow the Recommended Cutting Guidelines
If you are cutting a strip, it is important that you pay attention to the instructions given by the manufacturer. When using tin snips, for instance, avoid having the blades completely closed as you end a stroke so you can have a cleaner, neater cut.
If you are using a utility knife, score the strip face up and snap it backward. You don’t have to score all the way through the panel.
Wear Protective Gear
As with any construction job, wear safety gear when installing vinyl siding starter and trim strips. Gloves and safety goggles, especially, are important in all operations that involve cutting and nailing.
Don’t Be Afraid to Ask for Help
If you are not sure what to do or where to buy the best tools and materials for the job, get help from others. Talk to building experts in your area to know what works. You could also get useful insights from online builders’ forums like this one.
The Takeaway
The starter and trim strips are an important part of vinyl siding installation, as they both help improve the house’s structure and appearance. You can easily set these up using the steps laid out above.
To guarantee the best results, make sure the surface on which you lay the panels is level so the rest of the siding can also be straight. It would also help to do a bit of research to know where to buy the best supplies for the job.