Trim is the cherry on top of the cake when doing the final touches of your vinyl siding project. Trim serves an aesthetic and functional purpose and is one of the best investments you can make for the value of your home.
The right piece of trim used at the right place will hide gaps and neatly round off siding edges. It also makes your house look inviting and well-cared for.
If you want to learn about vinyl siding trim types, you have come to the right place. In this article, I outline the main categories of trim used with vinyl siding; there are many other types and add-on accessories but let’s start with the main ones. Read on to find out more.
Table of Contents
1. Starter Trim
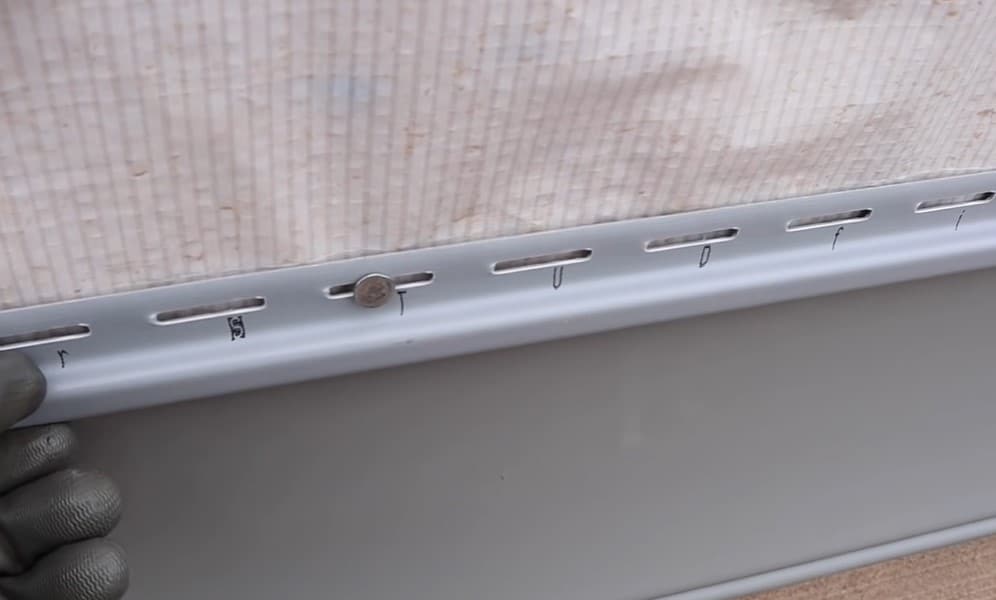
Starter trim, also known as starter strip, is the foundational trim in any vinyl siding installation project. It is typically installed at the bottom of the house’s perimeter and serves as a foundation for locking the first row of siding.
The strip secures the first vinyl siding slats to the sheathing and keeps the siding at an accurate angle. Usually, wooden spacers are nailed 6 inches apart to support the starter strip and ensure it stays in a straight line as you install the siding.
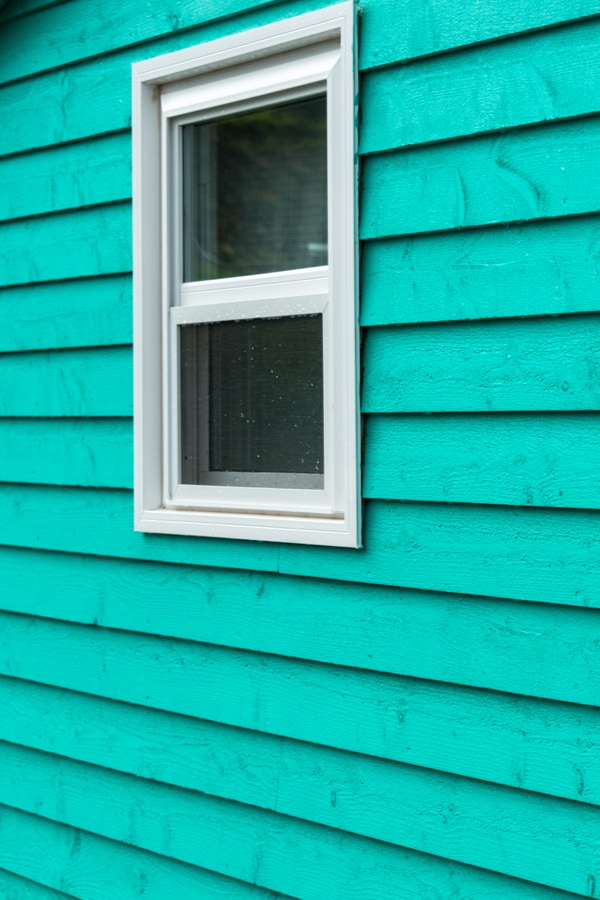
2. Undersill Trim
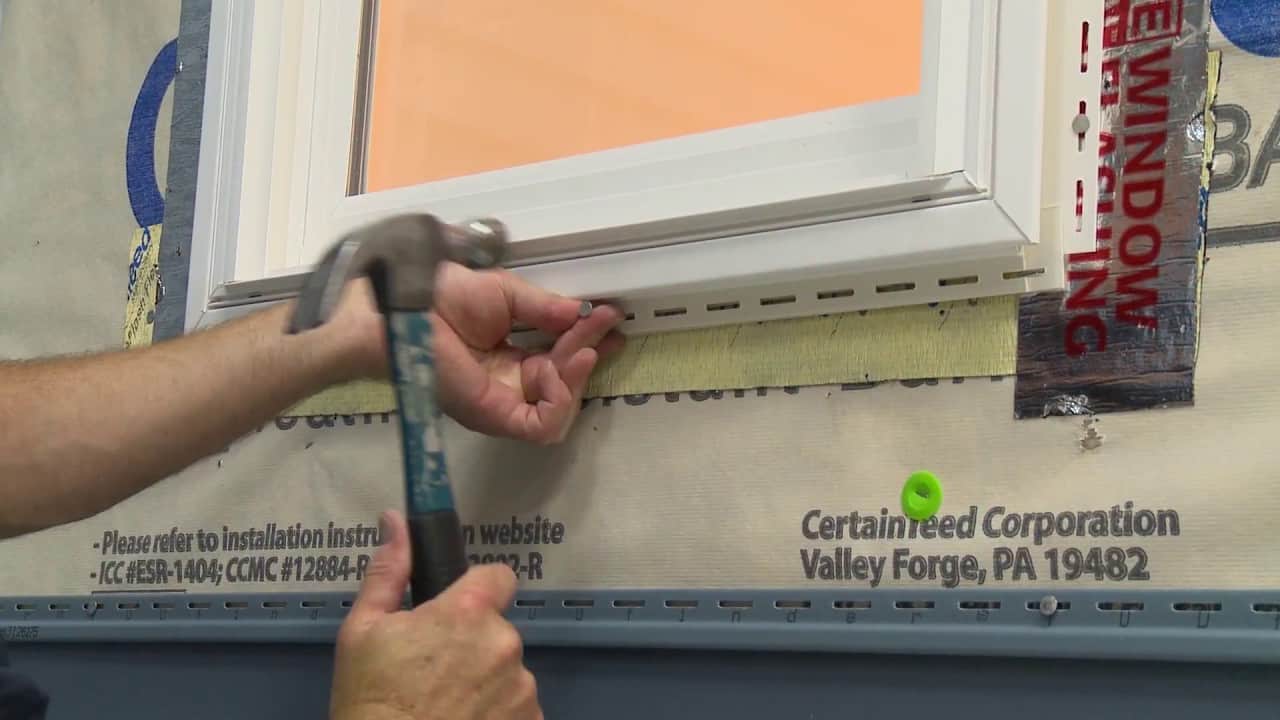
The undersill trim is installed behind the window casing, i.e., underneath a window to support the siding panel. The beveled vinyl siding may protrude slightly from the wall; an undersill can help round off and lock the hanging siding.
The undersill also helps to direct water out and away from the siding when it rains. Without this trim, rainwater will easily seep behind the siding, causing potentially costly water damage.
3. J Channel
The J channel is arguably the most well-known vinyl siding trim type. The J channel is installed around doors and windows, corners where the siding meets the roof, and interior corners.
The J-channel vinyl siding trim is installed on three sides of a door and all-around a window. When installing on a window, the J-channel is cut and aligned with the window casing.
Next, the side J-channels are positioned to align with the upper window casing and the lower face of the bottom trim. A section of this bottom J-channel is then cut and tucked under to square the corner.
To install the upper J-channel trim on both the door and window, the piece is installed to align with the outer face of the side J-channel.
If you want to learn more about installing the j-channel on vinyl siding, check out this handy video.
4. Soffit Trims
Soffit is the siding below your roof’s overhang. Several types of siding trim are installed around this part of the house. Let us take a look at common soffit trims:
H-channel Trim

The H-channel trim is a transition trim used to join horizontal and vertical siding, creating a neat and smooth bend between the two types of siding. It can also be used to bring two soffit panels together at mitered or squared corners.
F-channel trim
Like H-channels, F-channel trim pieces support soffit panels. The F-channels are first fastened to the outer edge of the fascia and vinyl siding for the soffit panels to be installed. During installation, the F-channels are positioned so that the slot in the F faces inward toward the house.
Before installing the F-channel strips, ensure that the fascia board and siding are level. Use a carpenter’s level and mark the edge of the level on the siding every three feet. This will guide you on where to position the F-channels. You will then attach the trim pieces to the outer bottom edge of the fascia board, which is fastened to the eaves.
Hold the F-channel to the siding along the line you had marked using the level to secure the trim. Position the F-channel in a way that the slot faces the F-channel trim secured to the fascia.
Hammer in nails through the F-channel and into the siding. Don’t drive in the nails too tight to allow space for the usual expansion and contraction of the trim and siding material. Ideally, the nail’s head should only slightly touch the face of the F-channel.
Follow this procedure to nail F-channel trim around the rest of the house. Just be sure to keep the trim leveled against the fascia board and siding.
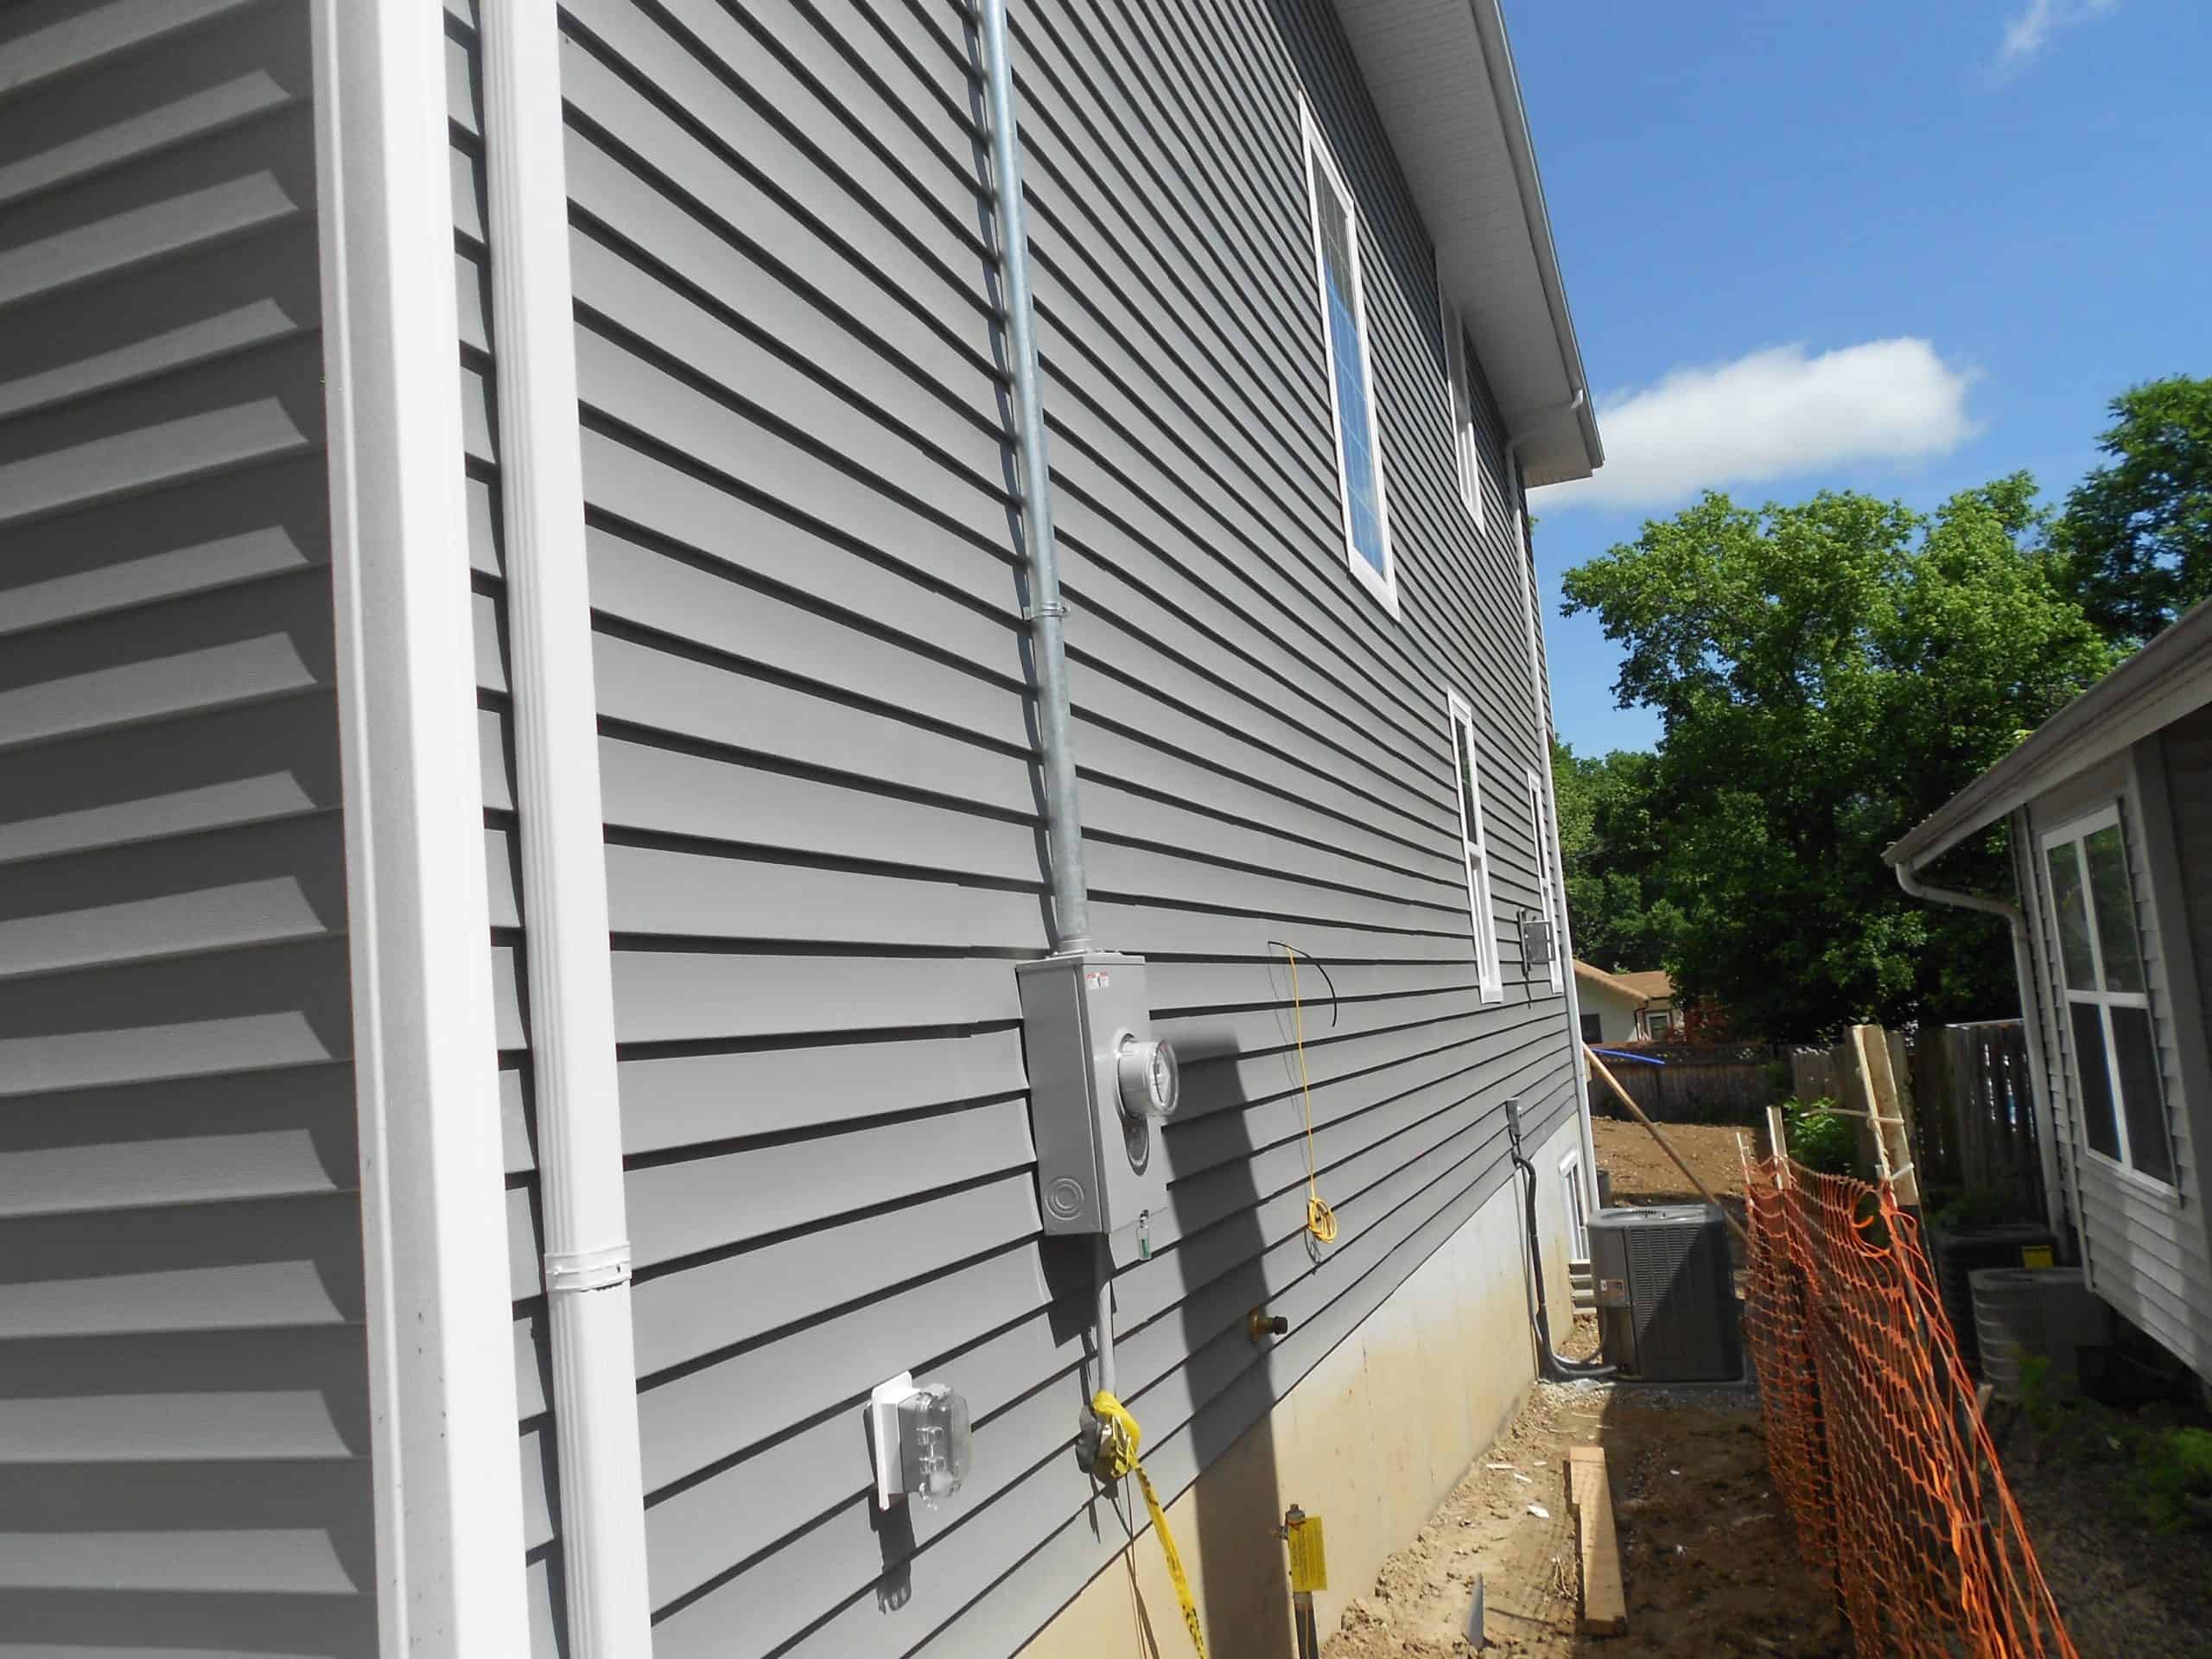
Fascia Trim
The fascia is the horizontal panel along the edge of the roof rafters. The fascia board offers a strong support system for the soffit panels and gutter. The trim installed on the fascia board offers protection against the element, but it can also add interesting visual appeal when contrasting with the siding color.
To install the trim, cut it into pieces measuring 12 inches in width. Mark a vertical line down the center and split a small notch along the lower lip of the trim. Cut each side of the notch at 45-degrees to form a full 90-degree angle upon folding and tucking the trim.
Next, fold the fascia trim 90-degrees fastened it to the fascia board starting from one corner through to the other. Use this method to install trim on the entire fascia and then put back the gutter.
Frieze Trim
The frieze trim is installed between the soffit and siding. Frieze boards are typically flat but may be installed at an angle on a gable siding. Like other trim types, frieze trim can enhance the home’s aesthetics or serve a function by separating two different types of siding colors or styles.
The frieze board trim helps keep moisture from penetrating through the gap between the soffit and siding. Moisture in this part of the roof can cause potentially costly problems such as rot and mold behind your siding.
In addition, frieze trim covers gaps left where the siding ends. The trim may also work as a transition between two types of siding or between the soffit and siding.
5. Window Trim
The way you accessorize your windows will have a big impact on your home’s aesthetic appeal and, to some extent, market value. A lot of thought should go into choosing the right window trim to dress your vinyl siding.
There are different window vinyl siding trim types depending on your taste and home’s overall architecture. A common window trim for vinyl siding is the super J trim, a wider J channel that can be used to trim doors and windows.
Another type of window trim is the deep pocket J trim, which typically measures 1½ inches wide and works as trim for both doors and windows.
The window surround is used alongside the window starter trim. It is installed as a wide perimeter and is usually mounted on the window starter trim. Aside from this, the window surround serves an unmissable aesthetic function and helps to highlight the majestic features of a window.
Lastly, we have the window starter trims. These are basically the cornerstone of any window vinyl siding trim, as they act as the anchor upon which surround trims are installed.
6. Corner Post Trims
Corner post trims give the corners in your siding a well-rounded look and add plenty of architectural appeal to any home. Like other trim types, corner trims are also utilitarian and help protect the corner joints in your siding against weather elements and general wear and tear.
When choosing trim for your siding corners, you can select from a wide array of colors, styles, and widths to suit your home’s style. You’ll find regular corner posts in 2″, 3″, and 4″ inches, designer trims with ribbed faces and wide channels, and some that are insulated and contoured.
Summary
Installing vinyl siding is an excellent investment in your home. But, if you really want your house to pop, go the extra mile and dress it with the right trim.
As you can see from our run down, there are many different vinyl siding trim types, and in this article, we have only scratched the surface. My best advice is to take your time and work with a professional vinyl siding installer who can guide you in choosing the best trim type for your home.