Do you wish to install new windows in your vinyl sided home but don’t know how to go about it? You are not alone. As with most construction jobs, not many people know how to install a new window in a house with vinyl siding, hence, the majority consider it a complex job.
But to be honest, it really isn’t that complicated. If you follow the simple instructions outlined here, you should be able to install your windows without any problem. Ready?
Materials Needed to Install a New Window In a House With Vinyl Siding
To save time and avoid interrupting the installation process, you should consider gathering all your supplies beforehand. For this project, you will need:
- Utility knife: Use this or a penknife to score materials you need to cut.
- Pry bar: A pry bar or similar tool will be required to pull out the interior drywall surrounding the old window.
- Claw hammer/drill: You will need one of these (or both) to remove or drive in any nails or screws used to hold the window in place.
- Siding removal tool: A siding removal tool will help you pull out vinyl panels easily and without damaging them.
- Nail gun: While a hammer will work just fine in most of the steps, it will also be great to have a nail gun; it will be great in instances where you need to nail diagonally.
- Measuring tape: Since you will be required to measure the existing window, you will need a tape measure.
- Flat blade screwdriver: Use this to check for wood rot.
- Builders paper and flashing: These will provide a waterproof barrier so that no water sneaks in through the vinyl and rots the wood underneath the window.
- Caulk: You will need this to seal the edges of the window opening.
- Nails/screws: Use any of these to firmly hold the new window in place.
9 Easy Steps to Install a New Window In a House With Vinyl Siding
Follow these quick steps to replace windows in a house with vinyl siding.
Step 1: Get the Measurement of the Old Window
The first thing you need to do is measure the old window so you can purchase a matching replacement. Measure its length, width, and diagonal, starting from the frame edge. Do not measure the trim because, for most windows, this is installed separately.
Once you have noted down your measurements, you can go ahead and place your order. Most ordinary windows today are sold in sets, so it would be easy to get a replacement.
If you need a larger window than you previously had or one with a unique design, however, you may need to have it custom-made. It is important to keep in mind that the installation of larger windows may require you to remove a section of the vinyl siding.
Step 2: Remove the Interior Drywall
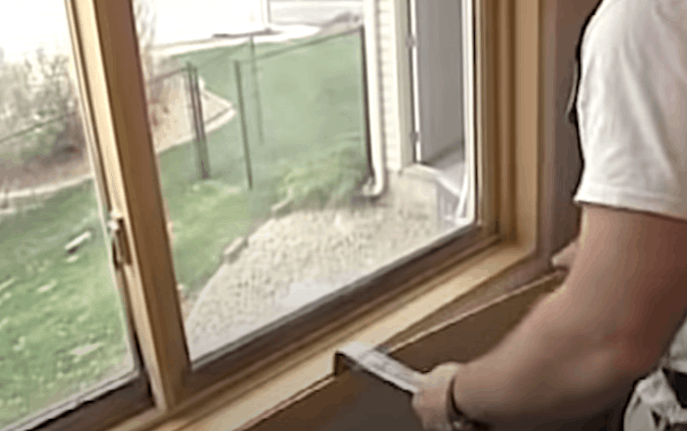
It is possible that the window you want to replace has drywall surrounding it on the inside. Make sure to take it out before you start, as it may obstruct the process.
To do this, score (make a shallow cut) the perimeters of the drywall using a utility knife; it will make it easier for you to remove the drywall. Then, slowly pull out the drywall using a prybar. Do this carefully to avoid breaking the drywall that is left behind.
Step 3: Remove the Old Window
Using a drill or hammer, pull out any nails or screws used to install the old window. If there is additional reinforcement like little pieces of wood, remove it too. There is no right or wrong way to remove the current window and screen; all you need to do is make sure you are not damaging anything around the window.
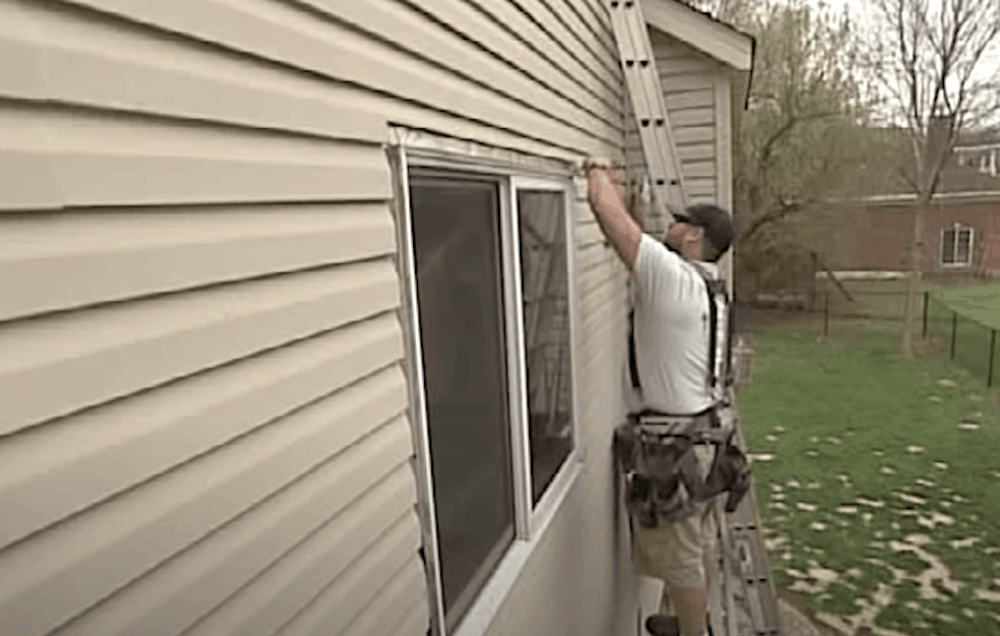
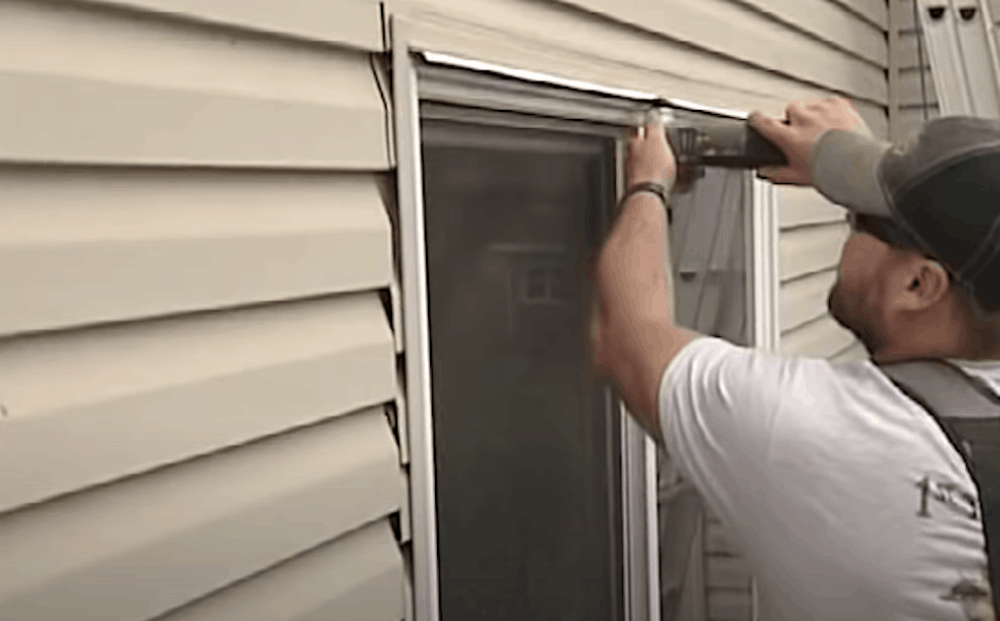
Step 4: Pull Out the Outer Vinyl Casing
The exterior vinyl casing will be surrounding the open space and will likely be made from the same material as the siding. Use a hammer to remove the nails that hold the casing in place, then pull it out with a prybar. Do this carefully to avoid scraping or breaking the surrounding vinyl.
Step 5: Remove Vinyl Panels Surrounding the Window
Please note that this step is only applicable if the new window is larger than the old one. In that case, you will need to pull out and replace parts of the vinyl siding and outer trim.
To get started, assess the window area to see which pieces of vinyl siding you should remove. You should be able to identify these easily by checking where individual pieces overlap on the side.
Now, remove the vinyl panels around the window area by first pulling out the nails holding the pieces in place. Then, insert a siding removal tool at the point where the panels overlap the ones below them and slide it horizontally until you get to the end of the plank.
Step 6: Assess the Window Area for Damages
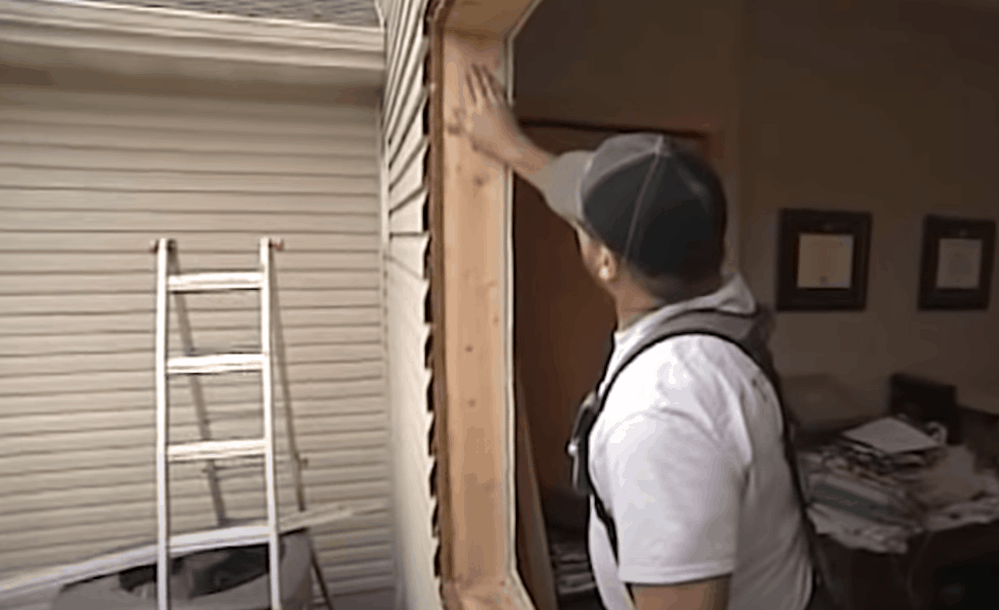
Before installing the new window, carefully examine the open window space for signs of mold, wood decay, and other damages. To check for decay, for instance, run a screwdriver with a flat blade along the frame. If you find soft or crumbling spots, the wood is decayed and will need to be replaced before you install your new window.
If there is rot or mold underneath a new window, these will continue to increase and will eventually cause the window to come loose.
Step 7: Add a Waterproofing Barrier
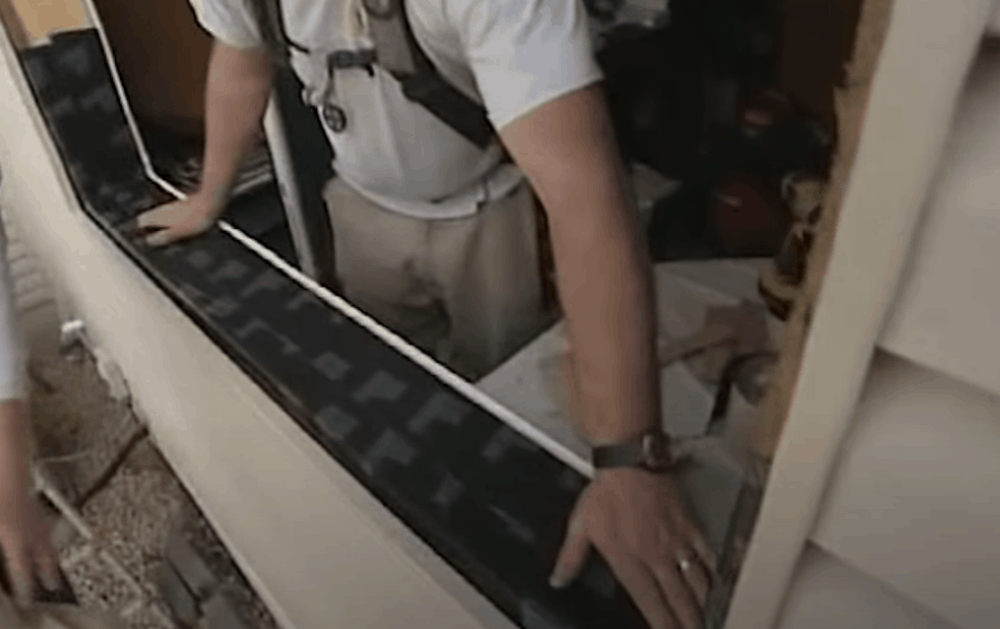
Since the vinyl panels on the outside of the window are not completely waterproof, you will need to install a watertight barrier so that water doesn’t get in and rot the wood underneath the window.
Building paper and flashing make for excellent waterproof barriers. Install the building paper such that it extends behind the new window’s nailing fin.
For flashing, set it up such that it extends along the base of the window and overlaps the nailing fin. Part of the flashing should also extend to the sides to direct any water that penetrates the vinyl away from the wood beneath.
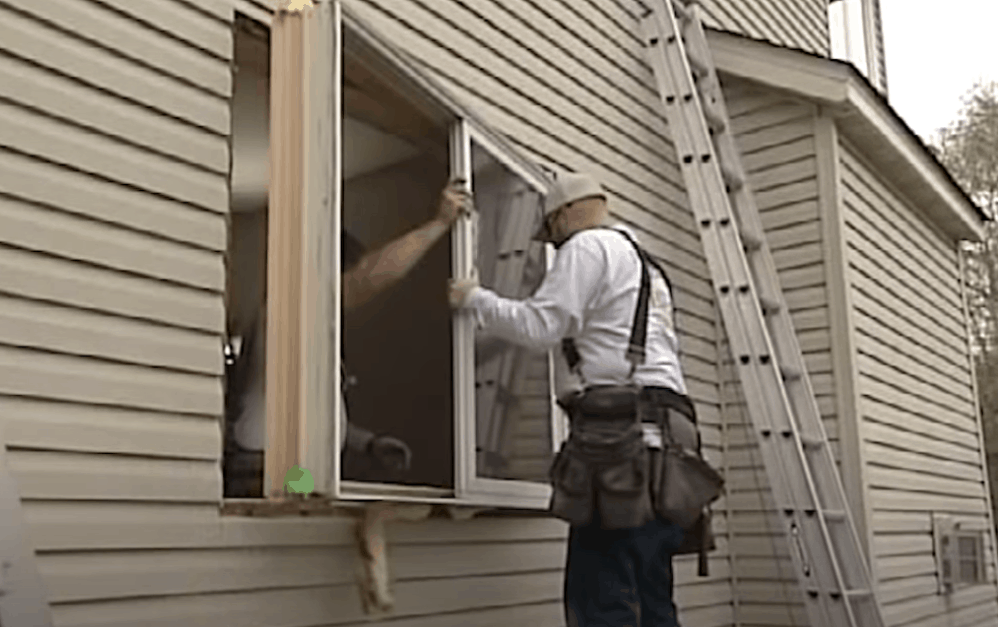
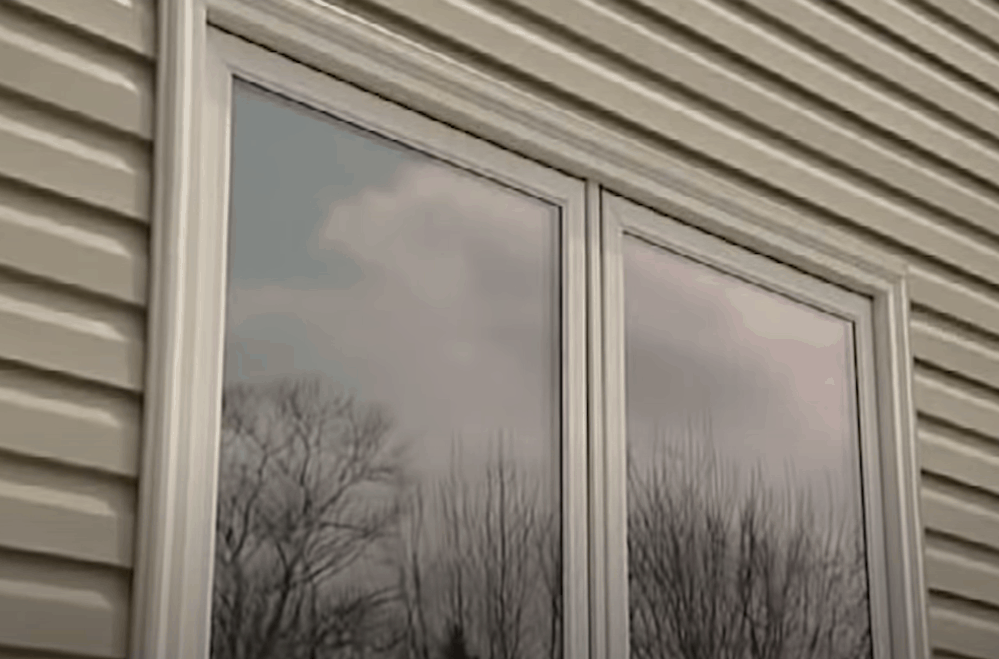
Step 8: Install the New Window
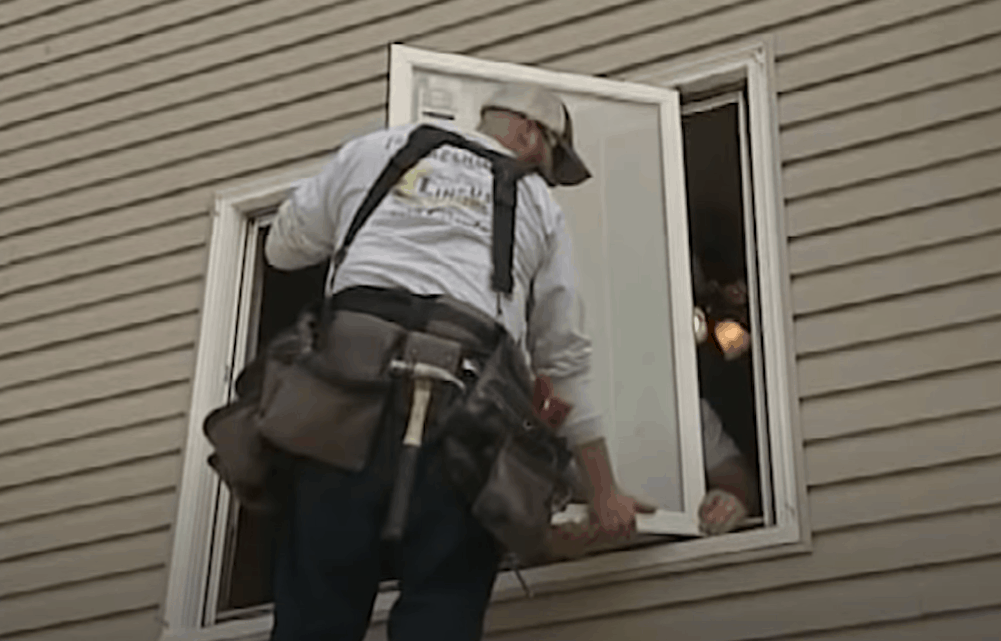
To do this, first place it into the open space to see if it fits. Assuming that you had done the measurements right, your window should be able to fit perfectly into the space. If it is too small, add furring strips to make it fit. If it’s too big, then it would be best to get the right size because cutting into the raw opening might be too much work.
If you are happy with your new window’s fit, then you can go ahead and start the installation. Begin by caulking the exterior edges of the opening. Next, fit the window into the space, making sure the corners fit flush.
Now, drive in nails or screws to hold the window in place and seal any spaces with a frame sealant to give the window a clean finish. Make sure to fill all gaps to prevent water from penetrating into the wood beneath.
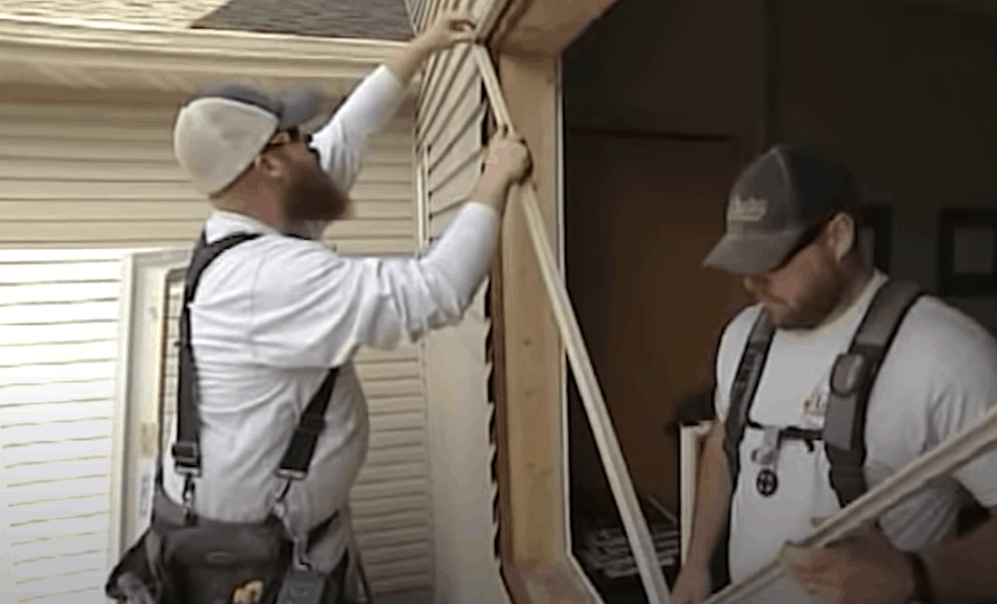
Step 9: Reinstall the Exterior Vinyl Casing and Siding
To put the vinyl casing back, you will need a J-channel trim strip for the casing to slide into. If the old one is not damaged, you can still use it, but for aesthetic purposes, it would be best to install a new one. Make sure the angle of the vinyl casing is the same as the angle of the sill. Secure the casing with screws and sealant.
If you had removed a section of the vinyl siding, now it is time to replace it. You could still use the old panels if they are not damaged. Otherwise, grab your utility knife and cut new siding.
Install the planks such that each piece close to the window slides neatly into the J-channel. Secure the panels in place leaving about a ¼ inch gap between the plank and J-channel for expansion.
Once you are done installing the vinyl siding, go inside the house and address the interior aesthetics of the new window. Fill in any gaps around the edges and secure the trim back in place with screws and sealant. Now, open and shut the window to see if it works as it should.
For more information on how to install a new window in a house with vinyl siding, watch this video.
Additional Tips for Installing a New Window In a House With Vinyl Siding
- Wear protective gloves to avoid cuts during the installation process.
- Read the package instructions of all your materials so you understand how to properly use them.
- Inspect your new window before installation to make sure it is defectless and matches your desired measurements.
- Because the installation process will likely generate a lot of dust, before you start, make sure to cover appliances and furniture close to the work area with a plastic sheet.
On the surface, installing a new window in a house with vinyl siding may seem like a cumbersome task, but it really isn’t that complex as proven by this guide. The secret is to pay attention to details and take things slow and eventually you will be able to do this job like a pro.
thank you for this information for a new window!