Vinyl siding is durable, hardy, and can withstand weather elements, dirt, and debris. Still, regular maintenance is a must if you want to keep your home’s exterior in tip-top condition.
Cleaning your vinyl siding is not difficult, but a pressure washer makes it easier. That said, you should be extra careful when handling a pressure washer to avoid causing injury to yourself and damaging the vinyl cladding. Read on for tips on how to pressure wash vinyl siding the right way.
You will need:
- Soft-bristled brush
- Spray bottle
- Water
- Household bleach
- Garden hose
- Pressure washer safe vinyl siding cleaning solution
- A pressure washer with the correct tips
- Microfiber cloth
- Protective gear- goggles, rubber gloves, face mask
Step-by-Step Guide To Pressure Wash Vinyl Siding
Follow these steps to get your vinyl siding squeaky clean using a pressure washer.
Step 1: Remove the surface dirt
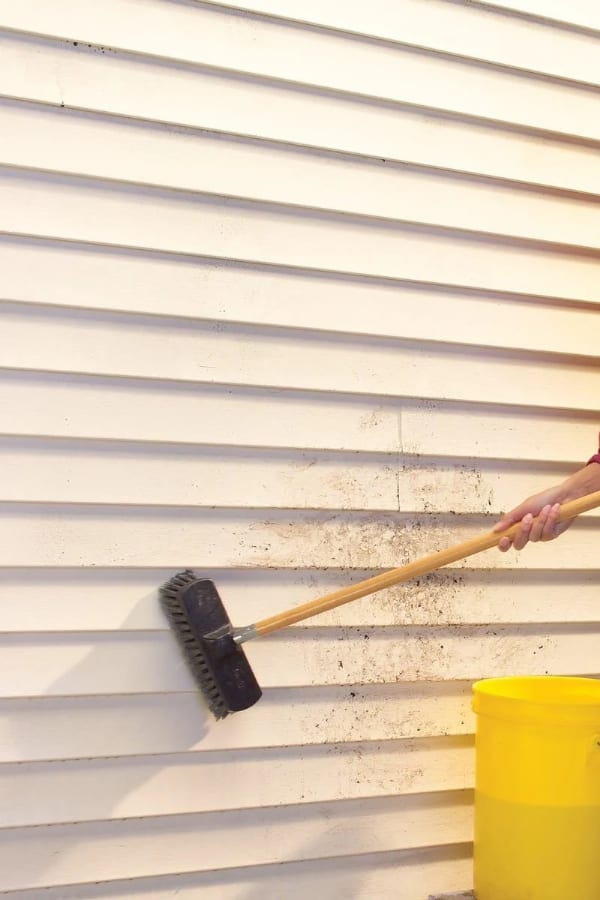
Start by removing the dirt, debris, mildew, or algae on the surface of the siding. For this, you will need a microfiber washcloth and a soft-bristled brush or one with a long handle.
Mix one cup of oxygen bleach with ten cups of water in a spray bottle. Spray the mixture on the lower siding slats and those at eye level.
Mount a ladder to spritz the bleach mixture on the hard-to-reach spots and use a long-handled brush to clean the surface dirt. For those lower sidings, you can use a hand brush to scrub away the dirt.
Use water from a garden hose to rinse the walls. Removing the surface dirt will make it easier to deep-clean the vinyl siding using the pressure washer.
Step 2: Fill the pressure washer reservoir with a cleaning solution
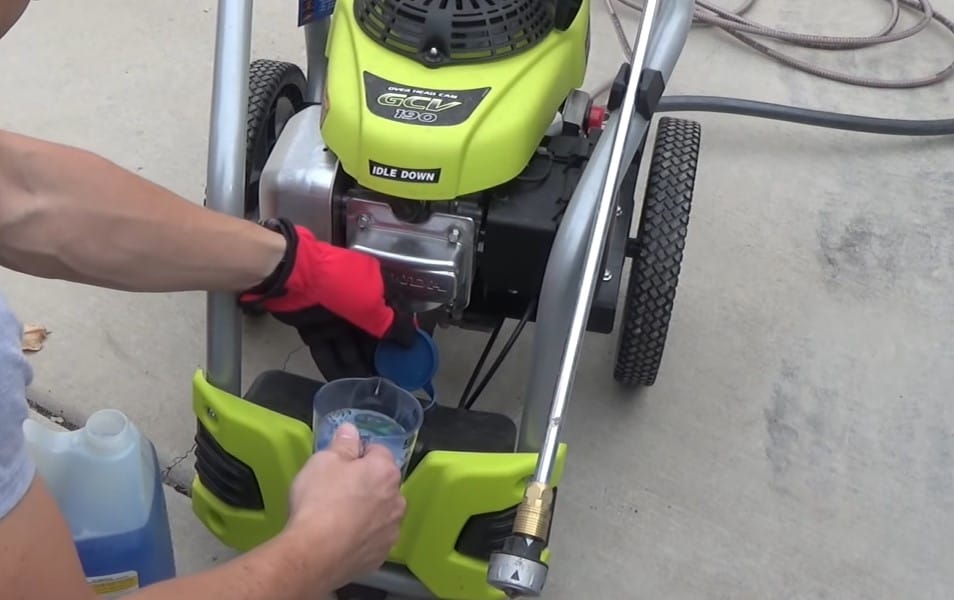
Now that you have removed the surface dirt, it is time to apply a deep cleaning solution to get rid of stubborn dirt and stains.
Use a cleaning product appropriate for pressure washers. If the solution requires some measuring and mixing, follow the manufacturer’s instructions to the letter.
Whenever possible, find cleaning solutions specifically meant for washing vinyl siding. These tend to be gentle and will not stain, burn, or scuff the siding surface.
Most pressure washers have a compartment for adding cleaning detergents. Find this on yours and add the appropriate amount according to the manufacturer’s recommendations. An injector inside the washer will mix the water and soap, giving you a nice soapy solution that will cut down the dirt and leave your siding looking as good as new.
Step 3: Apply the soap
Insert the soap tip onto the pressure washer wand. Be sure to use the appropriate tip for each job. The soap tip blasts the soapy water at a wide-angle and low pressure. This way, you can apply the soapy solution across a wider area of the siding.
I recommend keeping the water pressure in the range of 1,300-1,600 PSI when applying soap. By keeping the pressure low, you can acquaint yourself with the pressure washer and check whether the pressure is good enough to clean the vinyl siding or whether you need to increase the pressure for effective cleaning.
Remember that even a slight increase in the pressure can cause the siding to come apart. This is why it is best to moderate the pressure and work slowly to protect your siding.
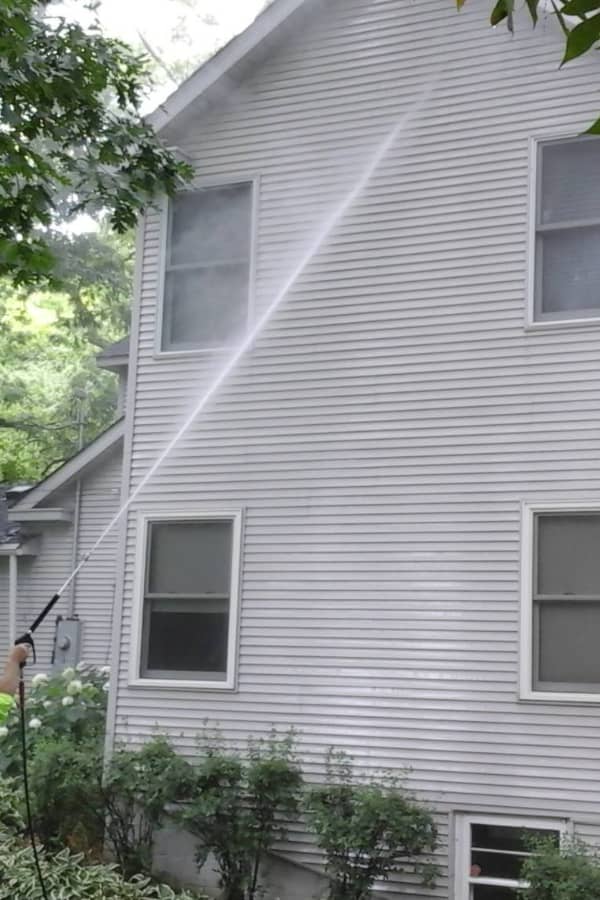
Turn on the washer, lift the wand to eye level and spray the water directly to the surface of the vinyl siding.
Keep the wand at a 45-degree angle; do not tilt the wand up or blast the cleaning detergent in the seams where the vinyl slats meet. Facing the wand upward can cause water to sip through the siding, resulting in water damage to your walls.
Use a tall ladder when cleaning hard-to-reach spaces. You will avoid tilting the wand upward and therefore keep it at eye level for safe use of the machine.
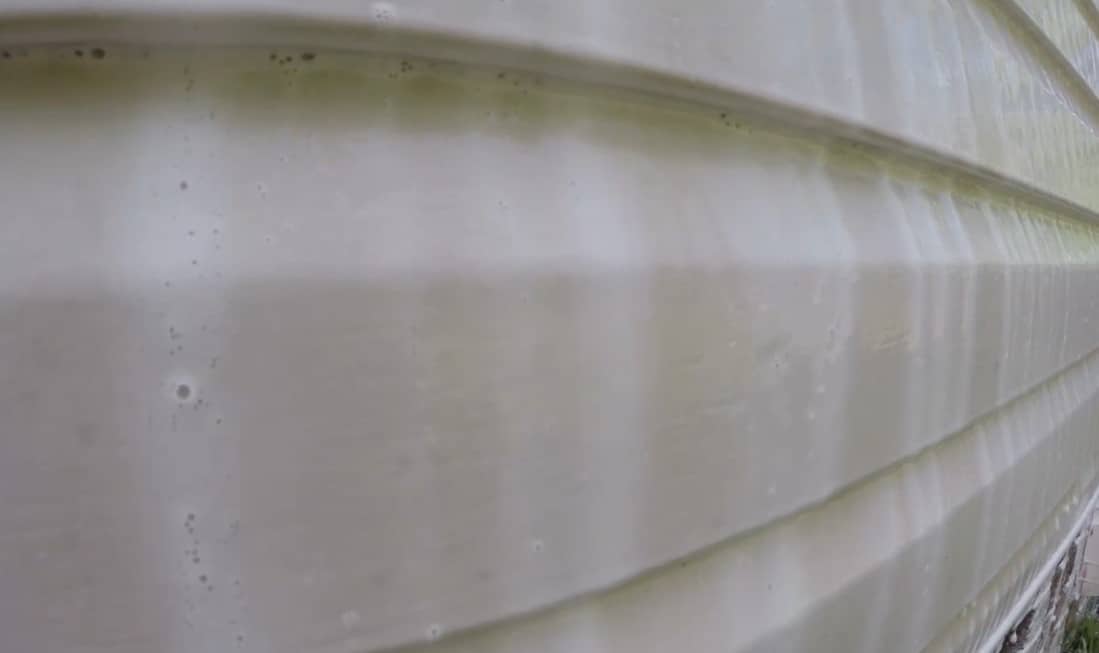
Step 4: Ensure correct application of the cleaning solution
Apply the soapy solution to the siding liberally. Start at one corner and work slowly in sections until the entire siding surface is covered with the soapy solution.
Spray the cleaning solution in sweeping motions up and down and left to right. Work your way from the bottom as you go up the siding. A mistake people make when using a pressure washer is to swirl the wand in circles. But, this will cause you to skip some spots and leave visible streaks.
Work in small sections and only move to the next section when one surface is covered in the cleaning solution, and the residue is coming off. Go over each section again, blasting the soapy mixture as much as you need to until you eradicate the stubborn residue.
Keep an eye on the reservoir and refill it as needed. While you should persistently blast the soapy water to cut the grime on your vinyl siding, be careful not to apply too much soap. Excessive soap on vinyl can be hard to rinse out, especially if it dries on the surface. Use your judgment to determine how much cleaning solution is necessary for your vinyl siding.
You also want to keep a pulse on the pressure. If it isn’t enough to remove the gunk on your siding, you can increase it bit by bit until you are satisfied with the pressure level. Twist the soap tip right to increase the pressure and left to reduce it. Remember, you should adjust the pressure incrementally instead of doing so abruptly, as this can cause serious injury and damage.
Pro Tip: The first time you use the pressure washer, spray a few times on the corner of your home’s perimeter to check that you can handle the pressure.
Step 5: Allow the cleaning solution to sit for a bit
Give the cleaning solution a bit of time to dissolve the dirt on the surface of the siding. Doing this makes rinsing a quick and easy job.
Five to ten minutes is generally enough to get the cleaning solution to do its job. Don’t let the soapy water dry on the siding, as this can cause streaking and leave residue on the surface.
A neat trick is to go back now and then and blast some of that soapy solution on the previous section as you work on the other remaining sections. This will prevent the soap from drying on those sections on which you had applied soap earlier.
Step 6: Prepare to rinse the vinyl siding
It is now time to remove the soapy solution from the surface of the siding. First, pour out the cleaning solution from the pressure washer reservoir.
Be sure to empty all that soapy solution so that your rinse water is clean and free of detergent. Hold down the wand trigger to check that the cleaning solution is completely flashed out.
Next, remove the soap tip from the wand and replace it with a general-use tip. This tip will release water at a 15-20 degree angle, which is acute enough to get rid of the soap, residue, and loose dirt on the siding surface.
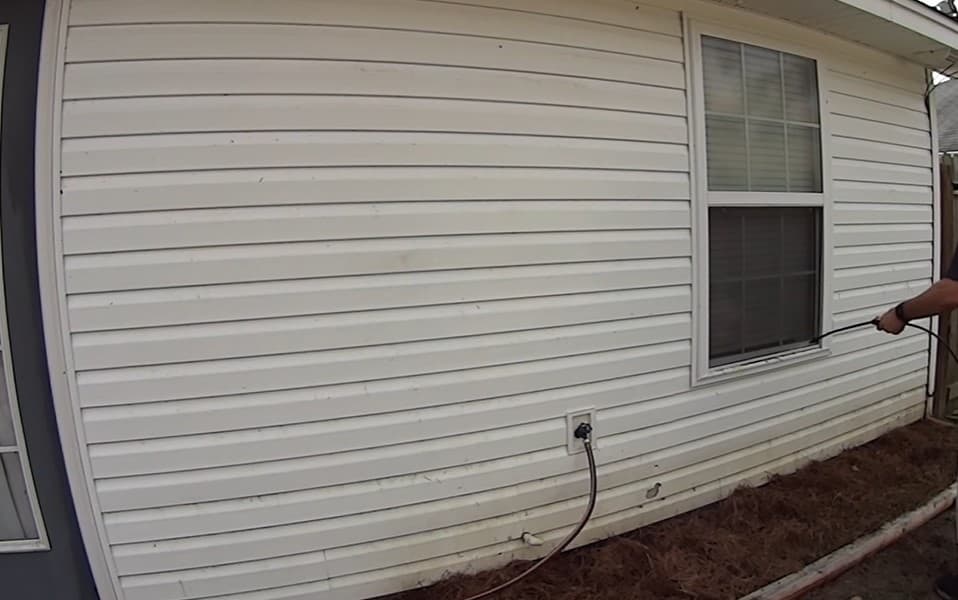
Step 7: Rinse the vinyl siding
Point the wand directly to the siding surface, keeping it at eye level. Blast the clean water starting from the top and work your way to the bottom to allow the soap to wash down. Mount a ladder to clean those out-of-reach spots.
As usual, work on one small section at a time, ensuring the water runs clear before moving on to other sections. Blast as much clean water as you need to until you are satisfied with the look and feel of your vinyl siding.
That’s it! You now know how to pressure wash vinyl siding the right way. I have included a few extra tips below to help you along.
Extended Tips
- Plan to carry out your cleaning project on a warm, dry day to allow the siding to dry completely. Siding needs a few hours to dry, so it is best to start early to give it enough time to dry.
- Assess the condition of your siding. Check that there are no loose seams through which water can seep. Ensure that the caulking around windows is sealed as well. Perform any necessary repairs before you pressure wash vinyl siding to avoid getting water behind the siding slats.
- Water the soil and plants around the perimeter of the house before you begin cleaning your siding. The layer of water will protect the garden against chemicals from the bleach and cleaning solution.
- For added protection, cover all electrical fixtures such as lamps, outdoor wiring, outlets and equipment that can come in contact with water.
Summary
A pressure washer is an excellent equipment for cleaning jobs around your home. Follow the tips and instructions I have provided and you should manage to pressure wash vinyl siding in a day and get your home’s exterior looking as good as new.
Just remember to adhere to all safety protocols when handling a pressure washer to avoid unnecessary mishaps. Happy cleaning!