We all know that vinyl is one of the most cost-effective and easy to install options for flooring. And we know that it’s water-resistant too.
Those helpful properties mean you might be thinking about whether you can use it elsewhere. So can you use vinyl flooring on bathroom walls?
We’re going to find out! Read on as we take you through everything you need to know about vinyl flooring. And we’ll find out what it takes to use it successfully in your bathroom.
Table of Contents
What is vinyl flooring?
Let’s start by making sure we know what we’re talking about! What exactly is vinyl flooring?
The first thing to understand is that it comes in a variety of different guises. These have different price points and properties.
Vinyl sheet flooring, also known as vinyl roll, is the least expensive. It’s simply a sheet of vinyl printed with a design which you stick to your floor.
Moving up a level in terms of both cost and durability are glue-down vinyl tiles or planks. These are usually a little thicker than vinyl sheet flooring. Sometimes they have adhesive pre-applied to the back for easier installation. In other cases, you apply the glue separately.
At the top of the pile is luxury vinyl plank flooring. This is much thicker and more robust. It comes in the form of planks with a solid core covered in vinyl. It’s often designed so that each plank clicks into the next, making it easy to lay the floor.
Benefits of vinyl flooring
Vinyl has lots of benefits that make it a very popular choice for flooring.
The first is that it’s inexpensive. You’ll spend much less money on vinyl than solid wood or even laminate flooring. That means that changing the look of your room needn’t cost you a fortune. And if you don’t like it when it’s down, you won’t feel like you have to live with it forever.
The chances of not liking it, however, are pretty slim. Another of the advantages of vinyl is that there’s a virtually limitless range of colors and designs.
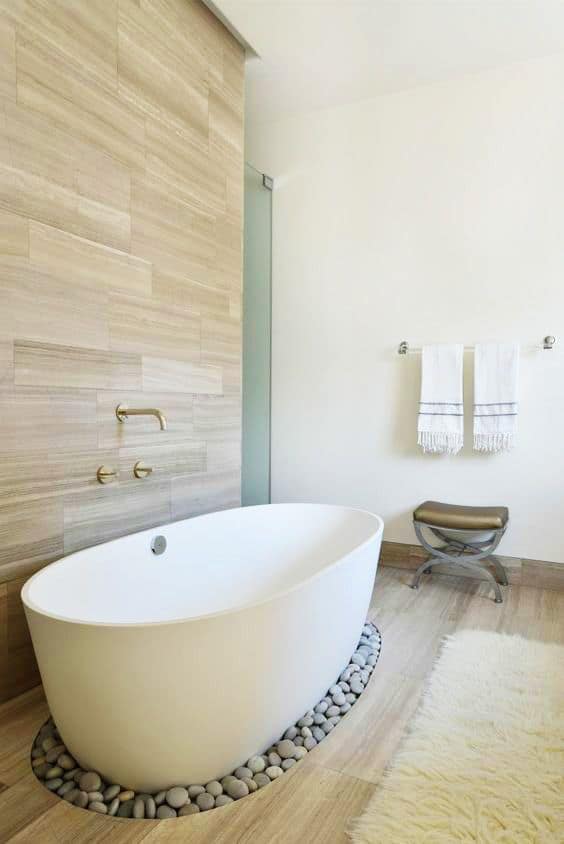
If you want the look of wood, you can get it. And some vinyl flooring has a textured surface to make it even more realistic. The appearance of any type of stone can be copied too – marble, slate or granite are popular choices. And you can also get copies of ceramic tiles and funky patterns.
It’s also very easy to install. Some types of vinyl flooring can just be glued down. Others have beveled edges that allow them to be clicked together.
With glue-down designs, you won’t use underlayment. With click-and-lock versions, the extra layer is a good idea. It will improve insulation and reduce sound transmission.
Vinyl is comfortable underfoot too, and in most cases, it can be used with underfloor heating without causing any problems. And because it’s water resistant, it can be used in bathrooms and kitchens without worrying about spills.
Keeping it clean is easy too. Just vacuum or sweep your floors regularly to get rid of debris. Remember that particles of dirt and dust can have sharp edges. If they’re not removed promptly, they can cause scratches or dents on your floor.
Wash it once a week to keep it looking spick and span. You won’t need any strong cleaning products for this. A couple of drops of dishwashing soap in warm water will work perfectly. Alternatively, add a cup of vinegar to a gallon of warm water to cut through dirt and grease.
Disadvantages of vinyl flooring
Its low price, resilience, range of designs and ease of maintenance are all great benefits of vinyl. But there are a few downsides to bear in mind too.
Not all vinyl is very effective at mimicking other materials. Gloss surfaces can be hard to reproduce, meaning that granite designs aren’t always convincing. And while some vinyl has a textured surface, other kinds are smooth, making it less good at replicating a wood finish.
It’s also important to make sure that your sub-floor is clean, smooth and level before you install vinyl. If it isn’t, the floor can “bounce”. And any debris beneath the surface can leave visible bumps beneath thin vinyl.
Another consideration is the impact of vinyl on your air quality. Some kinds of flooring contain chemicals that give off VOCs – volatile organic compounds. These are hazardous to health, so make sure your flooring is certified low in VOCs. Look for accreditation from FloorScore or the GreenGuard Gold standard.
Some types of vinyl flooring also contain phthalates, substances which have been found to damage reproductive health and respiration.
Last but not least, it’s worth being aware that the production of vinyl flooring isn’t environmentally sustainable. Vinyl flooring is made from petroleum, which in many cases travels thousands of miles before being used in its production. It isn’t renewable, and it contains harmful chemicals.
Manufacturing the flooring requires large amounts of energy, as well as emitting toxic substances called dioxins. And when you’ve finished with your vinyl flooring, it can’t be recycled. That means that all those materials will end up in landfill. And once there, they can continue leaching chemicals into the ground.
So whilst vinyl flooring is cheap to consumers, its longer term cost to the planet is much higher.
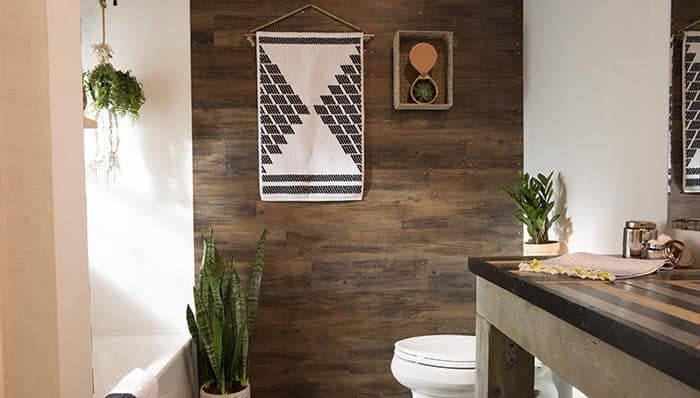
So can you use it on your bathroom wall?
We’ve already seen that its water-resistant properties make vinyl a popular choice for bathroom floors. But can you go further and install it on your wall too?
The short answer is “yes”. It will be just as good as repelling moisture when installed vertically. And it’s very easy to clean. If it gets splashed with water or soap, simply wipe it over and you’ll have it looking as good as new.
There are, however, some challenges with vertical installation. The main one is that you’ll need the bond to be tight enough to withstand the pull of gravity. You don’t want to finish laying it, only to find the sheets or planks have fallen off the next morning.
If you’re using self-adhesive vinyl tiles, it’s a good idea to apply extra glue. Look for products specially formulated to bond vinyl, and that will also work with drywall. And check that your glue will resist mold and mildew. The damp and humid conditions in your bathroom can otherwise spell disaster.
Adding extra glue does mean installation will take a bit longer, and it can be messy. But take your time and it will be worth it. And you’ll avoid the frustration of having to replace fallen vinyl after a few hours. It will still be much quicker than grouting stone or ceramic tiles.
Hints and tips for successful installation
- We’ve already seen that applying extra glue is a good idea to keep your vinyl secure on a bathroom wall. But there are other things you can do too to get the best results.
- Taking the time to prepare your wall properly first will save you time and energy when it comes to installation. Wipe it down with a dry, clean, lint-free cloth to remove dust and debris. That will create the best possible surface for your vinyl to stick to.
- If you’re using self-adhesive vinyl, don’t remove all of the backing paper in one go. It will be easier to handle and maneuver the tile if you only pull it half-way off. Then fold the loose backing paper over into a sharp crease to keep it out of the way while you work.
- When you’ve placed the vinyl in position, use a clean, dry cloth to press it firmly to the wall. Start at the center of the tile at the top, and work to the outside edges. Then gradually move down the tile, again working from the center to the edges. This will help avoid any creases.
- Pull more of the backing paper away as you make progress. Use both hands to do this, so that it comes away evenly. Aim to release about six inches of backing paper in one go. That will give you enough sticky surface to work with, whilst avoiding it becoming unmanageable.
- When the walls are completely covered with vinyl, use a utility knife to trim around the edges. That will give you a neat, clean finish.
- As a final step, take a clean roller and roll across the surface of the walls. That will make sure every part of the vinyl sticks in place firmly. And it will prevent the edges from lifting over time.
In summary…
We hope you’ve enjoyed our guide to everything you need to know about using vinyl flooring on bathroom walls! The huge range of designs out there make this a very quick, easy and inexpensive way to give your bathroom a new look.
Just remember to check the technical specifications of your vinyl before you buy. Make sure you choose a product that’s low in VOCs. Accreditation from FloorScore or GreenGuard will give you peace of mind.
And don’t be tempted to skimp on proper preparation before you start installation! Take the time to clean your walls and add extra glue, and you’ll save time later.
Good luck with your bathroom makeover!