Are you planning on using tile mortar for your project?
Like many other DIYers, you’re probably wondering: how long does tile mortar take to dry? After all, using it before it completely dries up can lead to tile misalignment – among many other things.
So before you start mixing and using your thin-set mortar, make sure to read the information below.
Table of Contents
What is the Drying Time of Tile Mortar?
Standard tile mortar often requires 24-48 hours of cure time.
And while the edges may already look dry early on, you should wait to grout it. The mortar underneath does not receive that much air, so they aren’t as dry as the edges.
Even if you are careful enough not to disturb the tiles, your actions may end up limiting airflow. Doing so will prevent the mortar, which is made from cement and sand, from drying completely.
Should this happen, your tiles may fall off, shift, or crack.
And, even if you’ve waited 24-48 hours for your mortar to dry, you shouldn’t place heavy items (such as appliances) on it immediately. For best results, wait for at least 72 hours.
Tip: If you’re in a crunch, use quick-setting mortar for your project. As the name suggests, it can set in under 2 hours – and permit foot traffic within 6 hours.
Do note that speed-fortified mortar is not pre-mixed, so you will have to combine it with water yourself.
hhrestoration
How Do You Know If You Already Have Dry Mortar?
Apart from waiting for your thin-set mortar to dry accordingly, there’s a way to determine if it has dried up completely.
For one, you can knock lightly on a new tile – granted that it’s been 24 hours since you’ve done your tile installations.
If this produces a thin yet solid sound, it means that the mortar is completely dry. But if you hear a knocking sound, you need to let your mortar cure for a longer time.
Factors Affecting Mortar Drying Time
Apart from the type of mortar (thin-set vs. quick-setting), many other factors will affect curing time:
Temperature
According to a Masonry expert, the ideal temperature for mortar placement/curing is 70 (to plus 10) degrees Fahrenheit. As such, extreme temperatures are sure to affect tile mortar’s adhesive properties.
For example, the mortar will be slower to set in cold weather (40 degrees Fahrenheit and below). It won’t be as strong either, which is why the mortar needs to be heated at such temperatures.
Thickness
Of course, the thicker the mortar you apply, the longer the drying time. Furthermore, your porcelain tiles may not be able to stick well to such a thick layer.
As such, it’s best to apply a thin layer – ideally 3/16 of an inch thick – when binding floor or wall tiles.
Tile Mortar Tips
Apart from following the recommended drying time, heeding the below tips will help you yield the best results:
- Determine which tile you’re going to use. Many types of thin sets are available for various tiles (ceramic, porcelain, or stone.) According to this video, if you plan on using large format tiles (sides measuring 15 inches or more), you will need a specialized type of mortar.
- Store the mortar at room temperature until you’re ready to use it. Hot or cold temperatures can affect the mortar’s strength and bonding properties.
- Wear protective gear when mixing mortar. This means eye protection, a face mask, and gloves. You wouldn’t want up inhaling mortar powder and dust!
- Follow the manufacturer’s instructions when mixing the mortar. Granted that the usual ratio is 6 quarts of water to a 50-pound bag, different brands have different specifications. As such, take time to read before starting.
- Combine the mortar with cool water. Add 3/4 the amount of the suggested water first before the mortar. This will limit mortar particles from getting airborne. Likewise, this will prevent the powder from sticking to the bucket. Slowly add the remaining water to the bucket to achieve a pancake batter-like consistency.
- Use a low-RPM mixer and start slowly. Tools such as mixing drills and paddles will help you make a consistent mix – without trapping much air along the way. Make sure to mix the mortar for 5-10 minutes.
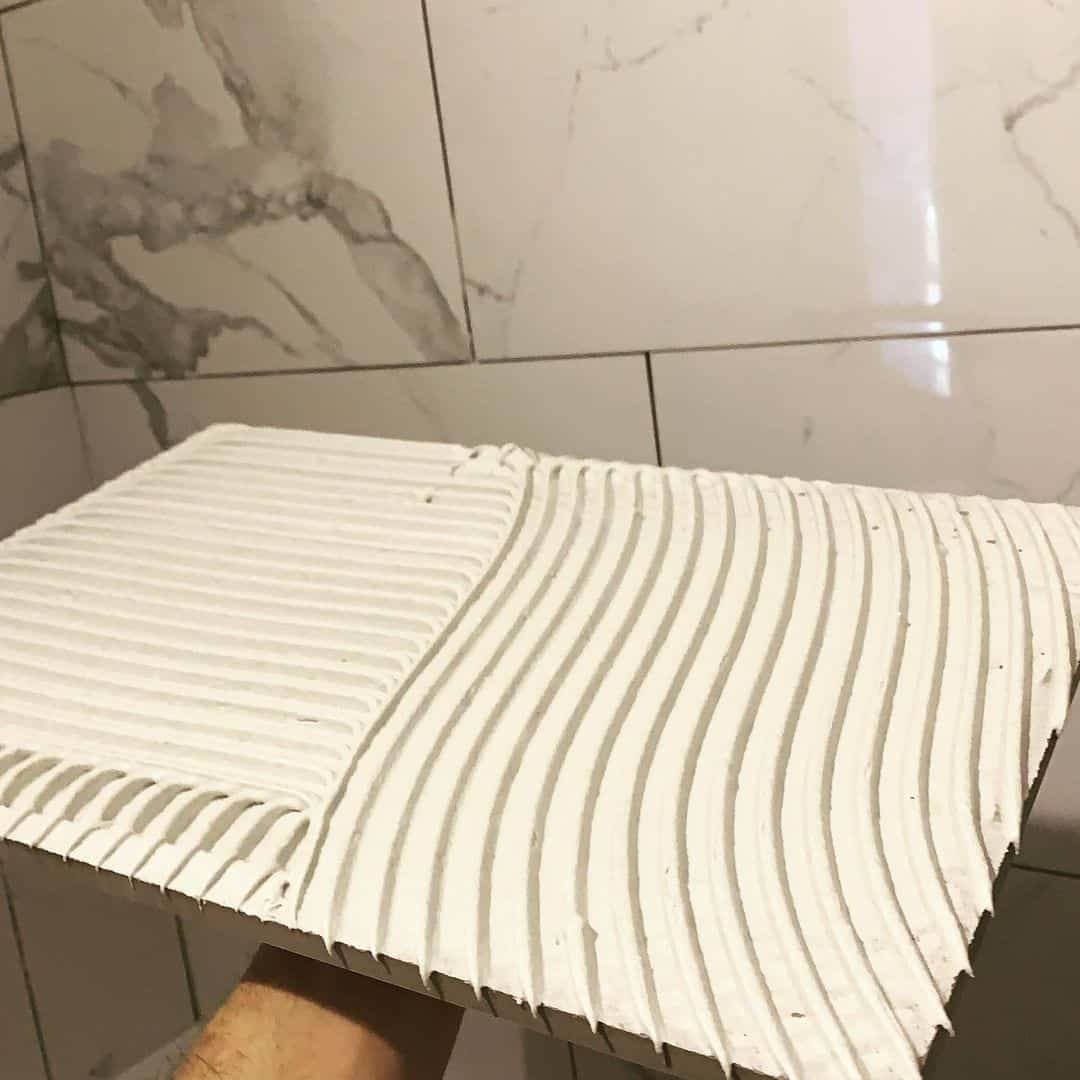
- Make sure to check the mortar’s consistency after mixing. It shouldn’t be too thick or too thin. To be sure, put a decent amount on your notched trowel. It should be able to maintain its ridges – and be easy to spread.
- Let the mixed thin-set mortar slake for at least five minutes. This allows the mortar’s substrates to ‘work’ correctly.
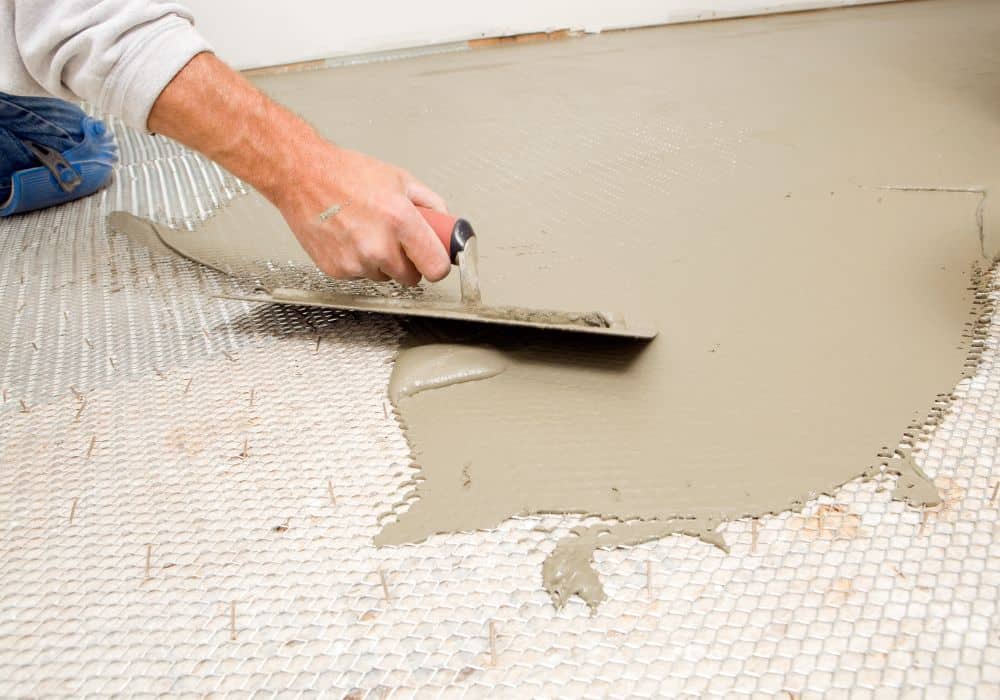
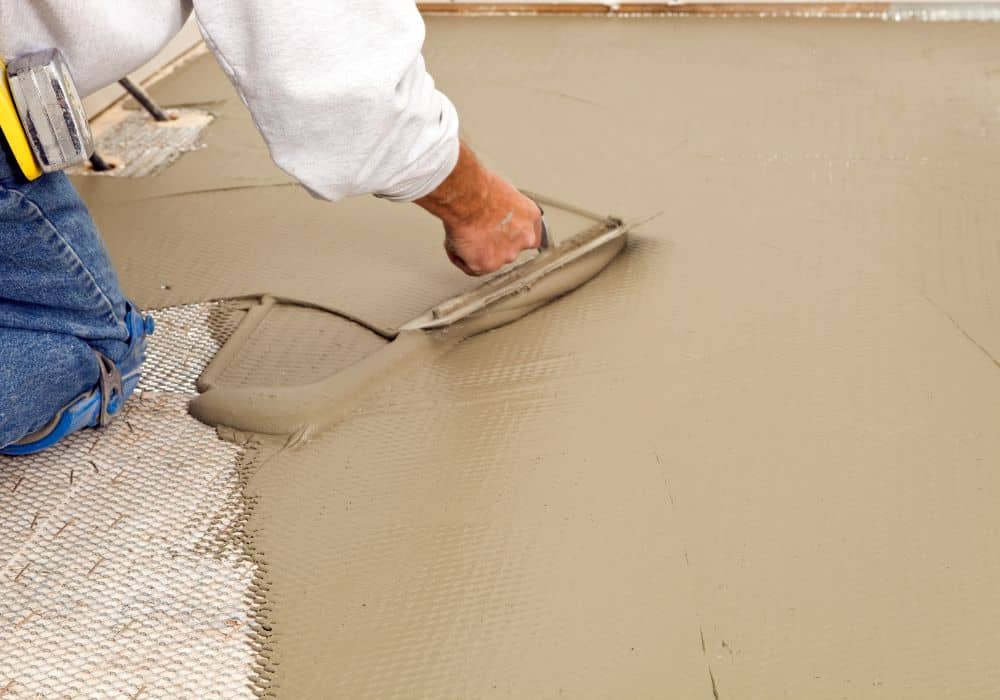
- Use a grout float to apply the mortar diagonally on the tile surfaces. Remove lumps, if any, by doing a second swipe.
- Remove the grouting mess right away. Make sure to eliminate the remnants on/outside the ceramic tile. Repeat the process using a soaked grout sponge after 15-30 minutes and again after 3 hours.
- Use a dehumidifier. This will help remove moisture from the air and speed up the drying process.
- Use a room heater. A room heater will help speed up the curing process if you’re in a cold area. As mentioned, the mortar will be slower to set at temperatures above 40 degrees Fahrenheit.
- Check the thin strips for signs of cracking should you use a heater. If there are, turn down the heat immediately.
- Ventilate the area with the use of a fan. High humidity may end up delaying curing time.
- Remove the dry grout with a dry towel. Don’t wait more than ten days to remove the grout haze, for you might need removers to accomplish such a task.
Conclusion
It takes 24-48 hours for the standard mortar to cure. On the other hand, quick-setting mortar can dry in as quickly as two hours.
You can do the knock test to check if your mortar has completely dried. If you hear a thin, solid sound, this means your mortar has set.
Do you have any more questions about mortar drying times? Don’t hesitate to post your question below!