If you don’t drill into a porcelain tile the right way, the tile will start cracking or chipping. The key to avoiding cracks in your tiles is by choosing the correct drill bit and executing the proper technique to get the job done.
We’ve put together a drilling guide you can refer to when drilling holes in porcelain tiles; read about the different types of drill bits, and get familiar with relevant information to make the drilling process simple, effective, and safe.
Table of Contents
What Type of Drill and Drill Bit Works Best for Tiles?
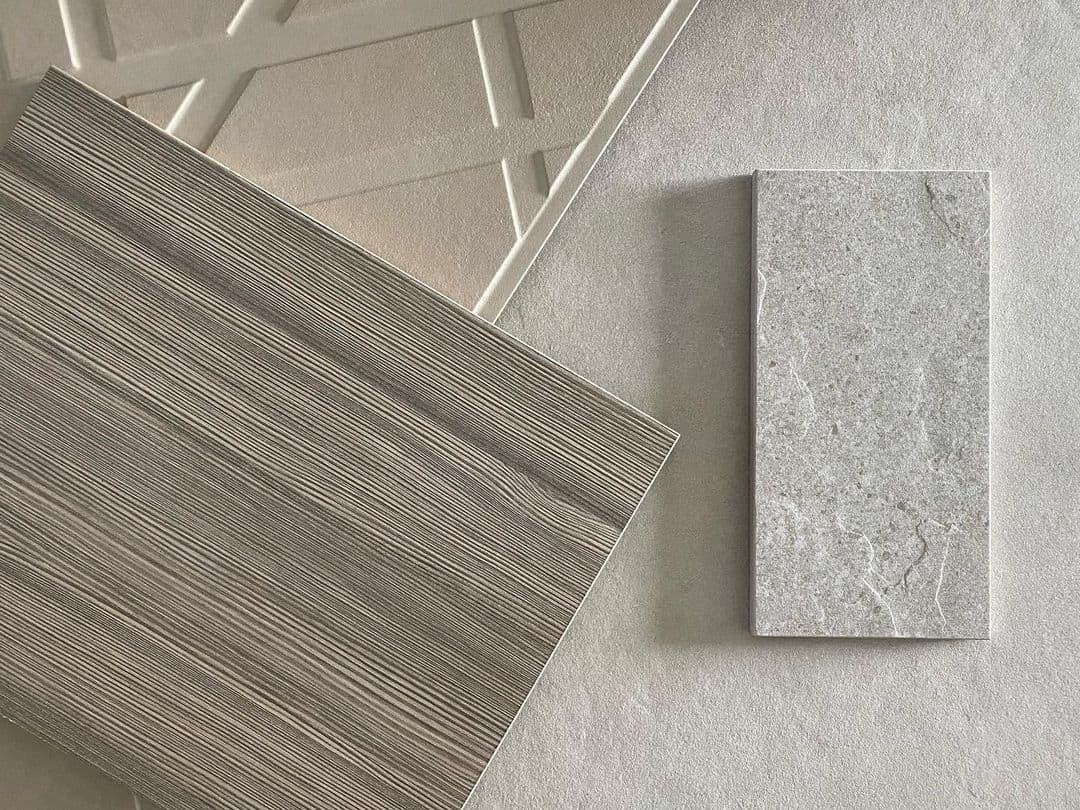
While you can use your standard power drill to do the job, the regular drill bit won’t work. Drilling with a specialist drill bit is imperative. The best pick for a porcelain tile is a twisted or cylindrical diamond-tipped drill bit, whereas masonry drill bits can also be used if you have enough experience. Hammer drills are also a big no, as the hammer action of these drills can easily damage the tile.
The diameter of the drill bit will also change depending on the size of the hole. For example, a 13 mm carbide bit would be preferred for larger holes, whereas diamond drill bits can be used for drilling smaller porcelain tiles.
Steps for Drilling into Porcelain Tiles
Drilling tiles with a basic understanding of handling equipment and using the correct tools is easy. Begin by reading about the tools required for the task.
Tools You’ll Need:
- A standard power drill.
- A diamond or masonry drill bit.
- Masking tape.
- Measuring tape.
- Spirit level.
- A pencil or a marker.
All these materials can be bought from your local hardware shop. When purchasing these supplies, ensure you use quality materials to produce optimum results. Depending on the hole size you want to drill, select the drill bit and the wall anchors that fit well in the holes.
Step 1: Gearing Up
First, ensure you have the required safety gear, like safety goggles, protective gloves, and a dust mask to prevent the flying debris from being inhaled. After you’ve geared up, make sure there are no electrical wires near or behind the tiles using a stud finder. The tool is simple to use, inexpensive and can become an essential part of your toolbox if you love doing DIY projects.
Check that there are no pipes behind the tiles. The easiest way to know whether the drilling site is safe is by viewing the blueprint of your property, which can be obtained from your local municipal office.
Step 2: Prepping the Area
Clean the tiles with a wet sponge and pat dry using a soft cloth. Doing this will remove the dirt and grime from the tiles, making it easier for the masking tape to stick.
Masking tape helps you mark the drilling points because it’s difficult to mark the tile directly using a pencil or a marker. The masking tape also provides a small amount of friction, preventing the drill from slipping away from the tile’s surface.
Step 3: Measuring the Tiles
Take your time when measuring the tiles because a hole drilled in the wrong position can’t be sealed effectively. You can start by measuring the length of the accessory you want to hang and placing the masking tape accordingly. To ensure you have applied the tape at the right spot, place your accessory on the tiles and mark the place where you will be drilling.
If you are drilling multiple holes, it’s best to make a template using a block of wood having the same diameter as the drill bit. A drill guide can also be used to make it easier when drilling through tiles. These guides come in various shapes and sizes and are effective at simplifying the drilling process.
Some other still guides with durable materials like steel have suction cups for easy attachment to the tiles and allow the user to drill vertical and horizontal holes of different diameters. When installing the fixture, use the spirit level to ensure you are screwing them at the required angle.
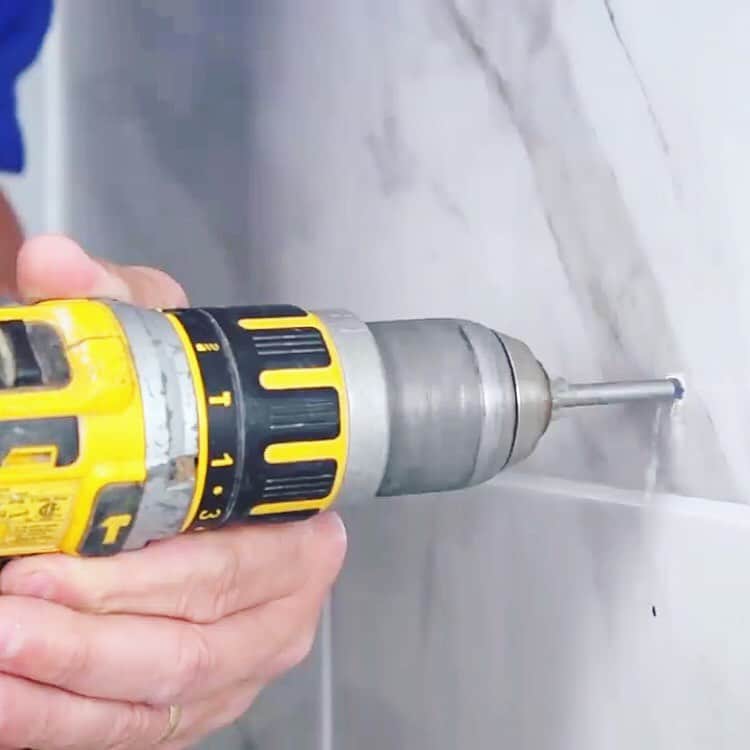
Step 4: Drilling the Hole
Always avoid putting too much pressure when drilling, and keep the drill set at a low speed. You can increase the speed gradually as the drill bit starts to make way. Cramming up the pace can damage the tile surface and affect the hole’s angle.
Too much speed also produces excess heat, friction, and tremor. The vibration from the tremors and excess speed makes the tiles crack. As the drill goes more profound, you’ll feel an increasing resistance. At this point, you can increase the speed and drill until you reach the required depth.
However, it would help if you change the drill bit depending on the material behind the tile. For example, a regular masonry or diamond cut bit would work best if the tile is attached to cement or concrete. In contrast, if there’s wood or any fibrous material present, you must swap a wood bit to drill further.
Step 5: Cleaning the Surface
Once you are done drilling the hole, start clearing the accumulated dust inside the hole to secure the fixing. Now put the wall anchors in the holes, place the accessory you want to hang, and tighten it using screws. Before attaching the fixture, clean the tile surface once again with a sponge or a soft cloth and sweep the dust collected on the floors due to drilling.
Tips to Consider When Drilling Tiles
- If possible, drill the hole near the center of the drill to minimize the chances of chipping or cracking tiles on the edges.
- Always maintain constant pressure when drilling into tiles. However, putting in too much pressure can damage the drill bit or result in overheating of the drill.
- You can take the drill out occasionally to remove the debris collected inside the hole due to drilling.
- A cooling lubricant can be used as an effective alternative to water.
- If you feel too much resistance, stop immediately, as the drill bit can snap when there’s resistance.
- Avoid drilling into the grout between the tiles because it will provide a loose fixing and increase the chances of tile cracking.
- It’s crucial to keep the drill cool for it to function properly. Use a wet sponge or spray water over the drill bit to avoid overheating. You can take short breaks in between while splashing water on the tip to cool it down. When spraying water, avoid spraying the motorized part of the drill, as it can lead to a short circuit or a malfunction.
- While you can always spray water to keep the drill cool, the best way is to take a few breaks when drilling a hole. For example, if you are working on a larger hole, the drill will take longer, ultimately taking up more power. Taking breaks in between drilling keeps the drill from overheating or getting damaged.
Bottom Line
Following the step-by-step process we have shared will turn your DIY drilling project into a success. Although you have to remember a few things like choosing the right drill bit, marking the drill holes correctly, and preventing the drill from overheating, the most crucial issue is to drill a hole at a steady pace.
Lastly, always wear protective gear no matter how small the scale of your project is.