Is the grout in your tiles becoming an eyesore because of its stained and dirty appearance? The grout in your tiles is extremely important in your home décor because once the stain stays there for a long time, your flooring will look old and dirty no matter how many times you clean it.
The problem is that removing old grout can be a time-consuming job. Can you regrout tiles over existing grout? This is just one of the questions that you probably have in mind. We listed down a few simple questions about regrouting to help you decide.
Table of Contents
Can You Regrout Tiles Over Existing Grout?
The simple answer is Yes, you can put new grout on top of the existing grout in your tiles. Basically, you still need to remove a bit of the old grout. You have to strike out the old grout with a depth of at least 2mm.
If you want the best results, you need to use epoxy grout. This type of grout has better bonding quality and it won’t absorb water as well compared with cement grouts. They come in different colors and finishes so you can find a specific color that would fit the color of your tiles.
One of the advantages of putting grout over your existing one is that you can save more time and money during the process. You won’t have to spend too much time clearing all the grout and you will use less grout as well.
How Do You Regrout Tiles without Removing the Old Grout?
Regrouting is a task that almost any homeowner can do. It doesn’t require any expensive tools and you don’t need to be an expert as well. You can follow a few simple steps to make sure that you can do this with ease.
1. Prepare your Materials
The first thing that you need to prepare is the power tools that you need to remove a bit of your old grout. You need a grout saw, utility knife or scissors, and a rubber grout float. You also need to buy the grout powder that you will apply on your tiles, grout sealer, caulk, and caulk gun.
You need to prepare other tools and materials for cleaning purposes like a vacuum, sponge, and clean cloth. Make sure that you also have a dust mask for safety purposes.
2. Choose a Material
It’s possible that the grout of your tiles right now is made from cement. This is very common because cement is durable and it lasts for a long time. However, it also discolors and gets stained easily.
Cement is the most common grouting material, but the best choice is epoxy grout. As we’ve mentioned earlier, this type of grout has better bonding properties and it doesn’t absorb water compared with cement.
Epoxy grout is also easier to apply, extremely durable, and comes in different colors and finishes.
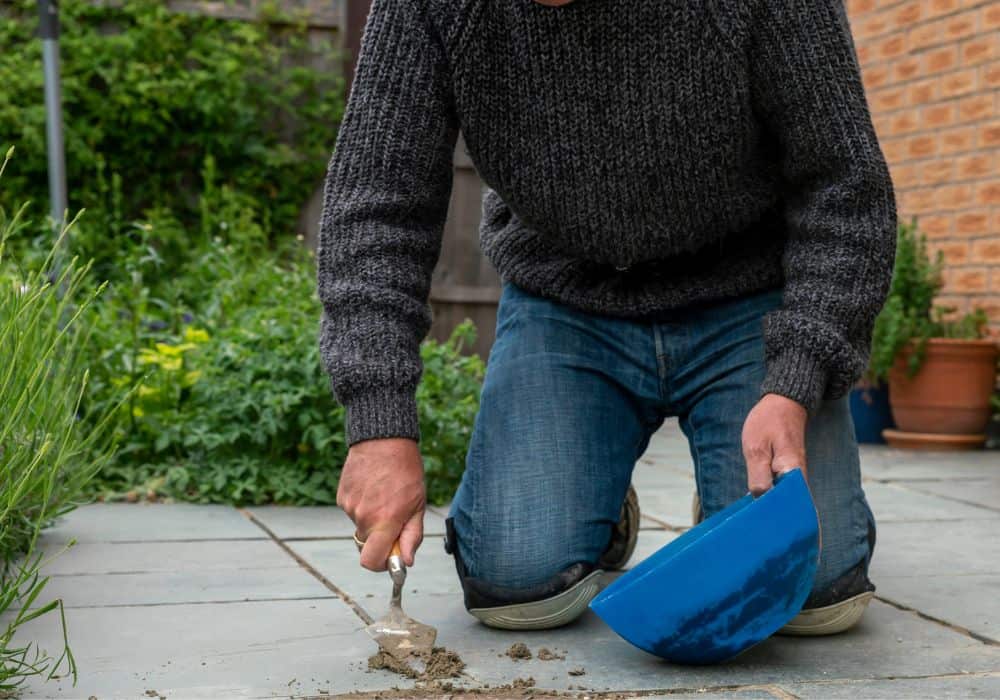
3. Make Some Space for the New Grout
Although you are putting grout on top of existing grout, it doesn’t mean that you won’t remove a bit of the old one. It takes time to completely remove the old grout, which is why you only need to create a channel where you can place the new grout.
This kind of task is very time-consuming as well and it would depend on the size of the area that you’re working on. You only need to remove a thin layer of old grout, but make sure that you take out the dirty and disintegrating grout.
Be sure that the channel is deep enough for the new grout to bond perfectly. This will determine the durability of the grout that you used on the tiles. The upper layer of the old grout should be removed using a grout removal tool. It needs to have a depth of at least 2 millimeters.
You can use any type of grout removal tool that you have.
4. Clean Up your Mess
Once you’ve created the channel, you will notice that the tiles are full of loose dust and dirt because of the grout. One of the most important things that you need to do before you start the regrouting process is to keep the grout line clean and dry.
Prepare your vacuum and start clearing up the loose dust and dirt on the tiles. Make sure that you also vacuum the channel as other debris might have fallen inside. Remember that vacuuming the area is not enough. You need to completely clean the area before you start regrouting.
Get your damp cloth and wipe out the entire area to remove the grout haze. Wipe the tiles as well as the channels to make sure that any remaining dust and dirt would be removed. The project area should be completely dry before you fill the channels with a new layer of grout.
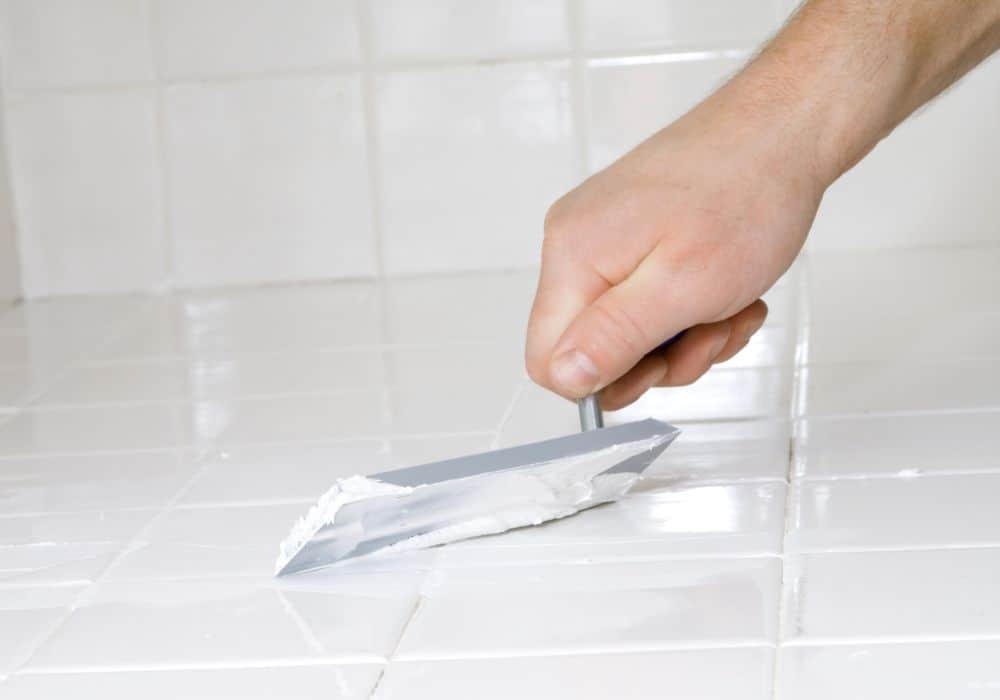
5. Apply the Epoxy Grout
Most tile grouts are in powdered form, which means that you still need to mix them by hand before you apply them. You can also buy premixed liquid paste that is placed in tubes. Remember that the direction of use would be different depending on the product that you’re going to use.
Before you use the grout, you need to read and follow the instructions on the package for better results.
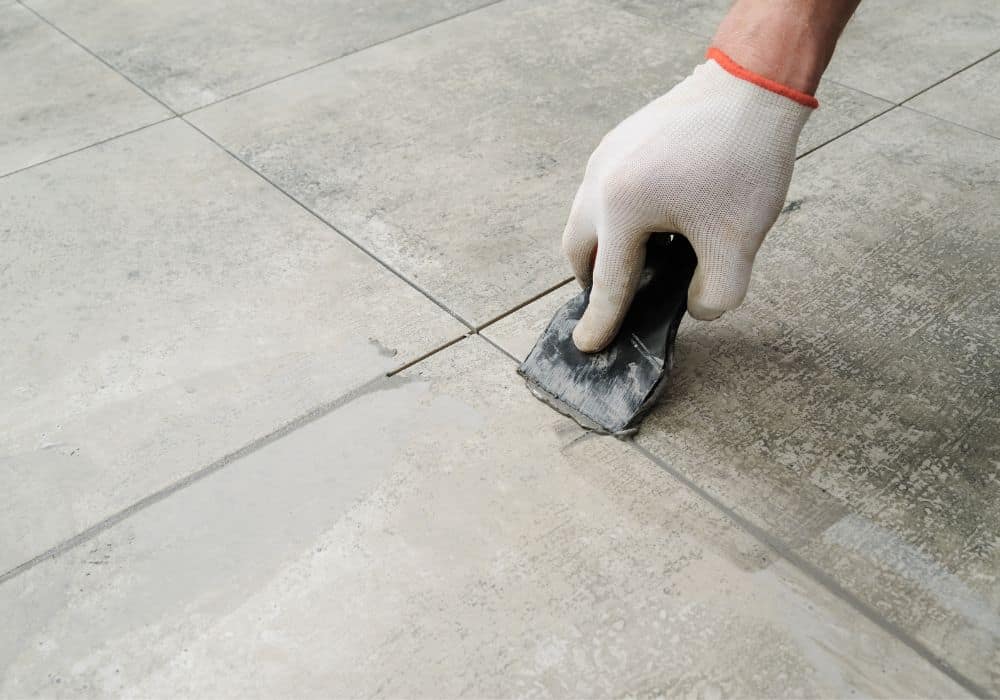
Once you’ve mixed the grout, put some mixture in your grout float. Spread the grout diagonally on the grout lines that you created. Pack the grout firmly into the channel to make sure that it would reach every nook and cranny of the grout lines.
Before you proceed with the other tiles, it’s better to clean the area that you’ve worked on. Get a damp sponge and remove the excess grout from your tiles and try to smoothen the edges as well. Cleaning the surface of the tile would be harder if you just focused on regrouting. Do it for a few tiles and then start cleaning.
When you’re cleaning the tiles, don’t apply too much pressure, especially on the grout lines. You don’t want the grout to have any damage before it completely dries.
The new grout should be left there for at least a week. Allow it to completely dry before you proceed to the next step.
6. Sealing the Grout
You are making a mistake if you think that your job is done after applying the grout. You still need to seal it. After letting the grout dry for about a week, it’s time to apply the grout sealer. Use a dry clean cloth and start applying the sealer to the grout joints.
After sealing the grout, you need to caulk the edges and corners of the tiles. Check the joints and cut the tip of the tube to the same size. Use the caulk gun at a 45-degree angle and put pressure on the tip of the tube. Remove excess grout on the tile surfaces using your wet finger.
When Should You Remove the Existing Grout?
Remember that putting new grout on existing ones will not always work. You still need to check the working area if it is possible for you to regrout your old tiles without removing the grout. We listed down some of the signs that you have to remove the existing grout completely.
1. Old Grout is Moldy
One reason to completely remove the grout is mold and mildew problems. you would never know the extent of the problem unless you check everything. It means that you have to remove the grout completely to be sure that the mold is only on the surface.
Cleaning the grout is also a tedious task. Sometimes, it is easier to just remove the grout instead of cleaning it. Use an oscillating tool as it is faster and easier to use.
2. Before Changing the Color
It is also possible that you want to change the grout color. Although you can always colorize the old grout, it is better to just use a new grout color.
If you want to change its color, you still need to clean the grout thoroughly. You have to make sure that it is completely clean before you change the color of the old grout. This process is very time-consuming, which is why removing the grout and using a new grout color would be a better option.
3. The Grout is Damaged
There are grout damages that you can still repair, but there are some cracks and problems that would be very hard to patch up. In this scenario, regrouting your tiles without removing the old ones won’t be effective.
It is better to remove the grout completely and just place a new one if you notice that the grout is crumbling.
Final Thoughts
It is possible to regrout tiles over existing grout, but you need to be very meticulous when it comes to the details. Although it is possible, it’s not always the best solution. It’s better to hire a professional to help you decide if you don’t know what to do.
This article can also help you make the right decision when it comes to regrouting.
If you have questions about the regrouting process, you can comment down below and we will help you.