Are there some flooring issues between one room to another, perhaps unattractive gaps due to differences in flooring thickness and designs? A popular remedy to bridge these gaps and create a visually pleasing connection from the doorway to a room is by using transition strips.
And if it’s your first time using these materials, you might be unsure where to put the transition strip in the doorway. But fret not because we will guide you every step of the way, from the location to some relevant tips during the application.
Table of Contents
Where To Put Transition Strip In Doorway?
Why transition strips are very useful?
Transition strips are designed to cover up the boundary between two different types of flooring and different heights. By adding this material, the variances are eliminated, which is why these are widely used in offices and hallways where there is a transition between rooms.
In addition, this acts as a stopper, making it very helpful in preventing scratches on your toes due to the unevenness of the flooring materials. The strip also allows the expansion of the hardwood floors to seamlessly adapt to the humidity and temperature of the different rooms.
Therefore, if you plan to add these to your doorway, there are some things that you need to know beforehand. Let’s get started with types of transition strips so you’ll be able to pick the right one for your needs.
What are the most popular transition strips?
There are actually several transition strips on the market. Each caters to different flooring types, particularly the thickness and the design.
1. T-bar or T-molding
Made of solid wood, this is the best option if one room with a hardwood floor alters into a different flooring that has a hard surface yet is similar in height. The shape of this material makes it easy to be glued down the floor using a construction adhesive. You may also nail it for a more durable finish.
2. End bar
On the other hand, the end bar is used if there are two different floorings. For instance, the hallway has hardwood while the room features a carpet. So, to create a smooth carpet transition from the hallway, the end bar is added.
Often than not, end bars are also maximized for unequal heights, especially if a skirting board cannot be utilized. This particular transition strip makes sure that both ends of the flooring stay in place.
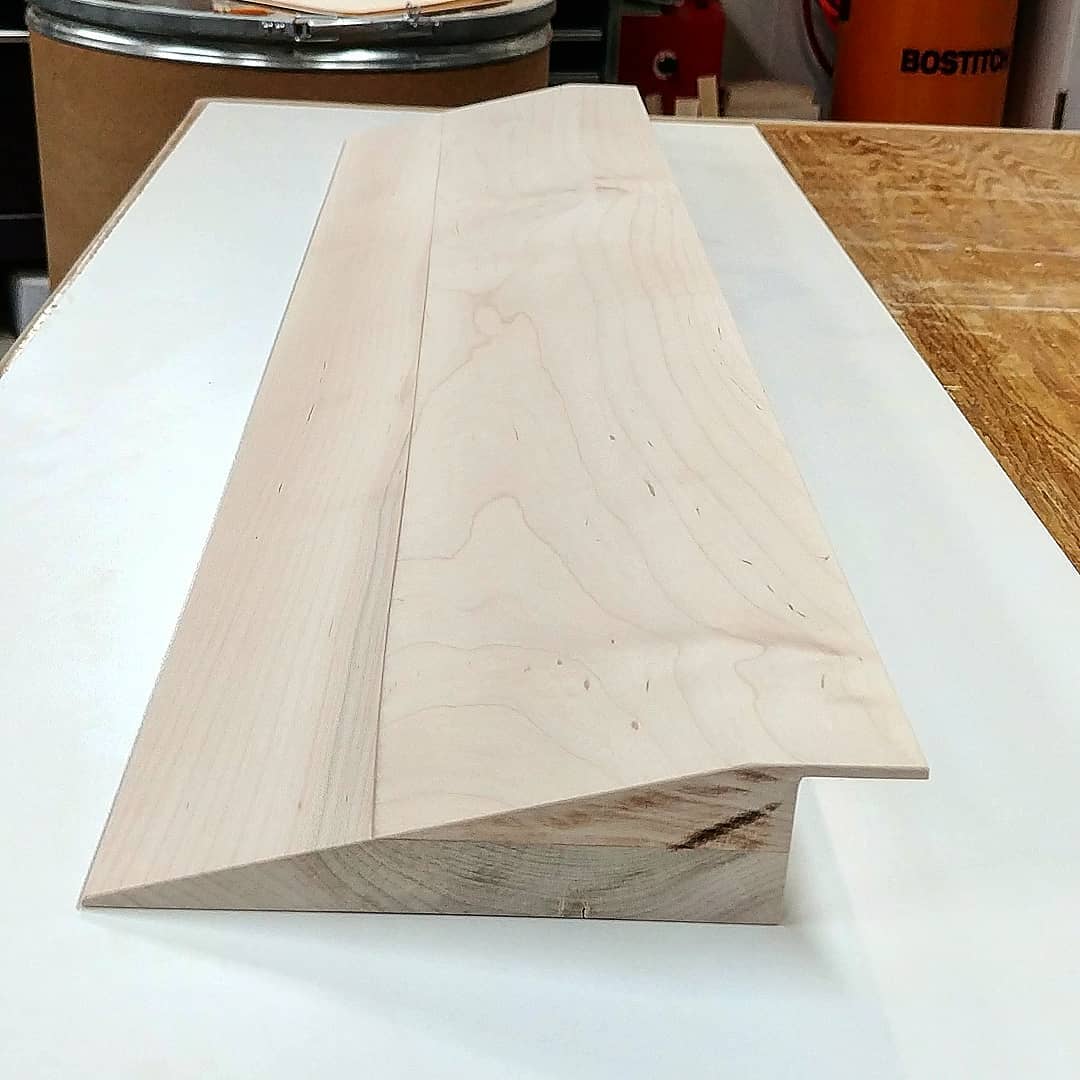
3. Reducer molding
If the thickness between the two areas is significantly different, then a reducer molding or hard surface reducer is the answer to your needs. This is highly recommended when bridging the gap between vinyl and laminate flooring. It’s also useful when one of the floorings is a low-pile carpet or ceramic.
Unlike the T-bar, the reducers come with a bulky dimension to provide a smooth transition between two hard surfaces. Accordingly, it creates a more pleasing outline with top-notch safety features.
4. 4-in-1 transition strips
When it comes to interchangeable parts, the 4-in-1 transition strips are the best ones for your needs. Often likened to a Swiss Army utility knife, these work on different floors. The material typically comes with a metal channel that is used to mount the system.
Apart from this, it may encompass a T-molding that connects to the metal channel. And depending on the situation, there are specific strips to be used such as carpet strips, vinyl transition strips, and aluminum strips.
Other remarkable choices that may be incorporated together with a T-molding are wood transition strips and metal transition strips.
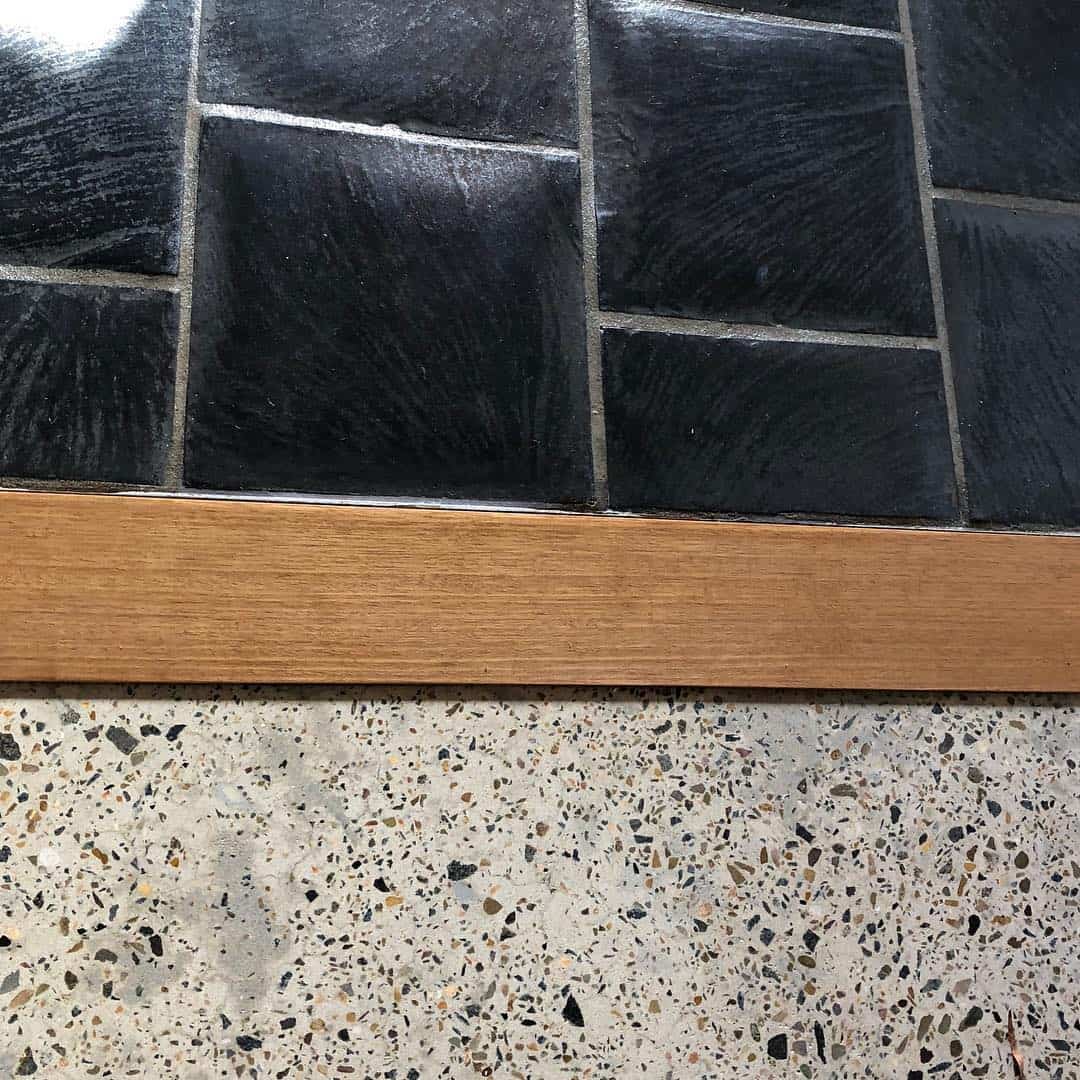
5. Seam binders
For wood-to-wood transition, seam binders do the job remarkably. These hardwood strips connect two wood floors having the same height. The seam binder is installed by driving screws on the strip to the subfloor. Do take note that it is not attached to the floor, hence flooring can still expand without cracking.
Since seam binders are generally made of wood, so most are sold unfinished. This allows you to make alterations to the strips to complement your flooring. More so, these come in various widths, giving you lots of options.
6. Carpet edge gripper
A carpet edge gripper is added to the edge of the carpet to generate a seamless shift from the carpet to another flooring that settles lower than the tufted fabric. This is typically an aluminum strip with strident metal teeth so it can durably attach to the carpet’s edge.
Where to put the transition strip in a doorway?
Now that have a thorough idea of the different types of transition strips, it’s time to move to the next part. One of the important things to comprehend when installing transition strips is the location. This is a crucial step for the overall look of the room as well as the safety of the people around it.
And knowing the location is tantamount to learning the entire process so you accomplish your task with ease and ensure a smooth and long-lasting transition.
1. Preparing key materials and tools
The main material is none other than transition strips. But of course, the type of transition strip largely depends on what you want to achieve and what are the current circumstances you are in. If you’re working on wood flooring, then a drill, impact driver, and circular saw or bandsaw are some of the needed tools.
Meanwhile, for concrete flooring, you should have concrete anchors and a masonry drill bit. Pencil and tape measure are also very helpful.
2. Finding the right location
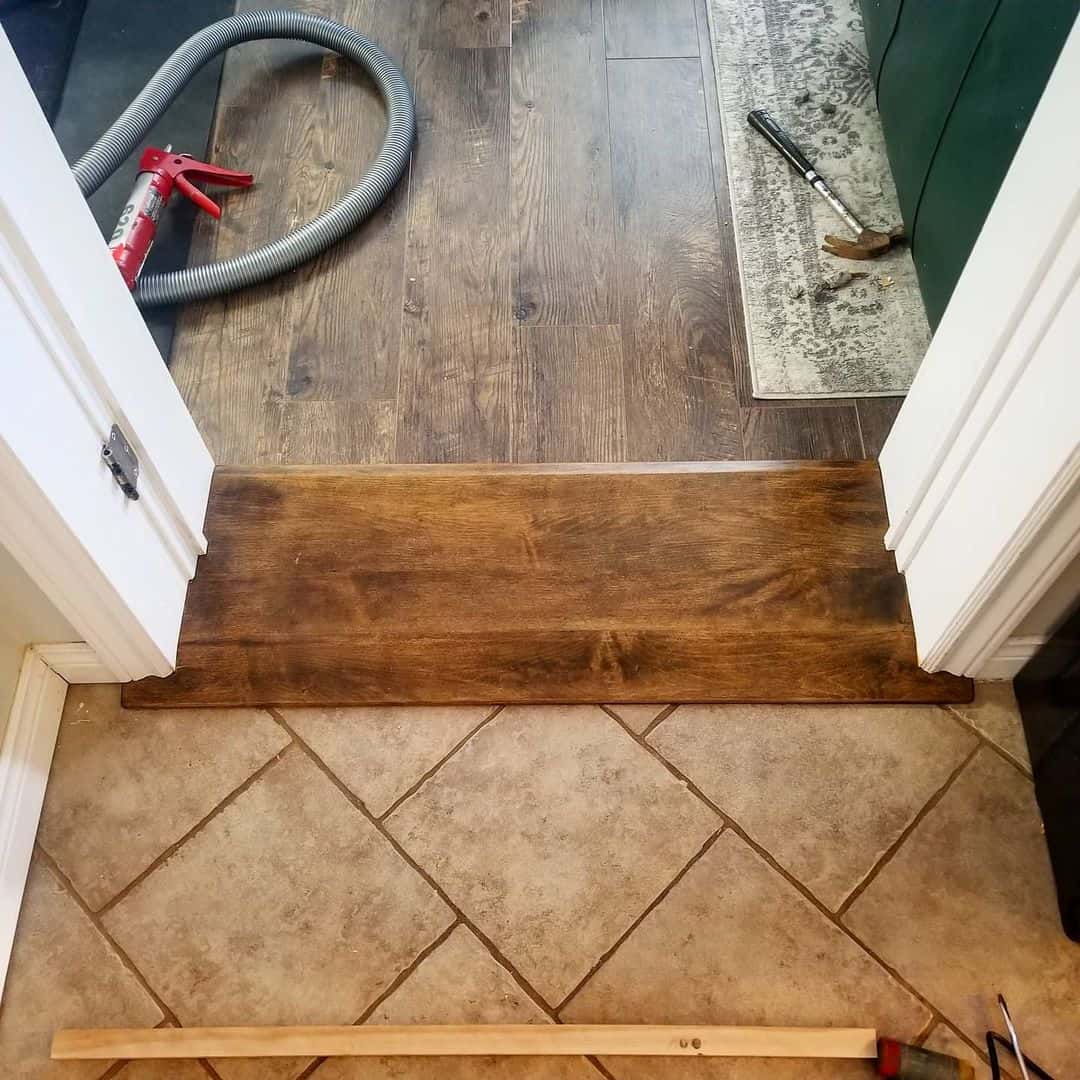
If you decide to add a transition strip on the doorway, then you should start by measuring the inside section of the door opening. In doing so, you need the take the measurement of the small part at the outer area of the door frame. This is where the door does not come into contact with the frame.
This is the best location to place the transition strip. Meanwhile, if you install the strip right on the door opening, this creates a possible blocking of the door opening. Therefore, the transition strip should be placed accurately to avoid problems in the future.
If you’re uncertain about the location, then just try shutting the door and placing the strip on certain areas. Assess the best spot where the strip looks best and begin with the installation.
3. Drawing a line as your guide
Using a tape measure, know the correct length where the transition strip should begin and end. From there, grab a pencil and draw a line on the flooring as your reference. If the threshold is very high, then the best option is to use a T-mold.
4. Cutting the metal rail
Once you get the correct measurement, you may now begin cutting the transition strip’s metal rail. Using the doorway measurement, mark the metal using a pencil. Use either a bandsaw or circular saw to slice through the material and create a smooth cut, and then screw it carefully into the subfloor.
5. Attaching the transition strip to the subfloor
When you attach the transition strip, you need to consider first the subfloor material. For wood, then putting the strip is very easy. You simply attach the metal rail to the subfloor using the screws, and ta-da, the task is done!
On the other hand, placing the strip into a concrete subfloor may require drilling. Likewise, you also need to mark the area where the screws should be put. Using the masonry drill bit, drive into the mark that you have prepared. Once the drilling is complete, insert the concrete anchors right into the holes.
The dimension of the concrete anchors takes into account the size of the screw for your transition strips. Therefore, it’s important that you check the instructions listed in the package to know the correct drill bit. Afterward, place the metal rail and screw them into the concrete anchors.
What are some important things to take note of when using transition strips?
In general, it’s best that you add a gap of at least ¼ inches between the metal rail and the edge of the flooring. Why? It’s because it helps in providing room for expansion and physical contact during fluctuations in temperature and even humidity.
Don’t worry about the presence of the gap because most transition strips come with a sleek, decorative piece that conceals the unappealing slit.
Another crucial tip is to forego using glue, especially with laminate flooring. Laminate surfaces are considered part of the floating floor category, which means these are designed to be shifted. So, when the surface expands and contracts, then the glue gets damaged and the strips start to protrude.
Therefore, the best option would be to use screws for top-notch functionality and longevity of the materials. And if you’ve got extra strips, you can actually use them for other rooms. Just make sure that the materials are compatible with the flooring.
Conclusion
Putting transition strips on your doorway is an easy task as long as you know the basics. Determine your floor types and choose the correct type of transition strip. And of course, the steps above can help you save time and money. So, use our guide as your reference and complete the installation in one go!