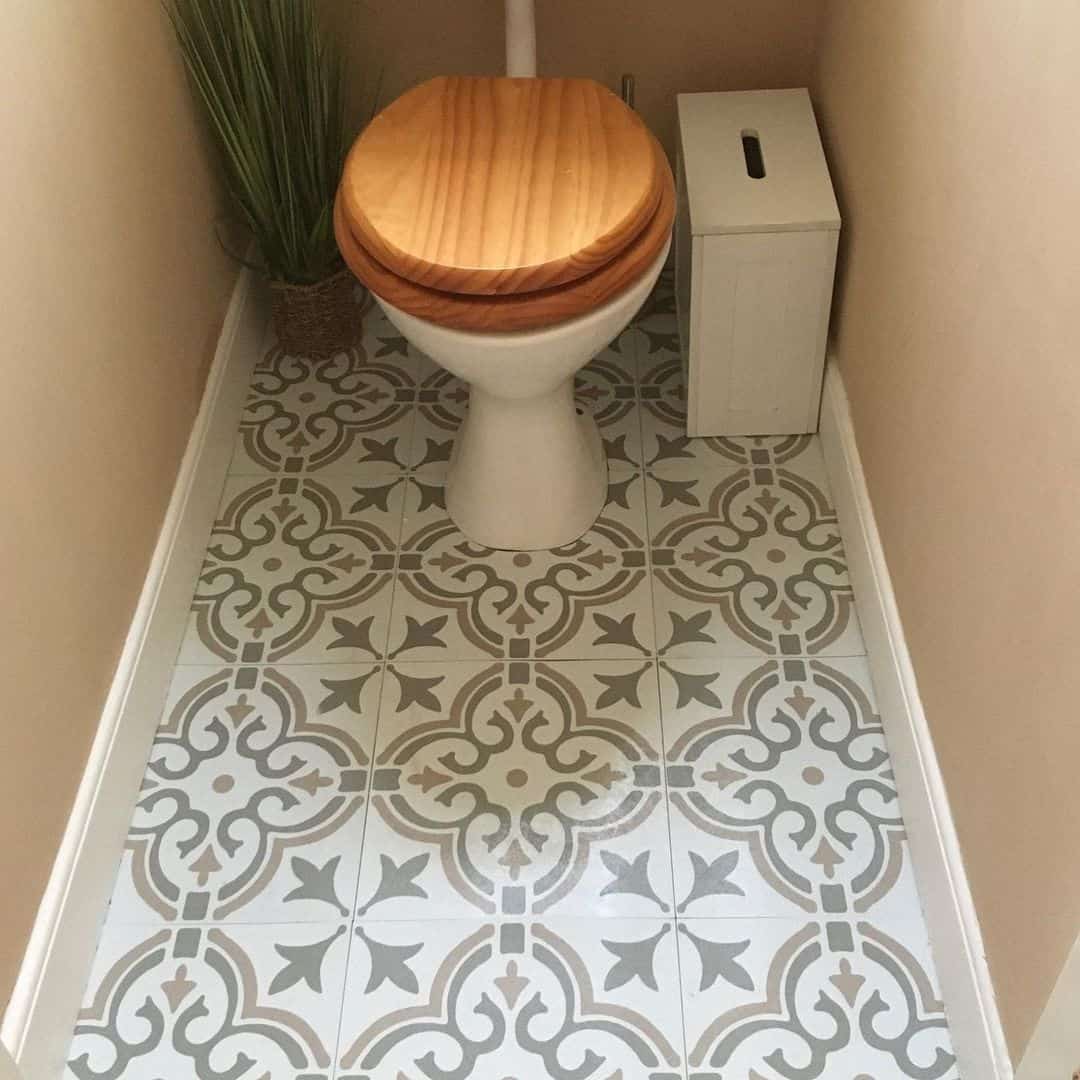
If you are wondering whether you can use peel-and-stick tiles in the shower, the answer is yes! Anytime your kitchen, basement, or bathroom needs cheap ‘remodeling,’ you can use peel-and-stick tiles and achieve the look!
Laying a tile or wall floor will take longer and cost more than peel-and-stick tiles; these are two reasons people opt to install them in showers.
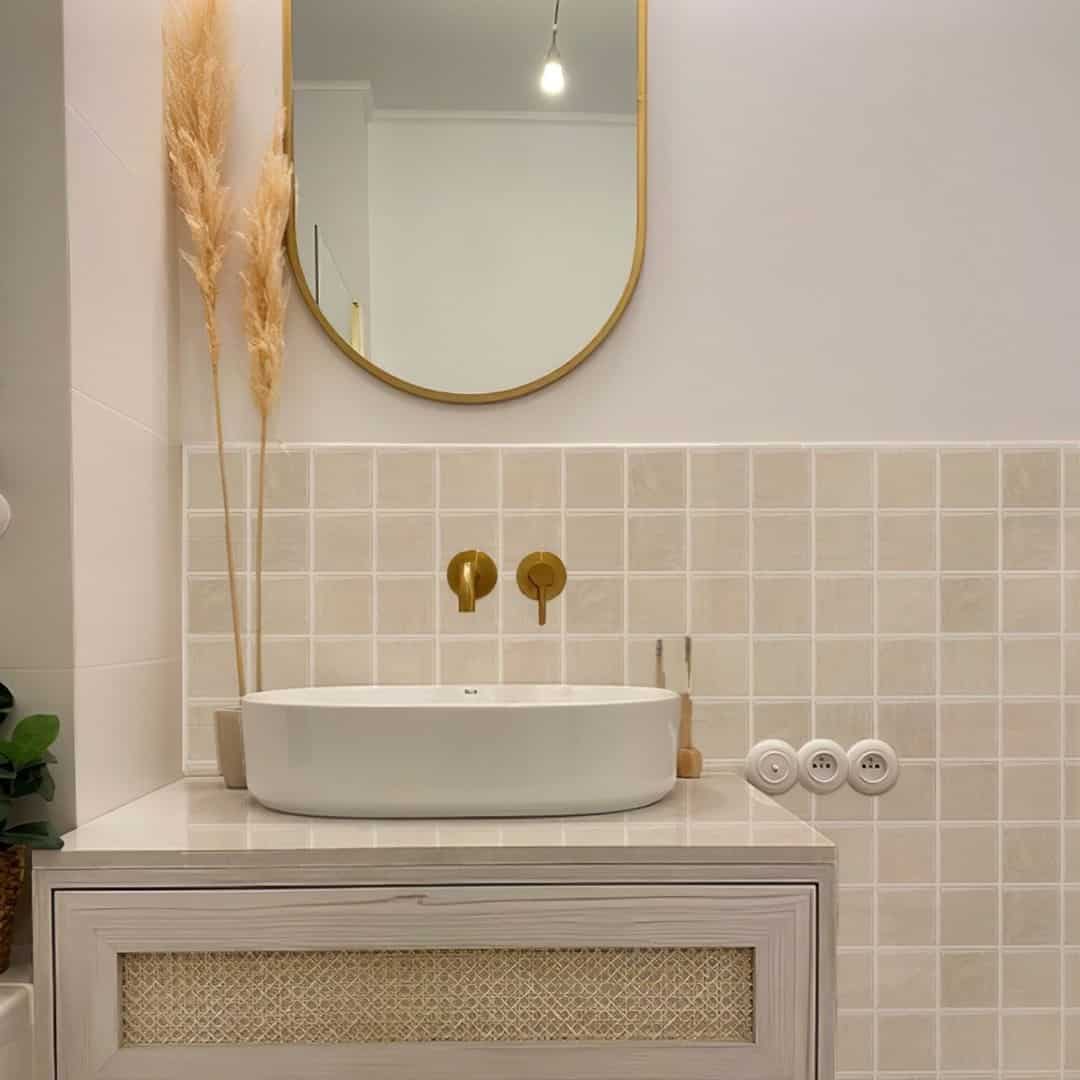
Using peel-and-stick tiles in specific areas in the kitchen or bathroom can also elevate the entire look and provide the wall some protection from various splashes. There are multiple types of peel-and-stick tiles that you can purchase, such as vinyl, glass, or metal.
However, the installation process can sometimes be a bit challenging, and there are other factors you need to consider if you want to peel and stick tiles to look perfectly laid.
Table of Contents
Can I Use Peel and Stick Tiles In the Shower?
Stick and peel tiles are self-adhesive, posing some limitations on certain surfaces. Because of the adhesive or glue at the back of the tile sticker, you cannot quite stick it to any surface.
As you probably guessed, these tiles must be applied onto smooth and even surfaces, so you must avoid any textured surfaces.
So, if you are wondering what surfaces are best suited for peel-and-stick tiles, here is a list!
- Mirror
- Wall Linoleum and Panel( PVC/ Acrylic)
- Wallpaper
- Smooth Glass and Ceramic Tiles Backsplash
- Gypsum Board
Besides these, you can also use them on your current tiles in your kitchen, for example. It is much cheaper to stick new tile stickers onto your tiles than replace them.
Furthermore, it can sometimes give a cheap look, but if you are creative and have a good eye for color combinations, it can mimic a luxury project.
Surfaces to Avoid When Installing Peel and Stick Tiles
The surfaces that are porous and dusty are not a good choice for these tiles stickers unless they can be cleaner and leveled. In reality, you can stick these peel-and-stick tiles on those surfaces, but they will look hideous and peel off very soon. These tiles cannot be used as a work surface, submerged in water, or exposed to flames and excessive heat.
So, it would be best if you never tried to apply these tile stickers to the following:
- Unpainted Plywood
- Unfinished wall (plaster)
- Stone, brick, and stucco wall
- Ceiling
- Floor
- Countertop
Are Stick and Peel Tiles Durable?
Although they are a great and cheap alternative to regular tiles, they are not very durable. However, their durability can depend on several factors. If the tile stickers are very often exposed to high moisture, humidity, and splashes, this can easily cause them to curl.
It usually starts loosening at the edges, and after you try to stick it again, it does not do much for very long. However, keep in mind that this is a very cheap solution and that you cannot expect it to last forever.
If you like to conduct cheap remodeling experiments and want to change the look of your space, these stick-and-peel tiles are a great choice!
Do I Need to Prepare the Surface?
Yes, yes, and yes! Preparing the surface is one of the most critical factors you need to include when planning this project. Why? If the surface is uneven or has various bumps, the tiles will give you the opposite look of the one you wanted.
Therefore, the underlayment or subfloor must be flawless so that these tiles can stick to it. If the surface is not ideal, you can use putty and levelers to fix it, depending on its type and condition.
Keep in mind that some surfaces cannot be leveled, and it will affect the overall look! Generally, the strong adhesive is problematic because if you do not measure the area or if the surface is not prepared, it will not be pretty.
Furthermore, sometimes this adhesive can pose a challenge when you want to replace the stick and peel tiles. If the surface is filled with dust and some other debris, you need to clean it to increase the longevity of your tile stickers.
However, this depends on the stick and peel tiles you chose. Some of those do not have this strong adhesive, and you can peel them off several times before you pick or find the correct position.
What Type of Peel and Stick Tiles is the Best for Shower?
As we all know, the shower is exposed to high moisture and humidity, so you need unique materials to deal with these problems and their consequences, such as mildew and mold. The regular peel-and-stick tiles might not work in the shower. Why?
Well, the tile stickers will peel off very soon because they cannot be exposed to excessive splatter and water, which regularly happens during a bath or a shower.
So, you must choose premium waterproof peel-and-stick tiles, preferably ones thicker and applied with strong adhesive.
However, remember that these peel-and-stick tiles are not a permanent solution, and you will likely have to replace them in the following months.
How to Install Stick And Peel Tiles in Your Shower?
Before we start with the step-by-step guide on how to apply these tile stickers to your shower wall, let’s check out what tool you need. Those are:
- Sealant and paintbrush
- Tape Measure
- Scissors
- Caulk gun with silicone caulking
- Marker or a pencil
- Cloth
Step 1: Prepare or Clean the Surface
As mentioned above, cleaning the surface is of paramount significance because if there is dust, stains, or grime on the surface, it will stick to the adhesive on the back of the tiles and give them an uneven and lumpy appearance.
So, depending on what type of surface you plan to apply these peel-and-stick tiles, use a damp cloth and gently swipe over the area, making sure that there is nothing left behind.
Step 2: Measure the Area
The second most crucial step in this process is appropriately measuring the area so you can know whether you have enough peel-and-stick tiles. Using the marker or pencil, mark the place where you plan to stick them.
Step 3: Cut the Tiles
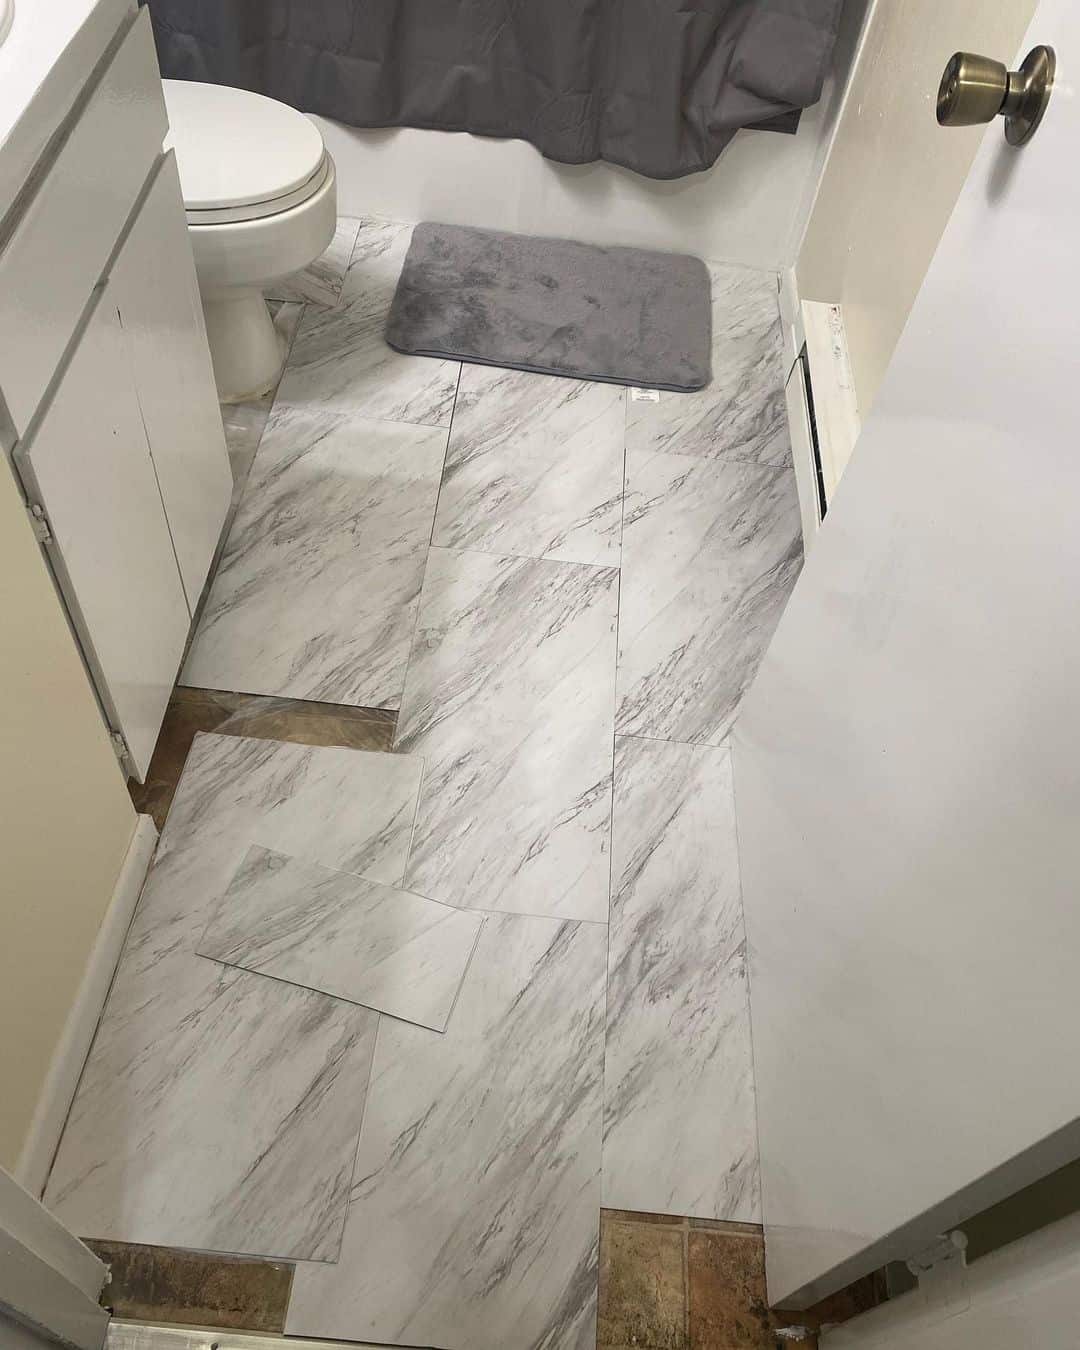
After measuring the area or surface on which you plan to install the tiles, you will need to cut them according to your measurement and trim them at the corner, so they fit perfectly.
If you plan to apply these tiles in a specific manner or pattern, use the marker to label the places where you plan to stick them.
Step 4: Apply the Peel and Stick Tiles
You will probably need an assistant for the installation, especially if you plan to stick a larger portion of these tiles. Remove the tiles one at a time in accordance with the measurements and labeled areas. Always start at the top and push down slowly.
Then dab the silicone caulk over the edges and press it firmly.
Step 5: Seal the Tiles
After you have mounted the tiles, it is time to check whether the silicone caulk has dried off. If it has, that is your clue to proceed with sealing. Use the sealant with a paintbrush (preferably new or unused).
Always make sure that you seal the entire area before moving on to the other one. After the sealant dries, the job is finished.
If you are a visual learner, here is a video of how to apply them and additional information that might help you make your decision.
Conclusion
If you are thinking about mounting stick-and-peel tiles in your shower, that is a realistic option that will serve you for the next couple of months. Ultimately it boils down to your budget and how often you use your shower.
Peel and stick tiles are generally affordable or cheaper than installing new tiles in your bathroom, which is why people choose them.
Do you plan to install these peel-and-stick tiles in your shower? Please share your experience with us! Do not hesitate to ask if you have any questions or need clarification about something!