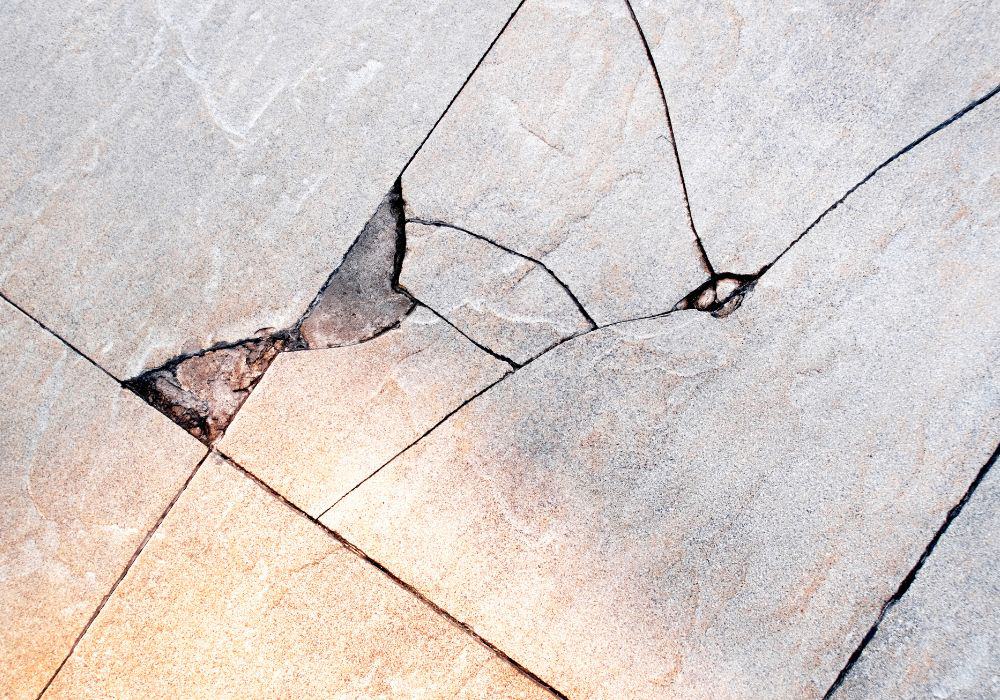
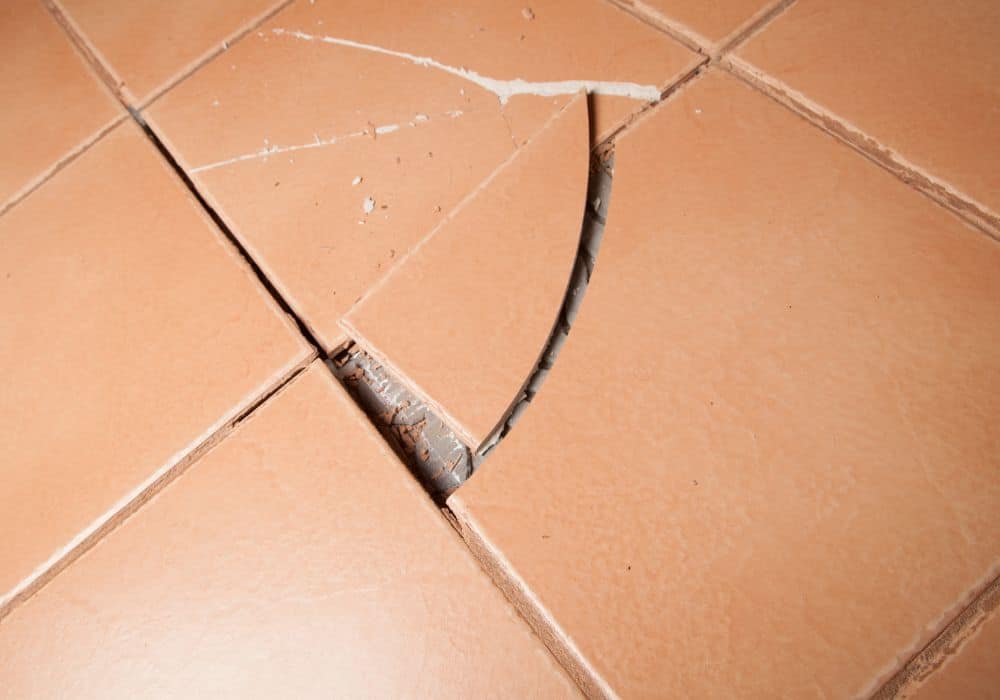
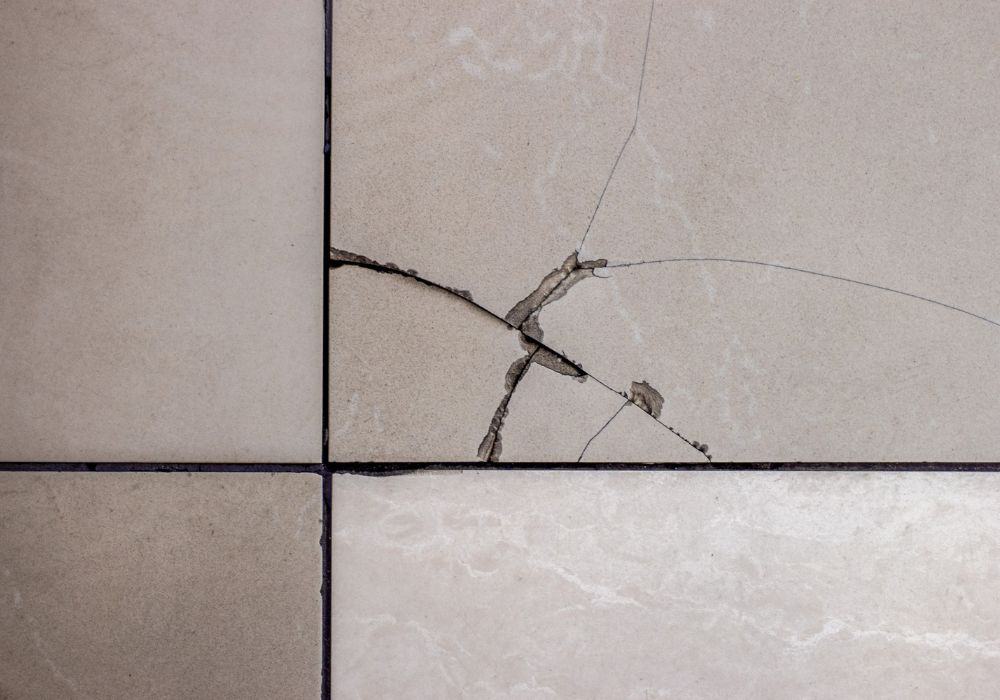
Even the tiniest cracks in your wall and floor can ruin a picturesque living room or bedroom. Hiring a tile installation expert would be the best course of action, but if it’s only a few tiles, you can do it on your own.
If you want to know how to replace broken floor tiles, there are a few simple tricks that you need to understand. This would help you save a couple of bucks as you won’t have to pay for a professional fee.
We listed down a step-by-step guide if you want to do the tile replacement on your own.
How To Replace Broken Floor Tiles?
Tools:
- Grout Remover or Electric Grout Remover (if you need to remove a lot of grout)
- Tile drill bit
- Bolster or cold chisel
- Combi drill
- Claw hammer
- Grout spreader
- Stripping knife (with a 2- or 3-inch blade)
- Soft cloth
- Tile spacers
- Sponge
- Dust sheet
Materials:
- Replacement tile (should be the same as the other tiles)
- Gaffer or masking tape
- Grout
- Tile adhesive
Step 1: Prepare the Working Area
The first thing that you need to do is to prepare the area where you will be working on. All of your tools and materials should be within your reach so you won’t have to waste time standing up to get what you need.
Wear a dust mask and heavy-duty gloves for safety purposes and lay down a dust sheet. If you are changing the tiles in a bath, shower tray, basin, or near your kitchen sink, make sure that you block the drainage hole to prevent any debris from being drained.
Step 2: Remove the Grout
Before you work on removing the old tile, you need to remove the grout first. Use the grout remover to loosen and take out the grout on the four edges of the tile. Work on the vertical joints and proceed to the horizontal ones right after.
If you are using the electric grout remover, look for a suitable tip and insert the tool. Hold it at a 45-degree angle and use low speed to slowly remove the old grout. You can adjust the speed and the pressure depending on your preference.
Step 3: Drilling a Hole in the Damaged Tile
The next step is to drill a hole in the cracked tile. The first thing to do is to get a piece of gaffer or you can use masking tape and place it in the center of the tile. This would prevent the drill bit from slipping while you are working on the surface.
If you are going to remove a large ceramic tile, you can put multiple tapes that are evenly spaced out. Get your Combi drill and start drilling a hole into the tape to weaken the tile’s surface. You should not drill too deep into the tile as there might be some pipes or cables under it.
Step 4: Slowly Break the Tiles
From the hole that you’ve made with a combi drill, get your hammer and a cold chisel to cut the tile from the center. You need to be careful not to dig the chisel on the floor. Use a putty knife to slowly loosen the tile.
Once you’ve removed the central portion of the tile, you have to slowly work on the edges of the tile. You need to be gentle when you’re breaking the pieces, especially when you’re very close to the next tile. If you are not careful, you might accidentally break the next tile.
After removing the damaged tile, use your stripping knife to remove as much old adhesive as you can from the subfloor. You have to make sure that the surface is flat before you place the new tile.
Step 5: Installing the New Tile
Get the replacement tile and place it into the gap to make sure that it fits perfectly. Remember that there should be a small gap on the sides where the grout would be placed. The tile should not protrude further from the floor. If it does, scrape more adhesive until it is at the same level as the other tiles.
Put tile adhesive at the back of the new tile and press the tile in place. Put some tile spacers to maintain the gap of the tile from the others. This will also make sure that it would not slip out of place.
Wipe away the adhesive at the surface of the tile and wait for it to dry before you put new grout on the sides.
Tips for Cleaning the Tile’s Surface
After applying grout, you will have to wait for it to dry before cleaning the tiles. Grout haze would form on the surface, which would give a dull look to the new tile. Here are a few tips for cleaning it:
- You can use a cleaning solution to clean the floor. Place it on the surface and spread it evenly. A dishwashing solution can be used or you can just get white vinegar to remove the light haze on the tile. If there are excessive deposits on the surface, you need a product designed for removing grout haze.
- Get a stiff-bristle brush or a damp sponge and scrub the floor. In the beginning, you might feel a bit of friction or resistance, but as you brush the haze away, the surface will slowly become smoother.
- Once the haze is completely removed, clean the dirty cleaning solution and make sure that you dry the floor. Use a dry rag to polish the surface.
Conclusion
Replacing a broken tile requires a lot of precision and you need to have the right tools as well. This will make sure that you can lessen the accidents and reduce the chances of breaking the surrounding tiles during the process.
If you don’t have the right tools and you have no experience in changing broken tiles, it’s better to hire professionals to help you out.
You can comment down below if you have any suggestions on replacing broken tiles.


