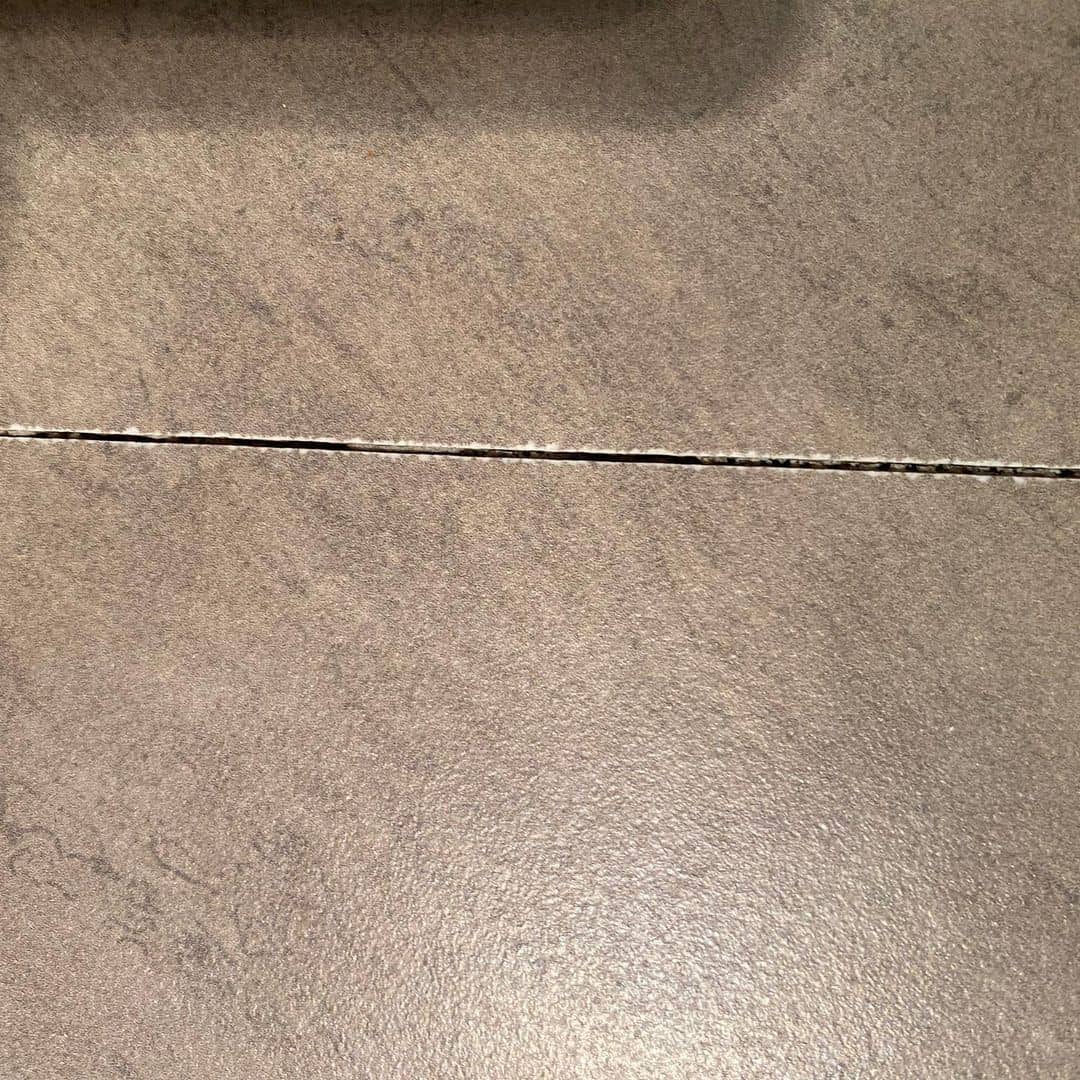
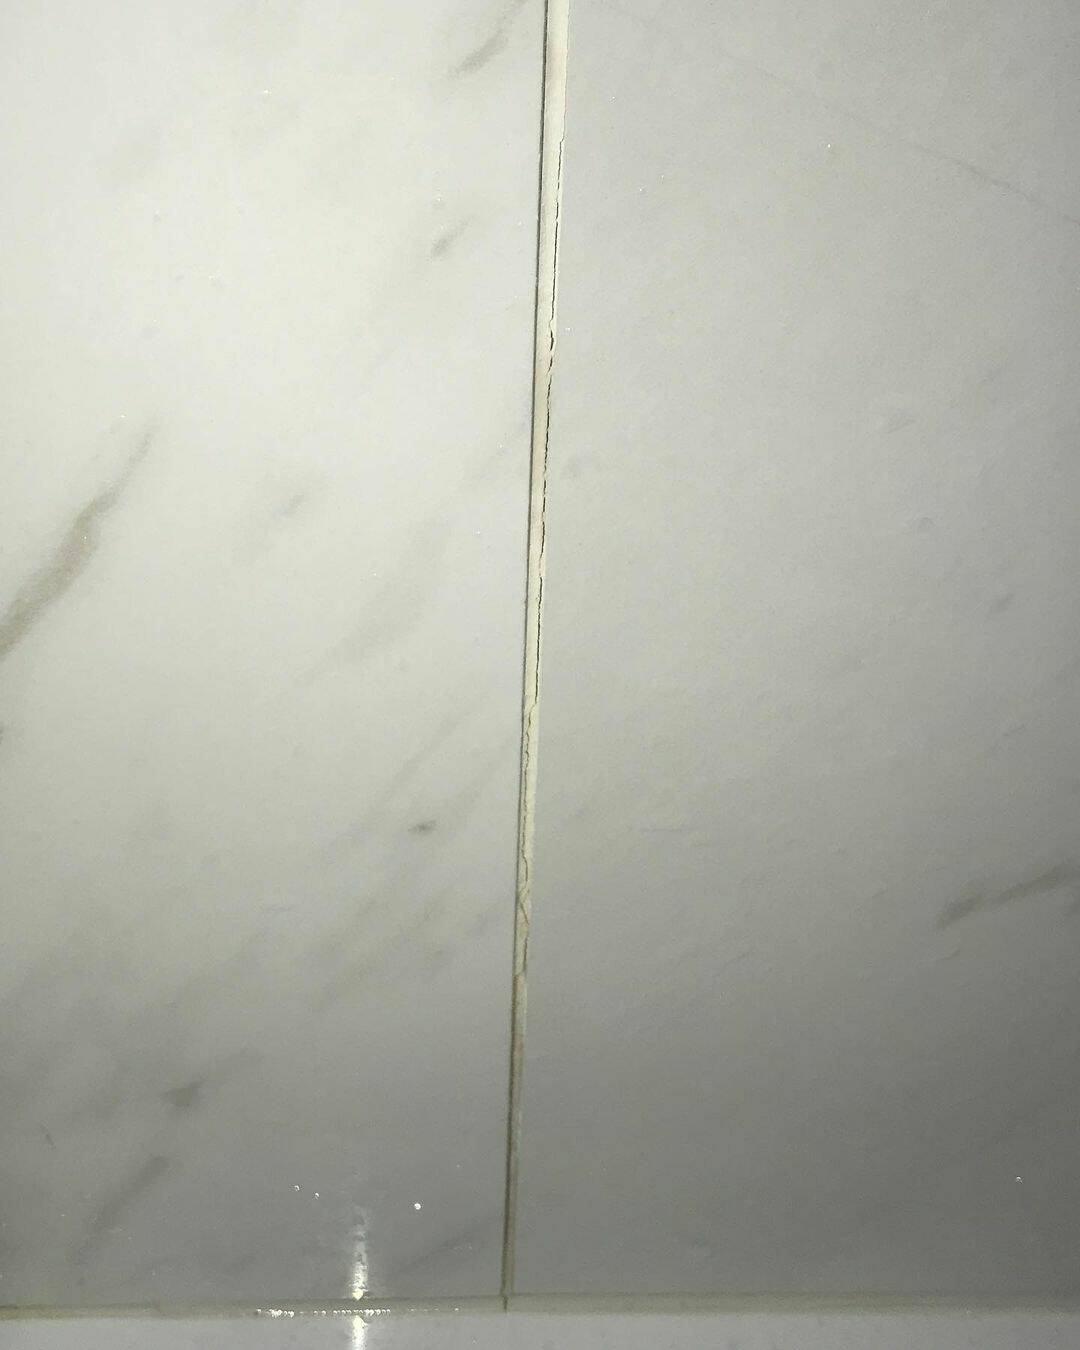
New floor tiles in the kitchen or bathroom can give the space a fresh new look. However, over time, the grout between the tiles will stain, crack, and even become loose. When that happens, you can repair the stained or cracked grout. But how do you do it? Is it a DIY job or will you need a professional to do it?
While you will need some special tools to fix cracked grout on the tile floor, most people with some DIY experience will have no trouble doing it themselves. Continue reading the article to find out what you will need and how to fix cracked grout.
How to Fix or Replace Old Grout
When you have the right tools and materials, dealing with damaged grout will be a lot easier.
What You Will Need:
- White vinegar
- Scrub brush or a toothbrush
- Grout saw
- Vacuum cleaner
- Grout or epoxy grout
- Bucket or bowl for mixing grout powder
- Paper towels
- Grout float
- Grout sponge
- Scrub pad
- Dry towel
- Haze Remover
- Sealant
You will also need rubber gloves, goggles, and a dust mask for protection.
Expert Tips Before You Start
Clean the grout before you start removing old grout that has cracked or loosened. This is important so your new grout will match the existing grout color. Wear eye protection for the removal of old grout as small pieces could fly into your eye and damage it.
You should wear a dust mask to prevent you from breathing in grout dust. It can also stop you from breathing mold if there is any mold growth on the old grout.
Step One: Cleaning The Old Grout
Begin by cleaning the old grout with a mixture of white vinegar and water. Your solution should have one part vinegar to one part water. Dip a scrub brush into the solution and scrub the grout until you have removed the dirt and gipe. Wipe clean with a dry cloth.
baltiling
Step Two: Buy Your Replacement Grout
Many home improvement stores do sample chips of grout which you can take home to check you get the right color match. You can change the shade of the grout by adding more or less water when you mix it.
You will also find that grout comes either sanded or unsanded. To work out which you will need, measure the gap between the tiles. For gaps bigger than ⅛-inch, you will need sanded grout and unsanded for anything smaller.
Important to note: You should not use sanded grout, regardless of the width of the gap, on glass, metal, or marble tiles as it will scratch the surface.
You will also need to choose between acrylic latex grout and epoxy grout. While acrylic latex grout is easier to work with, it will need sealing. Epoxy doesn’t need sealing and it is highly stain resistant but it is more challenging to apply. You can also choose between premixed and powdered grout.
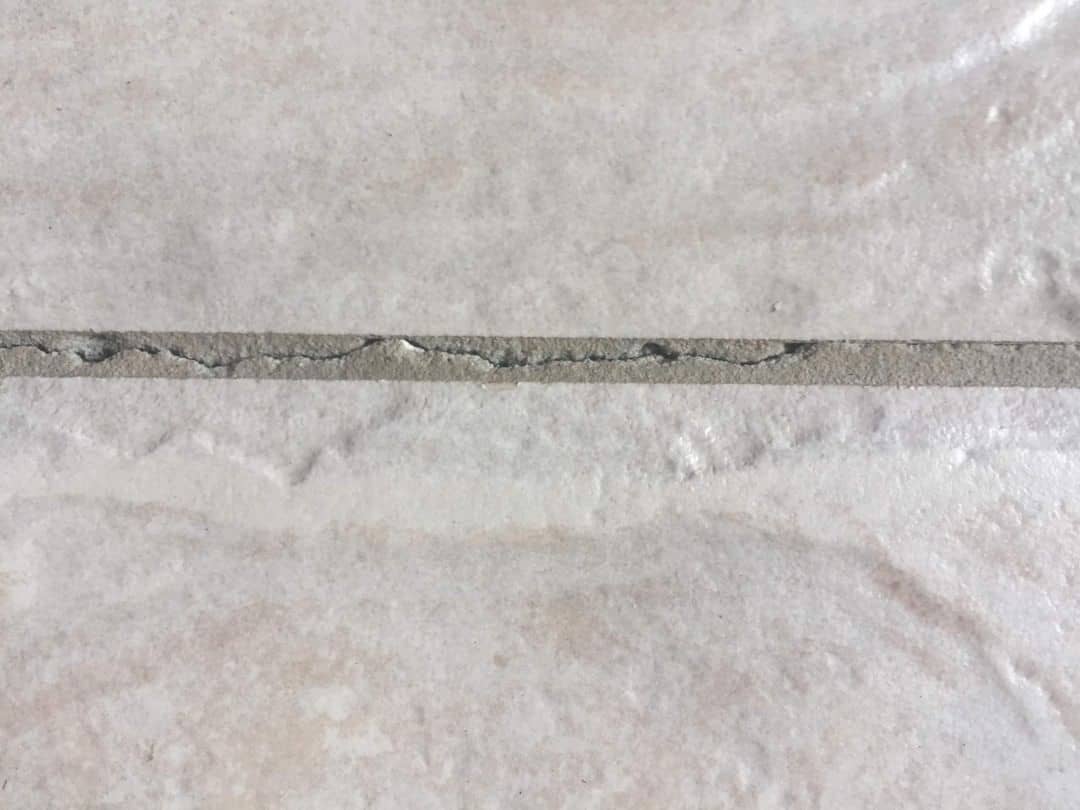
Step Three: Removing Damaged Grout With a Grout Saw
Place your grout saw over the grout you want to remove and begin moving it back and forth. Continue this until the top layer of the grout breaks into pieces. If you do not have a grout saw, you can use a reciprocating saw instead with a grout remover attachment.
Step Four: Clean Away The Debris
When you have loosened all the grout you want to replace, vacuum the area. It is best to use the hose attachment to ensure you get all of the old debris and dust from the gap. Next, wipe the area with a wet grout sponge. If you are using epoxy, leave the area to dry completely before applying it.
ccnicho
Step Five: Applying The Grout
Depending on the grout you have chosen, you may need to mix it before you proceed to apply it in the joint between the tiles. If you are mixing the grout, follow the instructions on the packet.
Use the grout float to scoop some grout out of the container and press it down in the grout line. You can be generous as you can easily clean the excess grout off the tiles later.
Step Six: Removing Excess Grout
When you have filled in the gap between the tiles, hold the grout float at a 45-degree angle to the floor. Drag it slowly over the space between the tiles to remove the excess grout and to ensure the grout is flush with the floor.
Step Seven: Cleaning Excess Grout From The Tiles
It is recommended that you leave the grout to dry for thirty minutes before you remove any residue grout with a damp sponge. Wet the grout sponge and then squeeze it until you have got out as much water as possible or you risk damaging the new grout with excess water. Press lightly and wipe over the new grout and nearby tiles.
reno_hacks
Step Eight: Leave The Grout to Set
When you have removed the excess grout, leave the grout to set. It will tell you on the packet how long this will take but usually, it will be 24 to 48 hours. As the grout dries, a haze will appear on the tile. Use a dry towel and haze remover if necessary to remove the last remaining residue.
Step Nine: Sealing
If you have used epoxy grout, you will not need to apply a sealant to the joint. With acrylic latex grout, you will need to seal the joint once the grout has dried. Use a small paintbrush to apply the sealant according to the manufacturer’s instructions on the packaging.
Conclusion
Grout repair is not a difficult task and most people can do it themselves with the right type of grout and tools. Replacing old grout that has stains and cracks with fresh grout will instantly freshen up the look of your tiles.
Should you have any questions about replacing tile grout, you can write them in the comments section.