Looking forward to giving your motorcycle a stunning make-over? Vinyl wraps are the way to go!
As vinyl wrapping a motorcycle includes wrapping over smaller surfaces, you might mistakenly assume that this DIY is pretty easy. But the fact is that due to smaller surfaces with more curves and indentations, vinyl wrapping a motorcycle can be quite challenging and time-consuming.
That being said, with proper guidance, tools, and a set of helping hands to ease the process, you can absolutely nail this difficult DIY. Read on to find out how exactly you should vinyl wrap your motorcycle.
Table of Contents
Why wrap your motorcycle with vinyl sheets?
But first, if you’re still in a dilemma as to whether or not to vinyl wrap your bike, we’re here to clear all your doubts. Here are 4 fantastic benefits that you can get from wrapping your motorcycle.
Cost-effective than painting
If you’re in dire need of changing the looks of your bike, painting the bike will cost you a lot more than wrapping it. Especially if you want to paint some sort of graphics on it, there isn’t any easier and cost-effective way than vinyl wrapping.
Maintain the resale value of your bike
Your factory bike paint will suffer a lot of abuse over the course of time if not protected. Color fading due to sunlight damage, chips, scratches, and whatnot.
Fortunately, vinyl wraps act as a layer of protection for your factory paint. Moreover, vinyl wraps cause no harm or don’t alter the paint underneath in any way during removal.
And, when your factory paint is preserved and is just as new, it is a no-brainer that your resale value will be maintained throughout the years.
Easy removal
Just as we’ve mentioned before, vinyl wraps can be easily removed without causing any harm to the paint layer of the bike. So, even if you get bored of the wrap, you can always give a brand-new look to your motorcycle anytime you want.
Stand out from the crowd!
Vinyl wraps offer endless possibilities, especially with all the exciting graphics and designs you can adorn your bike with, and in such an affordable price range, you can truly stand out in the crowd.
How to vinyl wrap a motorcycle?
Now that you’ve made your decision to vinyl wrap your motorcycle, let’s look at each step you must follow meticulously to perform the DIY with brilliance. Let’s begin!
Step 1. Plan and decide on the wrap
First of all, decide on how much budget you can spend on the wrap, do you want any graphics, and research about the different quality vinyl wraps available commercially.
A popular choice is 3M vinyl wrap which can stretch up to 40% when heat is applied, thus making it very easy to install around curves and indentations.
Cheaper alternatives cannot take the heat that is required to manipulate the wrap with ease. So, for smooth installation and durability, invest in good-quality vinyl wraps.
Step 2. Get your materials ready
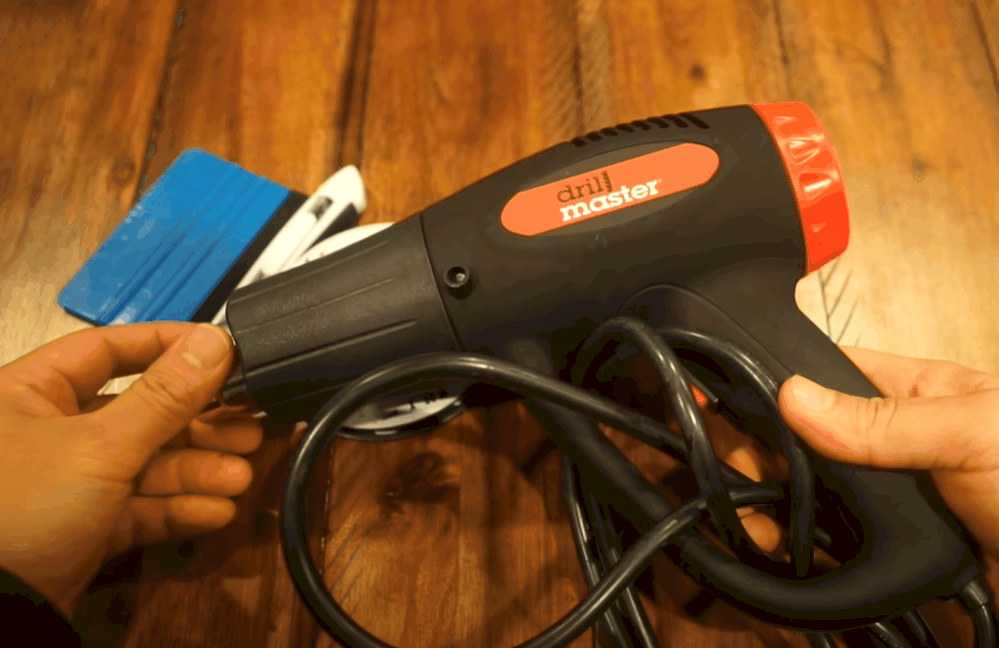
Vinyl wrapping doesn’t require too fancy tools. Just make sure you have a squeegee, lint-free cloth, isopropyl alcohol, heat gun, blade, knifeless tape, and of course, vinyl sheets ready.
Step 3. Disassemble the parts
If you try to install the wrap on your bike as it is, it’ll be a total failure. Unlike cars, vinyl wrapping bikes need you to disassemble all the parts beforehand, and then only you’ll wrap one part at a time.
Step 4. Clean the motorcycle surfaces and your work area
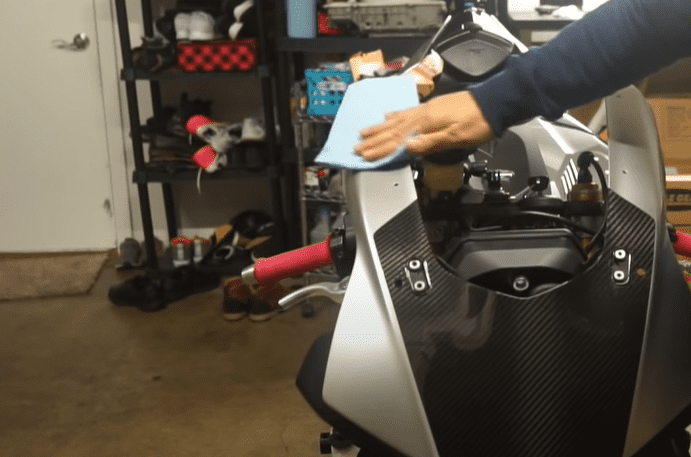
After all the parts are removed, now is your time to get the work environment and the bike surface squeaky clean.
Start by brooming big dirt and vacuum the area for smaller dust particles. Then, clean the bike surface using mild cleaner, followed by wiping with isopropyl alcohol and lint-free cloth.
Once everything is clean, don’t touch the surface without wearing gloves to prevent finger-print and dust from transferring onto the surface.
Also, remember to repair all the imperfections, such as dents or rusts beforehand, as vinyl wraps can be unforgiving and make the imperfections stand out conspicuously. And, if it doesn’t bond to such faulty areas, there might be a chance of wraps bubbling up.
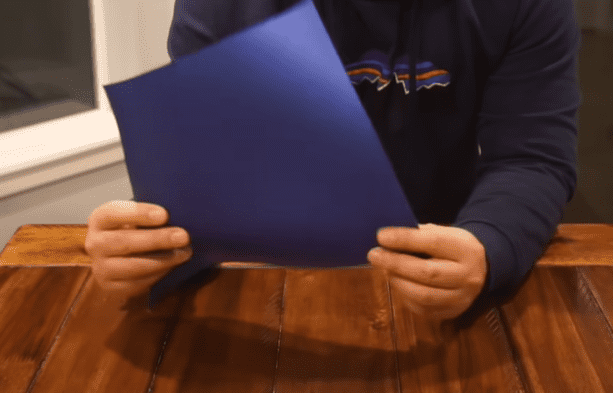
Step 5. Measure the motorcycle section and cut the sheets
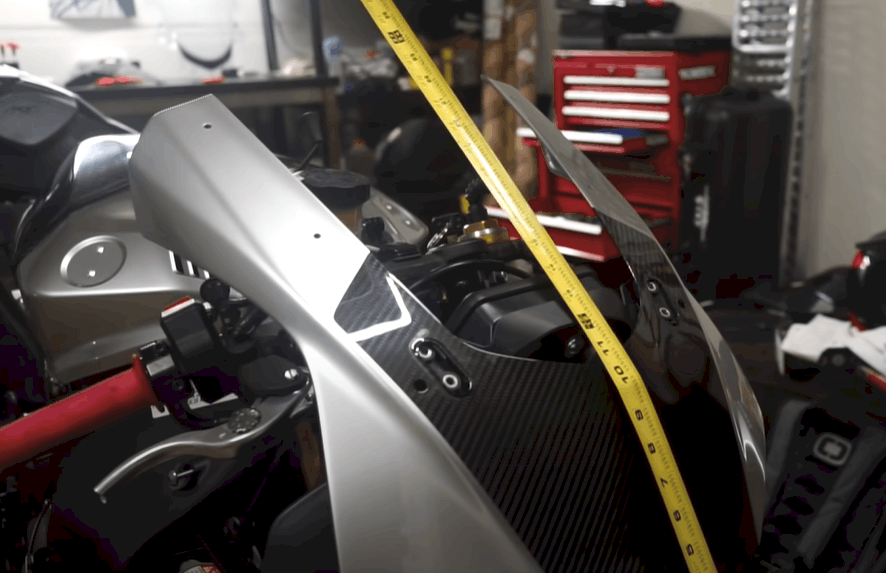
Now, measure each individual part and estimate the area of vinyl sheets you might require for each of them. Make sure to estimate generously, at least an inch or two on all sides, especially if this is your first vinyl wrapping DIY, as you cannot add to the already cut vinyl sheets.
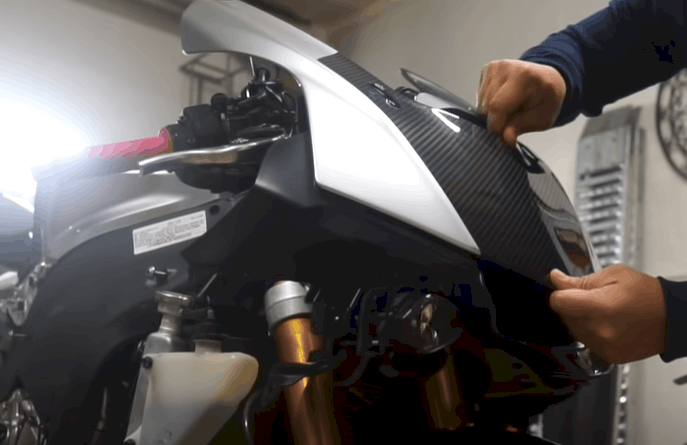
Step 6. Wrap the surface
As it is better to get used to vinyl wraps in order to understand how they work, start by installing the wraps on the easiest section to work with, i.e., one that has larger flat space, little or no indentation, and curved surfaces.
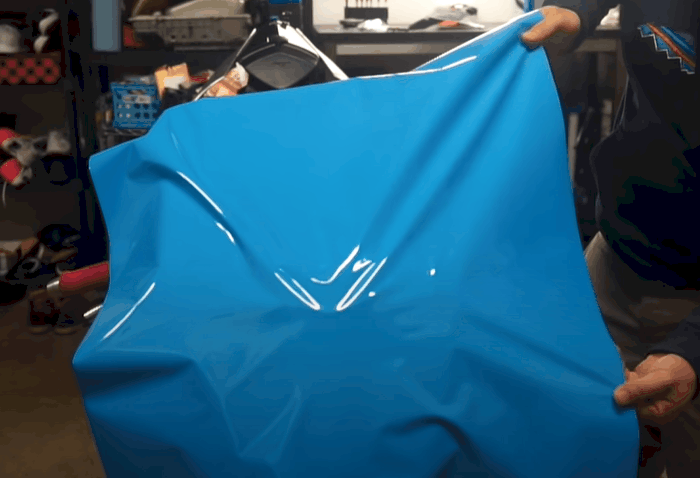
You will need a pair or two of helping hands for this step. For your ease, try to hold the piece a few inches above a table by using a stand. This will make it easy for you to stretch and wrap the entire surface in one go.
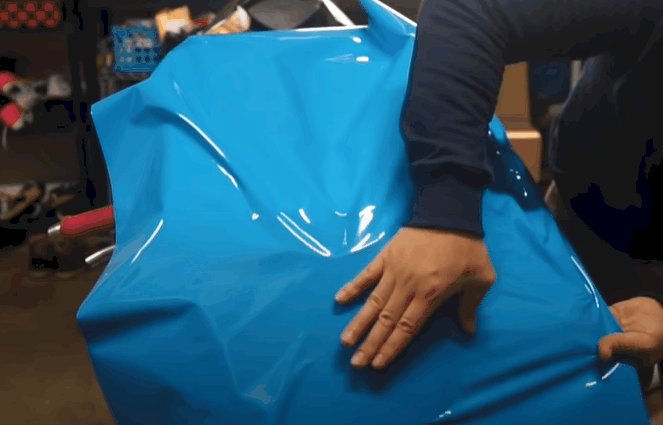
Now, check for any impurities on the surface for one last time, remove the backing from the sheet, and stretch it over the flattest part of the section by applying equal tension throughout the sheet.
Your helping party shouldn’t stop stretching and securely holding the vinyl sheet in place yet. Apply pressure with your hand and squeegee to secure the vinyl in place over the flattest area first and then only move towards more complicated regions.
Step 7. Perfect complicated areas using heat
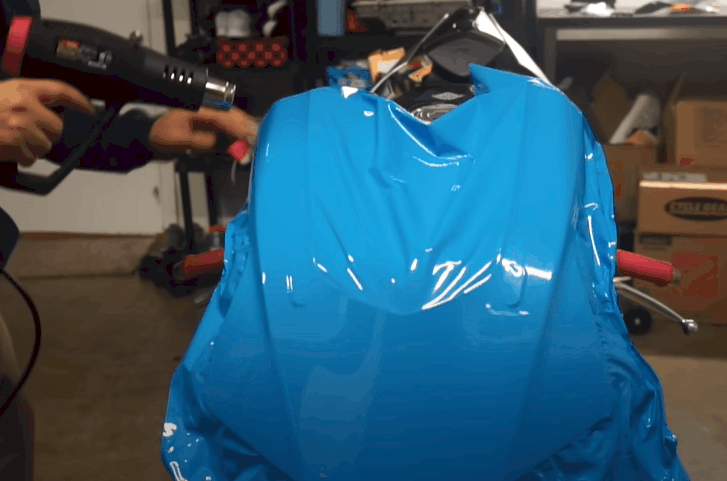
Curves and indentations are difficult to work with. So, you must exploit the property of vinyl wraps to go soft under heat to perfect such areas. However, make sure the heat is gentle.
If the heat burns your finger, it’ll burn the vinyl sheets too. And, heating the region for just a few seconds is strong enough to give you the required stretch.
Also, remember to apply heat liberally on large sections such that you can stretch the area evenly throughout. Concentrating heat on small spots can give you an uneven stretch and distort the material.
Gradually apply heat, stretch gently, work with your squeegee and move outwards until you get the seamless finish.
Step 8. Dealing with bubbles and creases
As long as the vinyl adhesive is not activated, you can easily peel the wrap, apply some heat, and gently remove all the creases and bubbles.
You can still pull back to fix the imperfections even if you’ve already applied the pressure, but it can be difficult and risky to work with. So, unless the wrap is perfectly hugging the bike’s part, don’t apply pressure. If you notice bubbles, gently prick them using a pin to get rid of trapped air.
Step 9. Wrap the edges and trim the excess
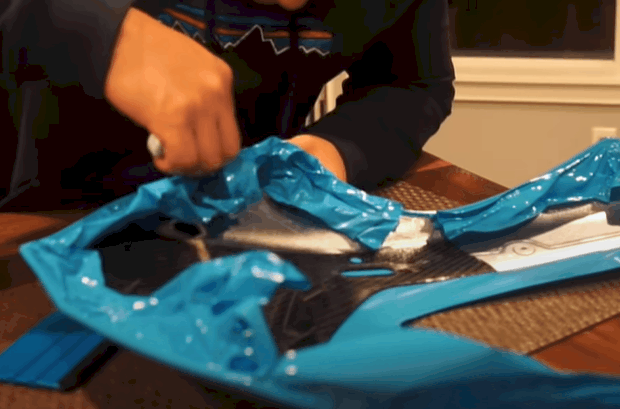
Now, it’s time to work on the underside. Wrap the edges of the sheets nice and clean underside and use heat if necessary.
About 15 mm of overlap underside will probably be enough. Trim off the excess using a sharp blade and be careful not to scratch the paint underneath. To be safe, you can outline the underside using knifeless tape beforehand to get a clean cut.
Step 10. Seal the wrap
If by now, you’ve covered up the entire part and are happy with the result, it’s time to heat seal the vinyl wraps. Around 80 – 90 ºC of heat will be enough to wipe the memory of vinyl being straight and 2D and bond the adhesive nicely to the bike surface.
As overheating and underheating both can alter with the desired results, we’d suggest you use an infrared temperature gauge to ensure the temperature is perfect to work with.
How long does vinyl wraps on a motorcycle last?
The lifespan of your vinyl wrap, most importantly, depends upon its quality and the care you put on your bike. Generally, a good quality vinyl wrap will last you around 4-5 years with proper storage and maintenance.
How to remove the vinyl wrap from a motorcycle?
Removing vinyl wrap doesn’t require you to put unnecessary strength. Peel off the edges using a scrapper or your fingernail, if you can. If not, apply slight heat on the edges to do so.
Once the seals in the edges are broken, apply heat to the entire surface off of which you wish to remove the wrap. Now, gently peel off the wrap; it should come out quite easily. Some adhesive residue might remain on the surface, and you can easily clean it using a mild cleanser or alcohol.
If done properly, the removal process should bring about no harm to your bike’s existing paint layer.
Summary
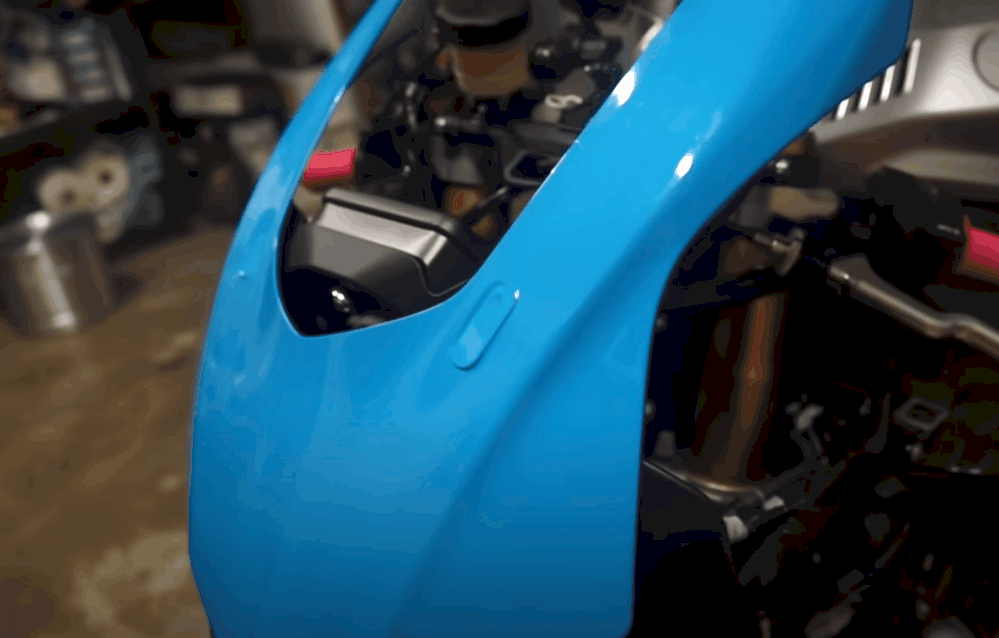
With this detailed guideline, we’re pretty sure that you’ll nail this DIY. Finally, the last step is to step back and be in awe of your motorcycle’s brand-new appearance. And, of course, praise your DIY skill as well; you one hundred percent deserve it!
I’m having a problem with my vinly staying on , with the heat outside. Is there something I can do or put on to get my vinly to stay down.