Affordable, flexible, easy to install and low-maintenance, vinyl composite tile – or VCT – is an extremely popular material for floors in a range of settings.
Once it’s in place, it requires little looking after – but to ensure it stays in perfect condition, it’s still necessary wax it occasionally.
This is a simple and inexpensive job that just about anyone can do, as long as they know the steps to follow. So to help you get it right, here’s our guide to how to wax vinyl composite tile, allowing you to get your floors looking just the way you want them.
Table of Contents
Why wax vinyl?
Before we talk about how to wax vinyl floors, let’s think a little bit about why you should do it in the first place.
The first thing to understand is that what we now usually refer to as “wax” is not actually wax.
In the old days, people used to polish their floors with real wax, but nowadays, although wax is still available, the most common products used are acrylic.
However, many people continue to call these acrylic products “wax” even though there’s no wax in them anymore.
Semantics aside though, why would you want to “wax” your VCT floor? And do you really need to?
When new VCT is laid, it comes with a layer of finish that’s designed to protect it. However, this layer is only designed to protect the VCT during transit, and it won’t stand up to general wear and tear once the floor is in use, so it’s essential to wax VCT floor to protect it long-term.
Furthermore, waxing VCT floors will give you a sheen that wouldn’t be possible without wax, so if you’re looking for an attractive polished look, waxing is your only option.
Finally, some waxes can even help repair minor damage like scratches, which means waxing is a great way to return your floor to optimal condition.
So in short, for all these reasons, if you have VCT floors, although they don’t need much maintenance, you’ll still have to look after them by waxing them from time to time.
When should you apply wax?
You should apply the first coat of wax to a VCT floor just after it has been laid. This will help protect it against wear and tear right from the start, ensuring it lasts as long as possible.
Following this, you should also reapply coats of wax over the top of the old wax periodically as required – see FAQ below for details about frequency.
Finally, it will also sometimes be necessary to remove the whole layer of old wax and reapply a fresh coat. You won’t need to do this as often, but doing so as required will help your VCT floor last even longer.
Waxing a newly laid VCT floor or waxing a floor by removing the old wax first
When waxing a new VCT floor, you first need to remove the factory finish – and when removing an old layer of wax before applying a new one, the process is similar.
So now let’s have a look at how it’s done.
What you’ll need:
- Chemical wax stripper
- Electric floor scrubber or soft-bristled brush
- Bucket
- Rubber gloves
- Mop
- Vacuum cleaner or broom
- Microfiber cloth
- Regular floor cleaning detergent
- Wax
- Tray for wax
- Buffering machine (optional)
How to Wax Vinyl Composite Tile
Step 1: Remove factory finish or old wax with stripper
The first step is to remove the factory finish or old wax from the floor, which can be done with a chemical stripper.
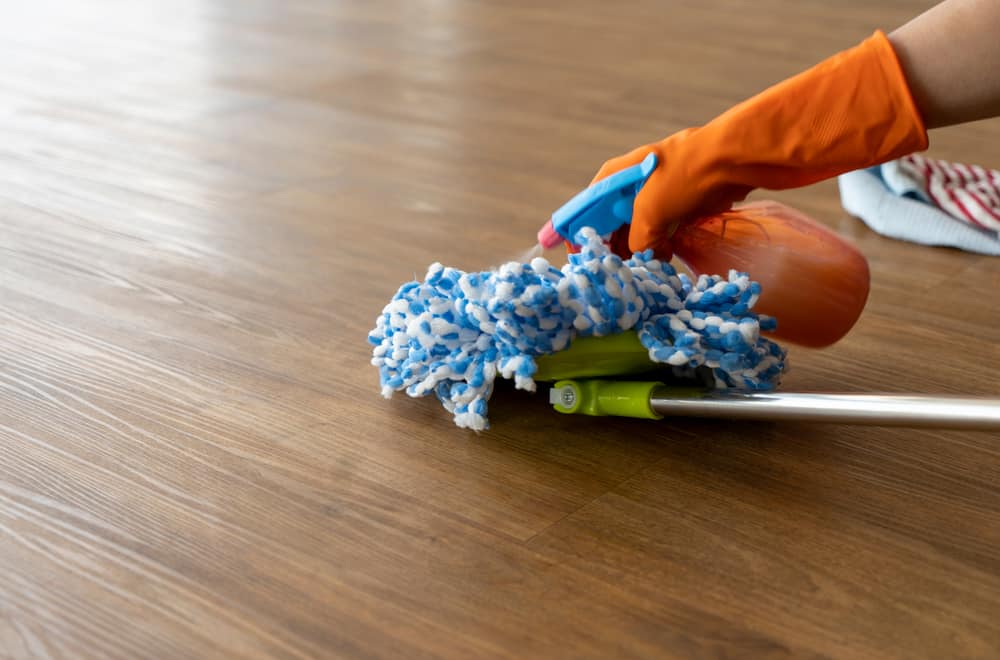
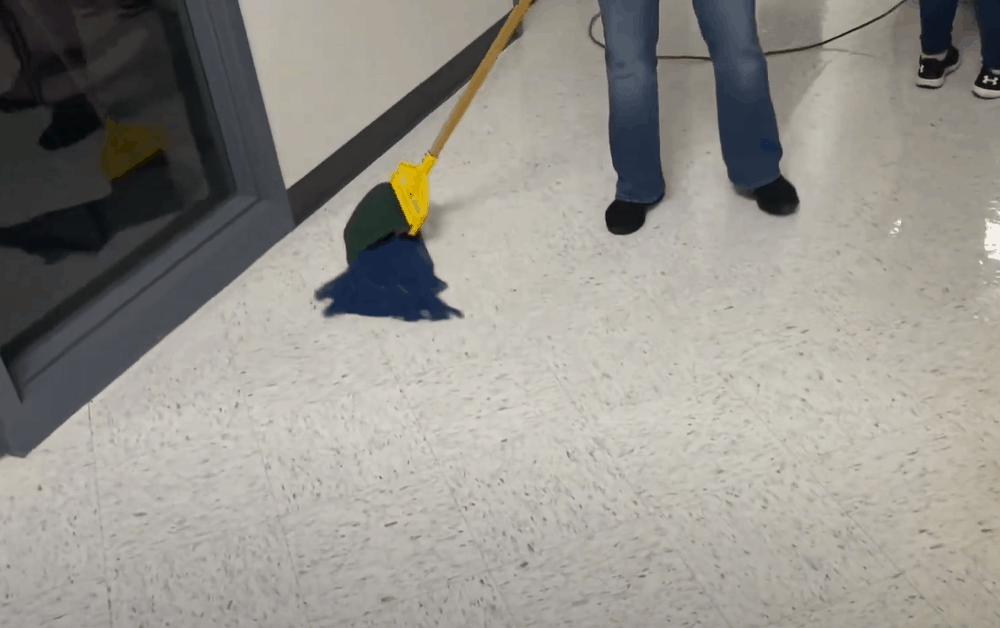
Start by sweeping the surface with a broom or cleaning it with a vacuum, then mop it with warm water and detergent. Leave it to dry.
Wearing rubber gloves, mix up the stripper in a bucket according to the instructions on the bottle. Pay careful attention to the correct ratios of stripper to water.
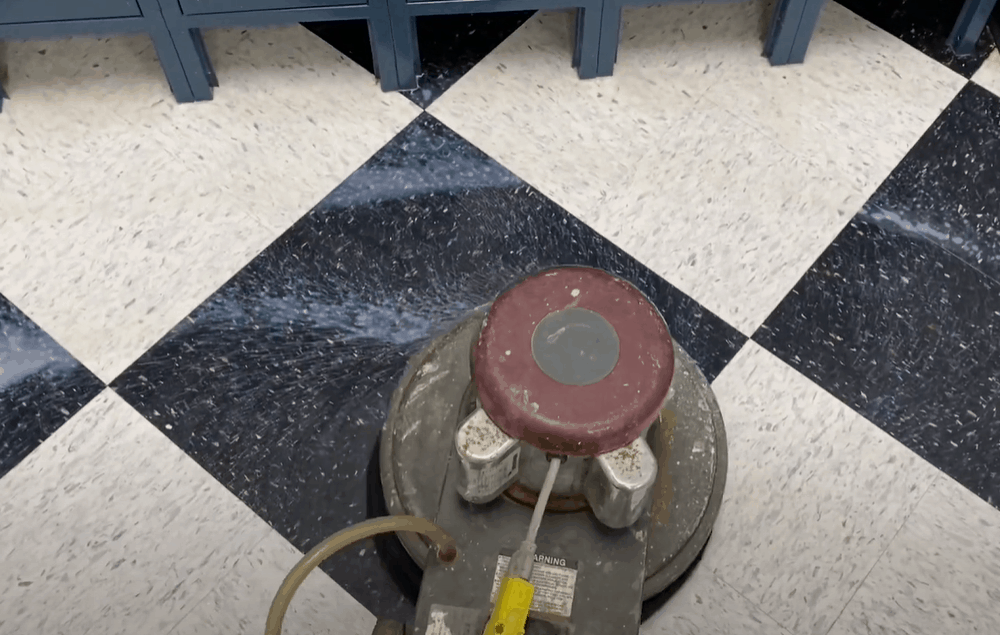
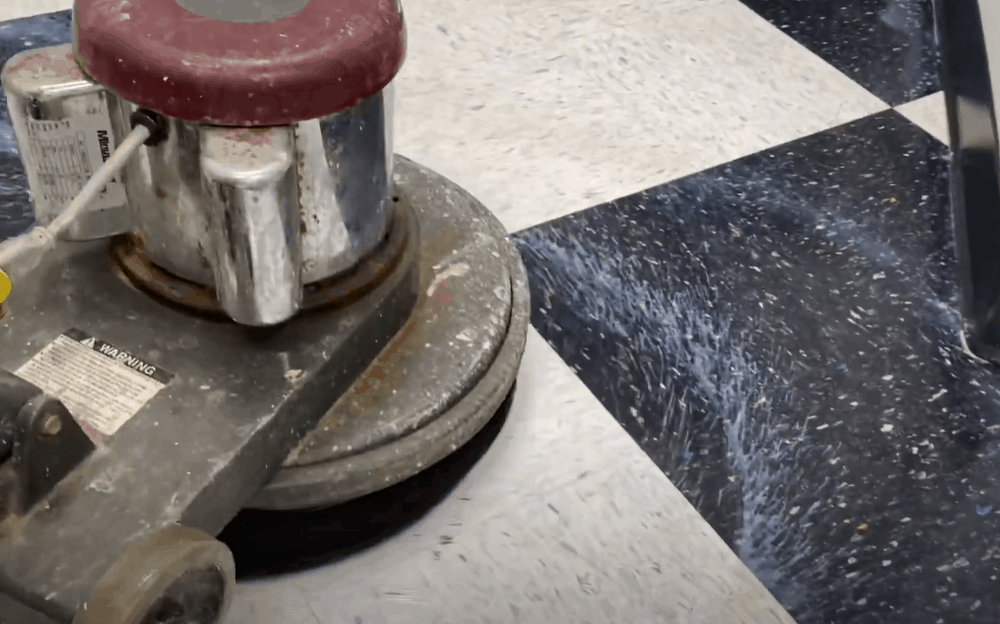
Then, using the electric scrubber or the soft-bristled brush, apply the solution and use it to remove the protective factory finish or old wax from the whole floor.
Step 2: Mop the floor again
Next, you need to clean the stripper from the floor.
Start by wiping the floor clean with a dry mop to remove all the stripper and protective finish or old wax that you’ve just removed.
Following this, use the mop again, this time with clean warm water (without detergent) to clean the floor. Let it dry again.
Step 3: Check that the floor is now completely free of dirt and grime
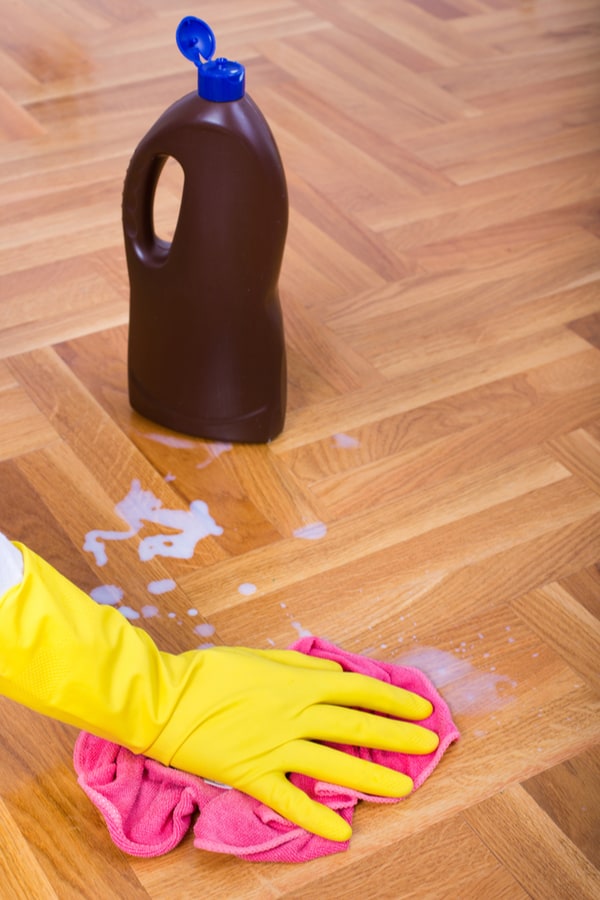
It is important to make sure the floor is perfectly clean and free of dirt, dust and grime before you start applying the wax, so now you need to give it a final check.
If the floor is not completely clean, you should give it a last wipe with a mop and detergent or even a microfiber cloth.
This is vital because if any dust or dirt remains, it will be sealed in when you apply the wax. Let the floor dry completely.
Step 4: Apply the wax
Prepare the wax by putting it in a tray. Fill a bucket with clean water and have it standing by.
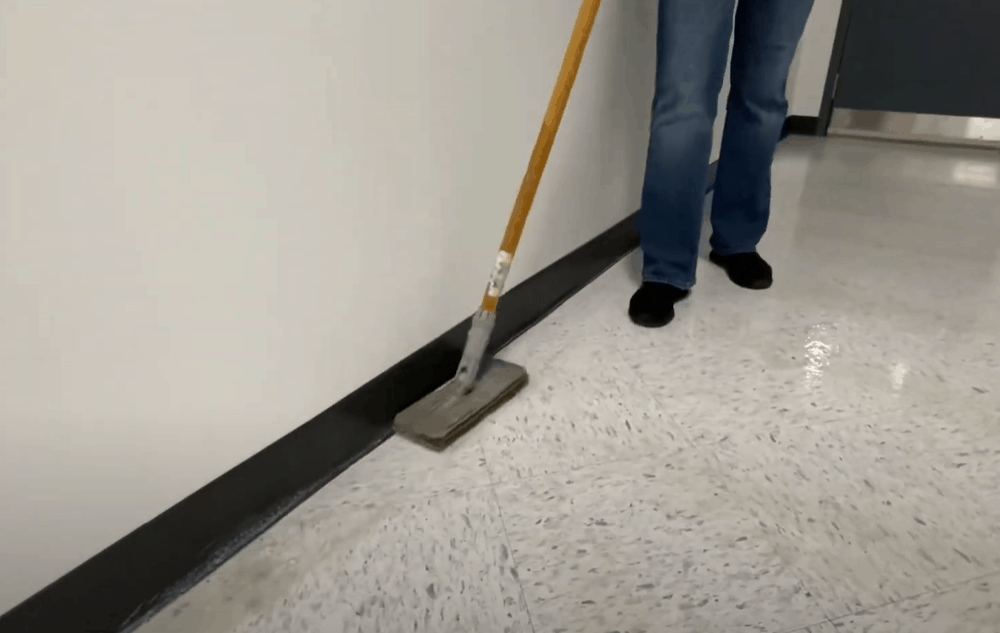
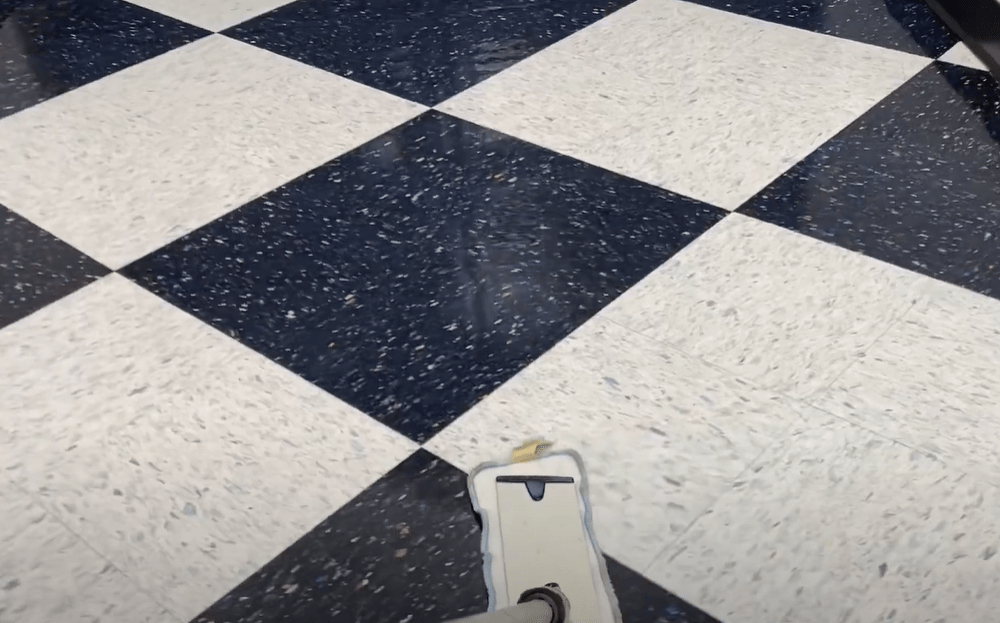
Take a clean mop and dip it in the water. Wring it thoroughly so it is just damp, dip it into the tray with the wax and then wring it out again.
Use the mop to apply the wax to a section of the floor. With each dip into the wax, you should be able to cover around six square feet – but make sure you refer to the instructions on the bottle for more precise details.
Repeat this process until you have covered the whole floor.
Pro tip: Plan where you are going to apply the wax first so you can leave yourself an “escape route” and won’t have to step on the newly waxed floor. Make sure that nobody walks over the floor while it dries.
Step 5: Leave the wax to dry
Once you have covered the whole surface of the floor, you then need to let it dry. This will take at least an hour, but it may be more, depending on the stripper you are using. Check the instructions on the bottle for information about how long to leave it.
Step 6: Repeat #4 and #5 as necessary
One coat of wax will not usually be enough, so repeat steps #4 and #5 as required. You may need to refer to the instructions for suggestions about how many coats to apply, but you will also be able to judge this yourself by the result after each coat.
Pro tip: When applying the second coat, try to work in a different direction. This will help ensure the floor receives an even and uniform layer of wax. If you apply more than two coats, alternate the direction each time.
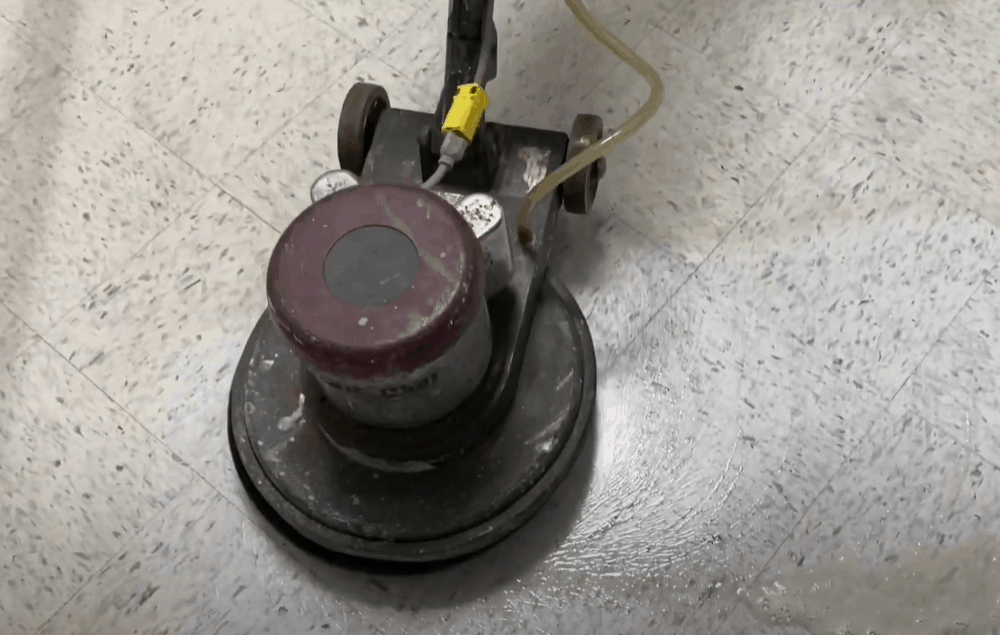
Step 7: Buff (optional)
If you have a buffer machine, after applying all the necessary coats of wax, you can then use the buffer to shine the floor. If not, you may still be able to achieve acceptable results polishing smaller areas by hand. Alternatively, once the wax is dry, give it a final wipe with a damp mop.
Applying wax over old wax
For general maintenance, you don’t need to remove the old wax every time – normally, you can just add a new coat over the top.
To do this, simply follow the same steps above but skipping steps #1 and #2. All you need to do is make sure the floor is completely free of dirt and dust, and then you can apply fresh coats of wax as described in steps #3-7.
You’ll know when it’s time to strip the wax and start again because you’ll find that after applying a new coat of wax, you still can’t get the floor to look as clean as shiny as you’d like it to be.
Take note when this happens and prepare to strip the wax and start again next time you perform floor maintenance.
FAQs
- How often do you need to rewax VCT?
How often you need to re-wax depends on the intensity of traffic on the floor and the type of traffic. If the traffic is heavy and includes lots of people in high-heeled shoes or work boots, the floor will need rewaxing much more often than if it is mainly walked on by people in socks.
- How can you tell when you need to reapply wax?
Since you can’t judge how often your floor needs to be rewaxed just by how long has passed since the last time you did it, you’ll need to look out for signs that it’s time to wax it again.
For example, during regular mopping, if areas with heavier foot traffic seem less shiny than areas that don’t get walked on so much, this is a big hint that it’s time for another coat of wax.
- What happens if wax wears away completely?
Wax is designed to protect VCT from wear and tear, and if the protective layer disappears completely, the vinyl itself will start to be worn away. If this happens, the vinyl can suffer permanent damage, so it’s important to reapply more wax before this occurs.
A simple job worth taking the time to do
As you can see, waxing your floor is not a difficult job, but it’s one that’s worth doing. Whether you’re waxing a newly installed VCT floor or rewaxing an old one to freshen it up, it will give your floor an attractive sheen while also helping protect it against wear, tear and damage.
Can you apply a finish layer on top of the wax to help protect the wax from scratches and scuffs?
Our renters didn’t wax our vinyl tiles for 6 years. Consequently all the wax wore off, and sand worked it’s way down in between the tiles. Those tiles have buckled and broken at the edges. I’m currently tearing up and replacing those compromised tiles. Be careful who you rent to!!
Is it the renter job to wax the owners floor? I can see renters mopping the floor and keeping it clean. The owners need to maintain their properties, waxing or painting isn’t something renters can be expected to do.