Vinyl car wraps are built to stand the test of time. However, because the exterior of your vehicle is constantly exposed to elements, over time, the vinyl can degrade and lose its luster and may require replacement.
If your car needs a new wrap, then it’s time to think about removing the existing one. After all, leaving it on for too long will only make the removal process more difficult because the adhesive bond will be much stronger.
Use this guide to learn how to remove vinyl wrap from car and things you can do to make the process hassle-free.
Table of Contents
Tools Needed to Remove Vinyl Wrap From Car
- Plastic scraper: A plastic scraper will go underneath the vinyl wrap and pry it up. Do not use metal scrapers as these may damage the paint of your car. Plastic scrapers can be found at any auto detailing shop.
- Heat gun: Use this to heat the edges of the vinyl to make it easy to remove.
- Adhesive remover: Get a mild chemical citrus cleaner designed to break down adhesive. You can find this in your local hardware store.
- Spray bottle: Use this to spray your adhesive remover over the vehicle.
- A piece of cloth: Get a clean microfiber rag.
- Rubbing alcohol: This will help you clean the surface of your car after you have removed the vinyl wrapping. If you don’t have rubbing alcohol, use water and mild detergent.
5 Easy Steps to Remove Vinyl Wrap From Car
Step 1: Peel the Edges of the Vinyl
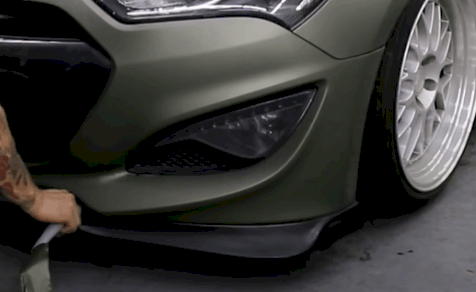
Slide your scraper under the edges of the vinyl wrap to lift them. Vinyl edges will mostly be found along the trunk, hood, doors, and any other part of the vehicle with seams. Insert a fingernail first and see if you can be able to peel the edges. If not, go in with the scraper.
Step 2: Heat the Vinyl Edges
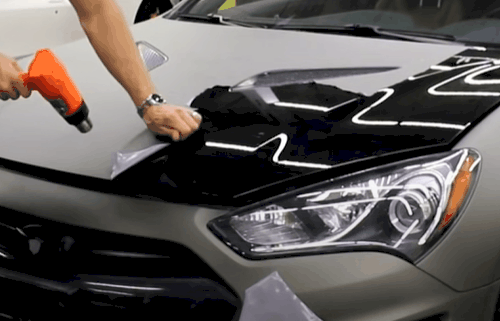
Heating will help soften the adhesive underneath the vinyl and make it easier for you to remove the wrapping. Hold your heat gun over the wrapping about six inches away and move it back and forth so that the heat can be distributed evenly.
How much heat you need to remove the vinyl will depend on the material used to make the vinyl. Do not heat too much that it becomes difficult to hold the wrap.
As you heat, gently tug at vinyl edges to see if they come out easily. Be careful not to heat any areas where the wrapping goes over chrome.
Step 3: Remove the Wrap
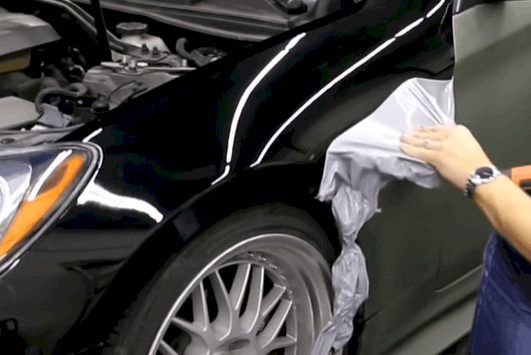
Once you are done heating, slip your thumbs under the vinyl edges and have the rest of your fingers spread out over the vinyl. Now, start peeling the wrapping slowly, holding it at a 20° angle to the car’s body.
Try not to rip the vinyl; do your best to keep it in one piece so it can be easy to remove. Also, do not pull off the wrap at 90°, as this can cause the glue to adhere to the vehicle.
If the wrap becomes difficult to pull off, heat again near the edge you are peeling to soften the adhesive. Make sure to heat evenly so all the glue detaches from the vehicle’s body when you begin to pull the wrap off again.
Step 4: Spray Adhesive Remover on Any Leftover Glue
After you have removed the vinyl wrapping, check to see if there is any residue adhesive and pour a few drops of chemical citrus cleaner over it. If there is a large amount of leftover adhesive, put the cleaner in a spray bottle and mist it over the glue or wet a clean cloth with the cleaner and spread it over the vehicle. Let sit for about two minutes to soak in the glue.
Once the remover has eaten through the adhesive, grab a clean rag and wipe the glue off your car. Move the rag back and forth applying pressure to the affected areas to get rid of all the glue.
If the rag doesn’t get the job done, try scratching the adhesive with a plastic scraper, then wipe off the surface with a clean cloth. When you are done, your vehicle should feel smooth to touch rather than rough and sticky.
Step 5: Clean the Surface of the Vehicle
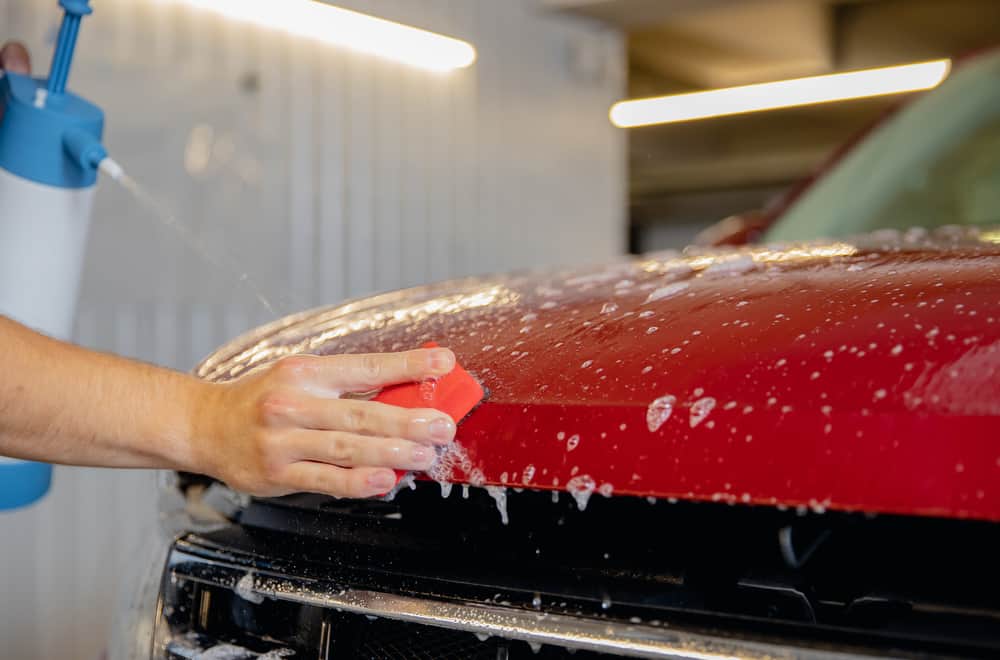
Most adhesive removers will leave unsightly streaks or cloudy residue on the surface of your car. Soak a soft cloth in rubbing alcohol or soapy water and rub over the body of your vehicle to wipe off any visible streaks. If you are removing adhesive from a window, you could use a glass cleaner.
To learn more about vinyl wrap removal and the steps involved, watch this video.
Additional Tips for Removing Vinyl Wrap From Car
-
Do not work in the sun
Working in direct sunlight can make the adhesive stick to the body of your car, making it harder to remove. If possible, work in a garage or any other shaded area or wait until the sky gets cloudy. Similarly, do not remove your vinyl in cold weather, as this could cause the wrap to rip in smaller pieces, leaving residue that can be difficult to remove.
-
Do a spot test before using commercial adhesive removers
Before using any store-bought cleaner to remove adhesive from your car, spray the product over a small hidden area to make sure it is safe to use.
-
Use power tools to remove vinyl wraps from multiple vehicles
If you are removing vinyl wrapping from a large fleet of vehicles, consider breaking out the big guns. Rent tools like a decal remover eraser that comes with a urethane rubber wheel for your vinyl removal.
-
Don’t leave the wrap on the car for too long
While high-quality vinyl wraps last for many years, eventually, all vinyl degrades and it is important that you remove the wrap before it deteriorates completely.
If you leave it on for too long, the continued exposure to the sun will bake it onto the surface of your car and this will not only damage the paint underneath but also make removing the wrap much more difficult.
Inspect your vinyl regularly and if you notice any hairline cracks or discoloration, have it removed as soon as possible.
-
Know when to enlist the services of a professional
The quality of your vinal wrap and the method used to install it can both play a part in its removal. If the vinyl won’t peel at the edges even after heating, you may want to seek professional help. Experts can use special equipment and methods to completely remove the wrap when it won’t peel as expected.
How Easy Is It to Remove Vinyl Wrap From Car?
For the most part, removing a car wrap is relatively easy. If the wrap itself was bought from a top brand like 3M or VViViD, for instance, then you will likely not encounter any problems, as the majority of films produced by these brands leave no adhesive residue after removal.
However, keep in mind that these brands manufacture dozens of vinyl materials and some products may contain very strong adhesive that should not be used on vehicles. Now, if your car was wrapped with one of these products, then the leftover glue can be very difficult to get rid of.
Therefore, choosing the right vinyl wrap for your car is very important; it will make it easy for you to remove the wrap in the future.
How easy it will be to remove a wrap from your car will also depend on how long the vinyl has been on the vehicle. If it is more than four years, for example, then chances are that the adhesion bond is pretty strong, hence the removal process may take a little bit of time.
In the spirit of making vinyl wrap removal easy, it is also important that no primer is used during the installation. Some people argue that applying a primer around the edges of the vinyl will prevent water from getting under the wrap, but this is not true.
If your installer takes their time and follows the right guidelines for surface preparation and proper vinyl wrap installation and performs all post-installation tasks, then there will be no need to prime.
Removing a vinyl wrap that has a primer on the edges can be a nightmare; the leftover glue is usually extremely difficult not just to get rid of but also to clean.
The Takeaway
Removing vinyl wrap from a vehicle requires the right tools and patience. Also, the ease of removal will depend on the quality of the vinyl used, how it was installed, and how old it is.
If you are removing a high-quality wrap that was installed a few months ago, then the process should be pretty simple. Just heat around the edges and peel it off. The only time you are likely to encounter problems removing a vinal wrap is if the vinyl is poor quality, has a primer on the edges, or you have left it on for too long.
CarWrap24 has been dealing with professional car wrapping. We have worked for the best companies in UK. During so many years of work, we have wrapped around a thousand cars, from small Smarts, through SUVs and Vans, to buses and trucks. We specialize in graphics on cars, colour change, and car styling by wrapping individual body parts, e.g. roof or bonnet.
This is a great tutorial! I’m going to try it out on my car!
This is a great tutorial! I’m going to try it out on my car!