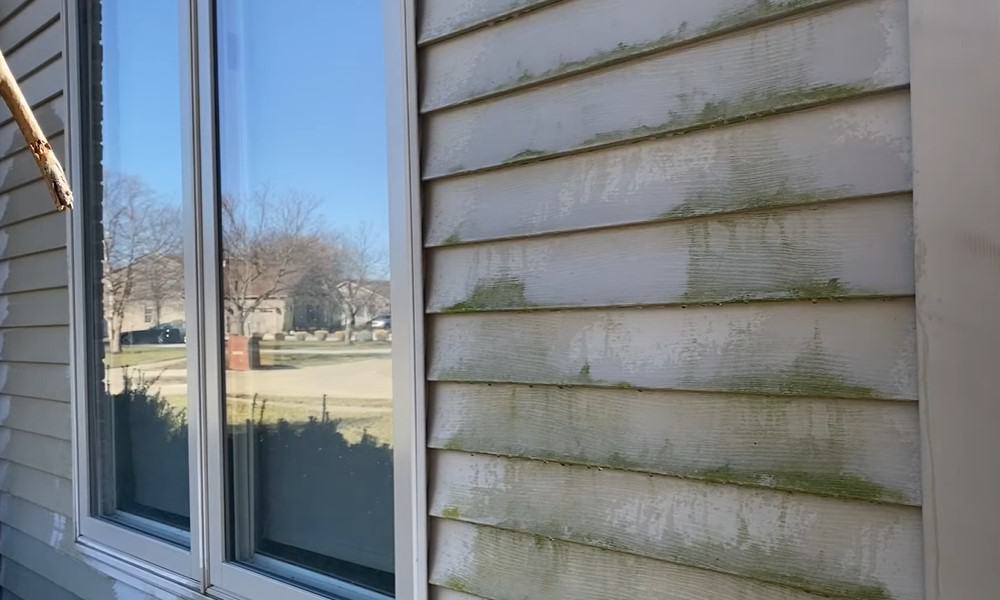
Is your home’s vinyl siding looking dirty and beaten down from visible green algae? Vinyl as a siding material can boost your home’s curb appeal, but this material easily shows dirt and debris, making a regular maintenance routine necessary.
Seeing green algae on your siding can throw you into a panic. The good news is, this type of dirt is easy to clean. With a few inexpensive supplies, you can remove green algae from vinyl siding, and your home’s exterior will look as good as new. Read on for tips on cleaning vinyl siding like a pro.
You will need:
- Cleaning solution (safe for vinyl siding and pressure washer)
- Microfiber cloth
- Soft-bristled hand brush
- Pressure washer
- Protective gear: rubber gloves, goggles, face mask
Step-by-Step Guide To Remove Green Algae From Vinyl Siding
Follow these easy steps to get rid of algae from vinyl siding.
Step 1: Choose the right cleaning solution
Algae grow in a cool and moist environment. The northern wall is more prone to algae formation because there isn’t enough sunlight reaching this side of the house. Overflowing gutters and other plumbing or drainage problems can also cause streaks of water to flow down the sides of the house, creating the ideal environment for algae growth.
The first step to clean algae-infested vinyl siding is to choose the correct cleaning solution. The amount of algae growth on the walls will influence your choice of cleaning solution. Here are some ideas:
A mixture of regular dish soap and plain water is enough to get rid of mild algae growth. Alternatively, you can mix water and white vinegar at a ratio of 70:30 to make a nontoxic all-purpose cleaner
To remove thicker algae growth, mix a two-thirds cup of powder for household cleaner, one-third cup laundry powder, ¼ gallon laundry bleach, and one gallon of water.
For very thick or stubborn algae, you will need something equally strong. Mix one cup of chlorine bleach with one gallon of water. One advantage of vinyl is that it does not lose its color when it comes into contact with a diluted household bleaching solution.
Pro Tip: You can substitute the chlorine bleach with oxygen bleach, which is more environment-friendly and will not damage your landscape.
Step 2: Water any plants around the perimeter of your house
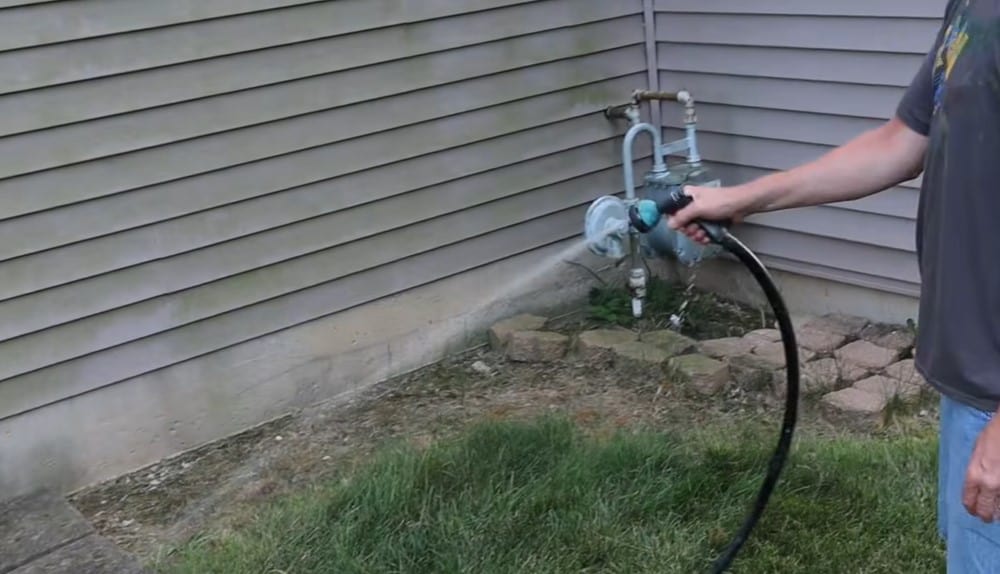
Even with cleaning products that claim to be environment-friendly and biodegradable, you want to be on the safe side and protect your landscaping against chemical damage.
Before applying any cleaning product to the siding, it is good to spray some water on the nearby plants. The layer of water will protect the plants and soil from absorbing the chemicals from the cleaning solution, ensuring that your landscaping is safe and well-maintained.
Step 3: Apply the cleaning solution by hand
There are two ways to clean and remove green algae from vinyl siding: by hand or using a pressure washer. I will show you how to do both but first, let us start with the hand method. Cleaning vinyl by hand is appropriate if the algae stains are close-up, easy-to-reach, or mild and can come off easily.
For this method, you will need a microfiber cloth and a soft-bristled brush. Remember to wear a pair of rubber gloves to protect your hands from harsh cleaning chemicals. Then, follow these steps:
- Dip the microfiber cloth in the cleaning solution and then use it to scrub the dirty siding. Use gentle pressure and move slowly to give the solution time to strip the algae and other dirt off the siding.
- For stubborn stains, spray some of the cleaning solution on the stained area and allow it to sit for 10-15 minutes. The cleaner will strip off the dirt and make it easy to clean the siding.
- Use a soft-bristled brush to scrub particularly dirty spots. Apply slight pressure to clean the surface without denting, breaking, or leaving scratches on your siding.
- Rinse the siding using a garden hose. The water pressure from a garden hose is usually enough to remove residue on vinyl siding.
- Direct a jet of water toward the siding and wash down the cleaning solution. Spray as much water as is needed to completely remove the greenish-brownish streaks from the algae and avoid unsightly streaks on the siding.
- Leave the siding to dry on its own. There is no need to dry it yourself.
Step 4: Clean vinyl siding using a pressure washer
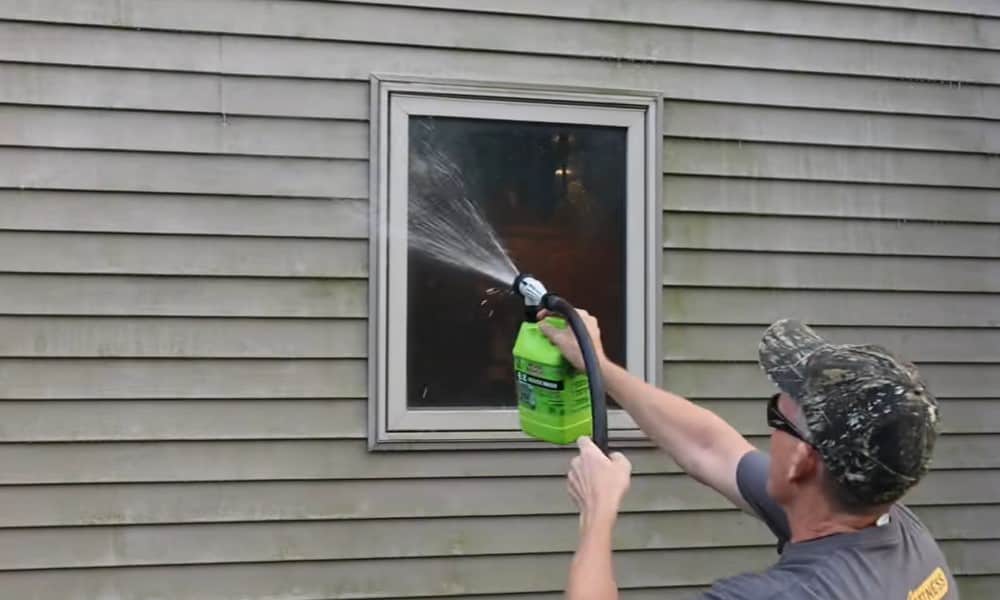
A pressure washer provides a convenient alternative to hand washing your vinyl siding. That said, there is a wrong and right way to use a pressure washer to clean vinyl siding. Improper use of a pressure washer can damage your siding and seriously injure you.
Follow these steps to remove algae from vinyl siding using a pressure washer:
- Add a cleaning solution to the pressure washer reservoir. If you opt for a commercial cleaning solution, check that it is safe for use with a pressure washer.
- Insert the soap nozzle into the washing wand. It is important to install the right nozzle for each use of the pressure washer. The soap nozzle ejects the cleaning solution at a wider angle and lower pressure, allowing you to apply the solution across a larger surface of the siding.
- Turn on the washer and bring the wand up to eye level. As mentioned, there is a right and wrong way to use a pressure washer. Don’t point the washer wand up or toward corners, and don’t direct the burst of water in the seam where the vinyl slats overlap. These two actions will cause water to sip through the seam and behind the siding, leading to costly water damage.
- The right way to use the washer is to point the wand toward the siding at a 90-degree angle. If the algae debris is particularly stubborn, you can tilt the sprayer at a 45-degree angle to lift the dirt without getting water behind the vinyl siding slats.
- Move the wand up and down and across the siding surface as you apply soap and cut through the algae.
Pro Tip: Keep an eye on the level of the cleaning solution in the reservoir and refill it as needed. You will avoid running low on soap and needing to stop too often.
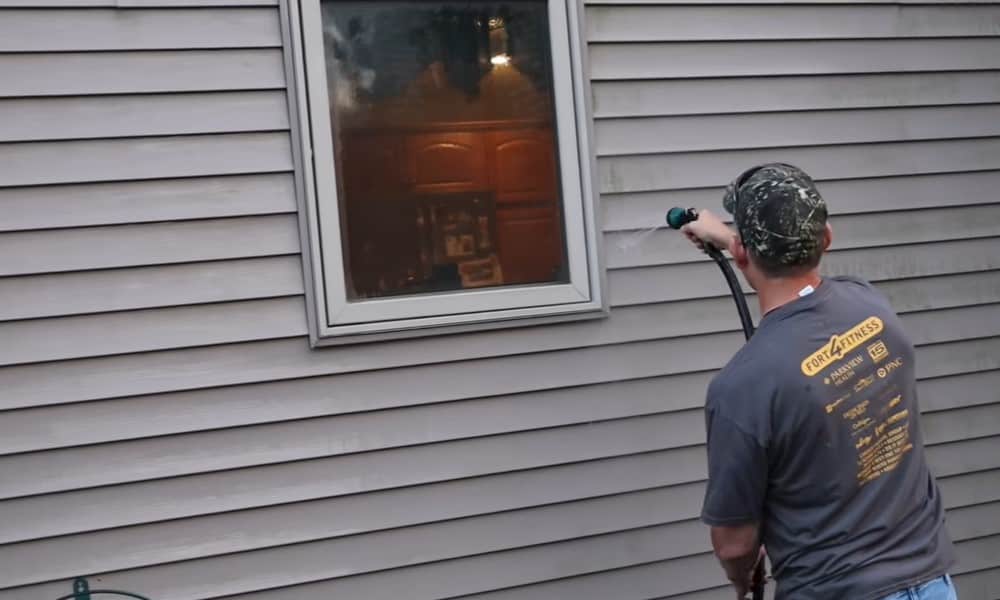
Step 5: Rinse the siding
Once you are satisfied with the first cleaning session and the soap reservoir depleted, you can rinse the soapy water. I recommend working fast so the soap will not stick to the siding and leave stubborn streaks.
To start the rinse job, you will need to replace the soap nozzle with the general-use one. This nozzle typically emits water at high pressure and a 15 to 20-degree angle, effectively removing the loosened dirt and debris.
Remember to keep the wand at eye level and point it directly toward the face of the siding. The water pressure is now stronger, so you want to hold the wand firmly using the palms of your hands.
Blast the clean water directly on the surface of the vinyl siding. Start from the top of the wall and work your way down. Thoroughly rinse one section before moving to the next so you will not miss any spots.
Congratulations on successfully removing green algae from your vinyl siding. I have added a few extra tips below to help you make the most of your cleaning session.
Extended Tips
- Some types of green algae can be toxic. Put on a face mask, pair of goggles, and rough gloves to protect yourself when cleaning algae-infested surfaces for safe measure.
- Unplug any outdoor electrical appliance and cover lighting fixtures with waterproof material to avoid shorts and potential electrocution.
- When using a pressure washer, check that the water is turned on first before initiating the wand.
- Test the pressure washer’s power on a small corner of the siding to acquaint yourself first.
- When cleaning with a pressure washer, stay in the safe range of 1300-1600 PSI. Exceeding this pressure range increases the risk of damaging the vinyl trim or causing injury to yourself.
- Work in sections instead of cleaning randomly. Finish cleaning one part of the wall before moving on to the next section. You will miss fewer spots and save yourself time and effort.
Summary
Even with the most rigorous maintenance routine, sometimes algae growth on walls is unpreventable. Luckily, you can remove green algae from vinyl siding, and with equipment such as a pressure washer, the job can be done easily and in a short time.
Depending on the extent of the mess, you may need to go over the surface a few times. Take your time; you invested in some of the best sidings for your home, and keeping it clean is definitely worth the effort.
My vinyl siding problem is with the upper part where the siding starts below the roof line. water has gotten behind this area and has leaked down behind the wall and cause black mold behind the sheet rock in the inner wall. what can i use to correct this problem, I have corrected the mold problem, i need to know what to do about the exterior problem.