Good news! Once you read this post, you’ll be able to give a fabulous make-over to your car without spending a ridiculous amount of money on painting it.
Yes, we’re talking about vinyl wrapping your car. And yes, you can do it all by yourself. Having said that, a pair of helping hands will really come in handy for this DIY.
We’ll share a detailed how-to tutorial on vinyl wrapping your car and provide you with after-care tips. And if you ever want to remove or replace the vinyl wrap, you’ll again find all the necessary information here. We can’t wait any longer. Let’s begin!
Table of Contents
Vinyl Wrapping Vs. Painting: Which Is Better?
First of all, for those who are still in a dilemma as to whether vinyl wrap or paint their cars, let us begin by saying that cost-effective vinyl wrapping DIY can give your car a fantastic brand-new look, whereas painting often demands professional execution, which can be very expensive.
If your custom paints your car, the cost can reach really high, whereas you can get plenty of vinyl designs and statement prints for much less cost. Moreover, vinyl wraps are generally low-maintenance relative to car paints.
Another major criterion where vinyl wrap aces the game is its removal. Removing vinyl wraps from a car is fairly easy, and the paint underneath will look just as new afterward. On the other hand, removal of paint is a lot of hassle and often requires expensive professional care.
How To Vinyl Wrap a Car?
So, have you finally decided to give your car a proper make-over using vinyl wraps? If yes, let’s look at the step-by-step procedure to apply these vinyl wraps seamlessly to your car.
Step 1. Have a proper plan
As we all know, nothing big is achieved without a plan. Before vinyl wrapping your car, this step is quintessential. If you want to wrap your car in designed vinyl sheets, make sure that the design is of high quality and doesn’t break or look distorted when stuck onto a 3D surface.
Also, the higher quality is the vinyl, the more it will last. Though the differences are not detectable to naked eyes in the beginning, low-quality vinyl wraps will start fading and bubbling with time. So, if you want your car vinyl wraps to last long, best to go for top branded vinyl sheets.
Step 2. Decide your work area
Yes, when it comes to vinyl wrapping your car, the location where you perform the DIY is also equally important. If you’re planning to work outdoors, we’d recommend you reconsider.
In simple words, we need a facility where the chances of big and small dust particles sticking to the surface are minimal.
Vinyl wraps are unforgiving, and every small detail within shows. Moreover, big chunks of dust might even tear the wrap, eventually allowing water to seep into and weaken the adhesive.
Likewise, the surrounding temperature on the day you’re working also matters a lot. In fact, it is another reason why one shouldn’t wrap their cars outdoors, as the temperature outside is not something you can control.
If the temperature is too hot, there’s a chance that the adhesive will activate quickly, giving you little time to DIY and, thus, hasty results. Heat might even cause the wraps to become too soft, which might cause discoloration in over-stretched areas as well as distortion of the visuals.
Likewise, installing when it’s too cold isn’t a good idea either. Cold temperatures might make the wraps brittle, thus making them difficult to install. Moreover, the bonding property of adhesion around the edges and curves might also be affected.
So, to avoid all these unwanted problems and for the smooth vinyl wrap installation, ensure that the surrounding temperature is warm, i.e., preferably 60 to 80 degrees.
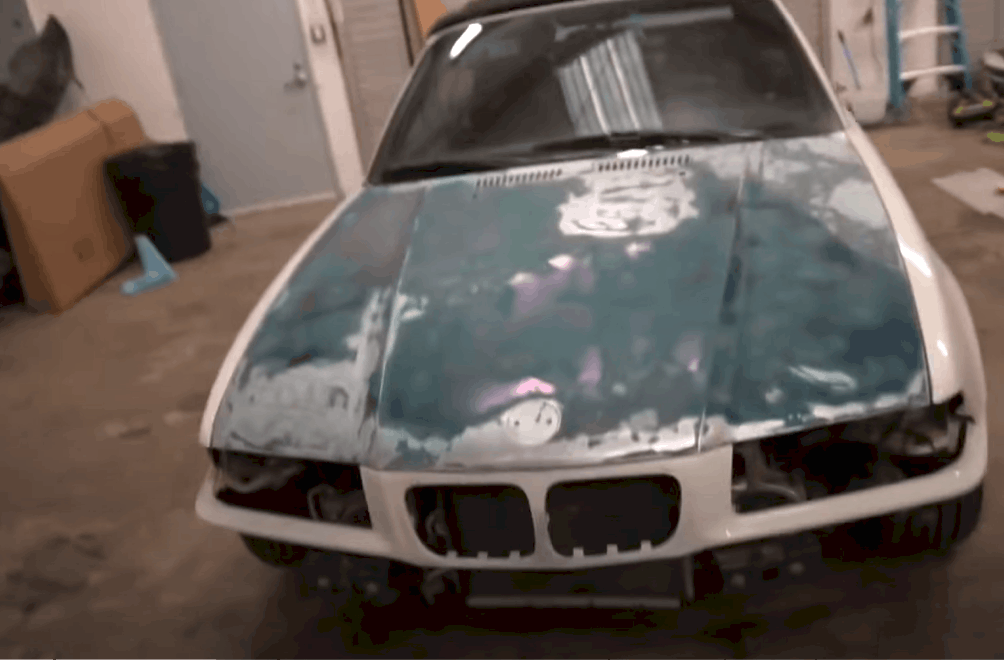
Step 3. Prepare the canvas
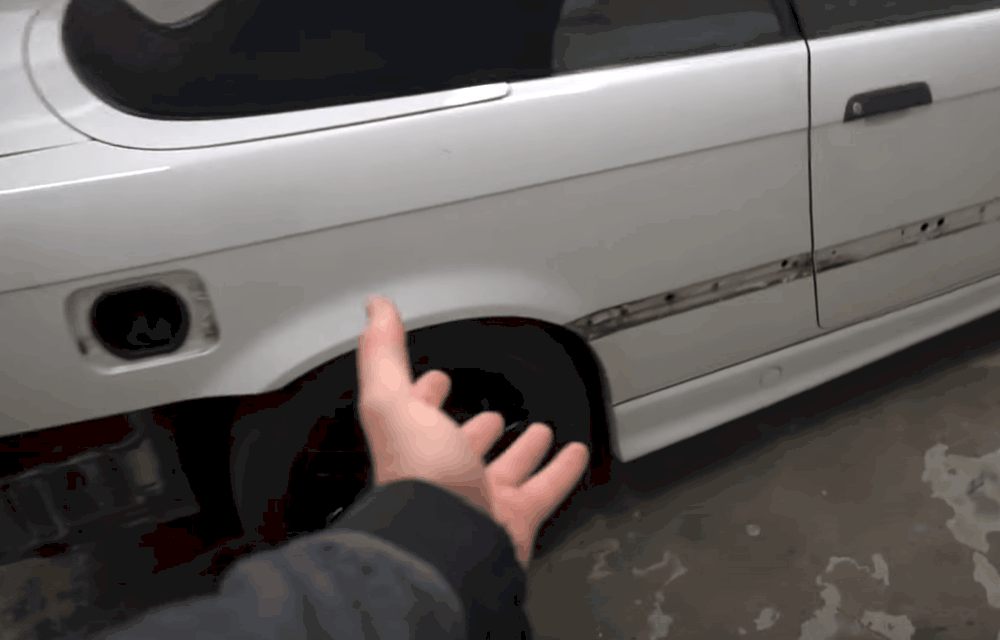
Now, it’s time to prepare your canvas! Major problems such as chips, dents, and rust can impose a problem while vinyl wrapping. If the wrap sticks to the imperfections, it will be evidently visible, and if it doesn’t, there’s a chance of the area bubbling up and tearing apart.
So, before the installation, make sure that the paint underneath is intact and the wraps have a smooth surface to glide over.
Step 4. Remove any hindrances
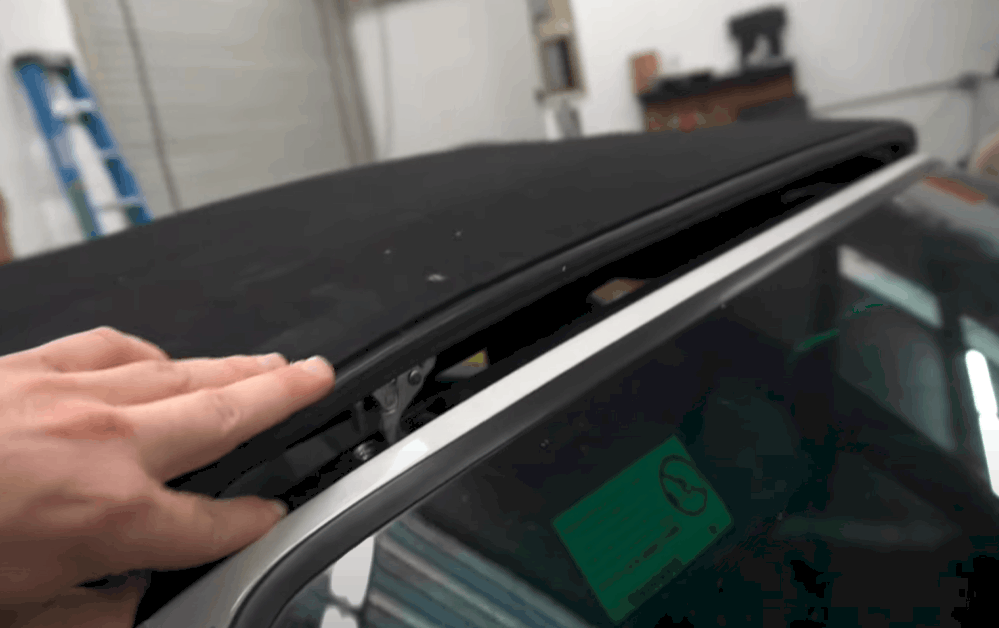
Going over small surfaces such as mirrors, door handles, headlights is doable. But it can add up your installation time by hours, especially if you’re a first-time DIYer. So, save yourself some trouble and remove these obstacles beforehand to ensure a smooth installation.
Step 5. Clean the work area and your car surface

Sweep or vacuum your work area clean before beginning the installation. Do not do the cleaning and installation side by side, as sands and dust flying around can stick to your car surface and disturb the installation.
Vinyl wraps accentuate the imperfections underneath. So, sand particles and dirt might look more evident once the wraps are installed. That’s the reason why you must clean the car surface thoroughly beforehand.
To make sure that the surface is left clean and the cleaner doesn’t affect the bonding ability of adhesive, use a non-wax car cleaner. Then, wipe the surface one more time using isopropyl alcohol and a lint-free cloth. Doing so ensures that absolutely no speck of dirt is left behind.
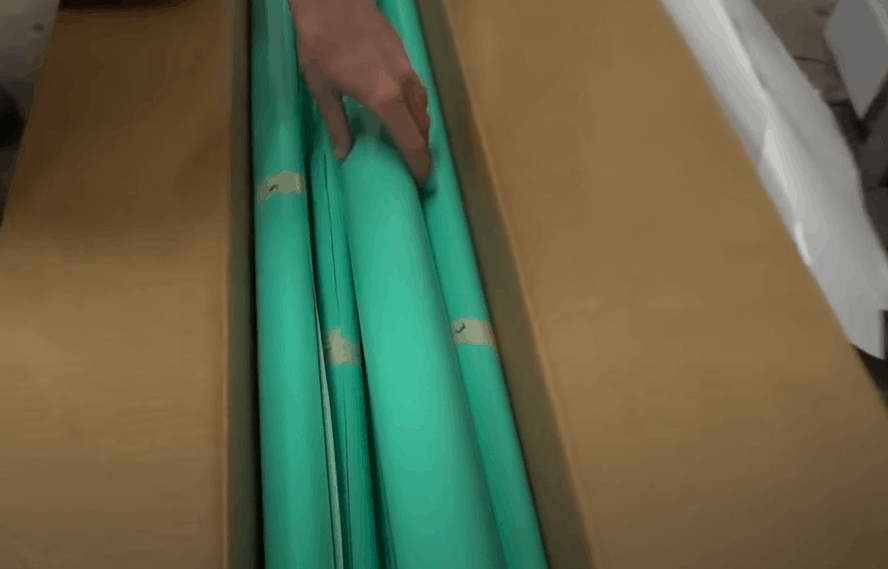
Step 6. Measure and cut the vinyl sheets
Measure and measure twice such that the dimensions are accurate. If it helps, you can sketch a rough diagram of your car and have all the measurements written down. When it’s time to cut the sheets, remember to cut them a few inches bigger.
Step 7. Laying the sheets
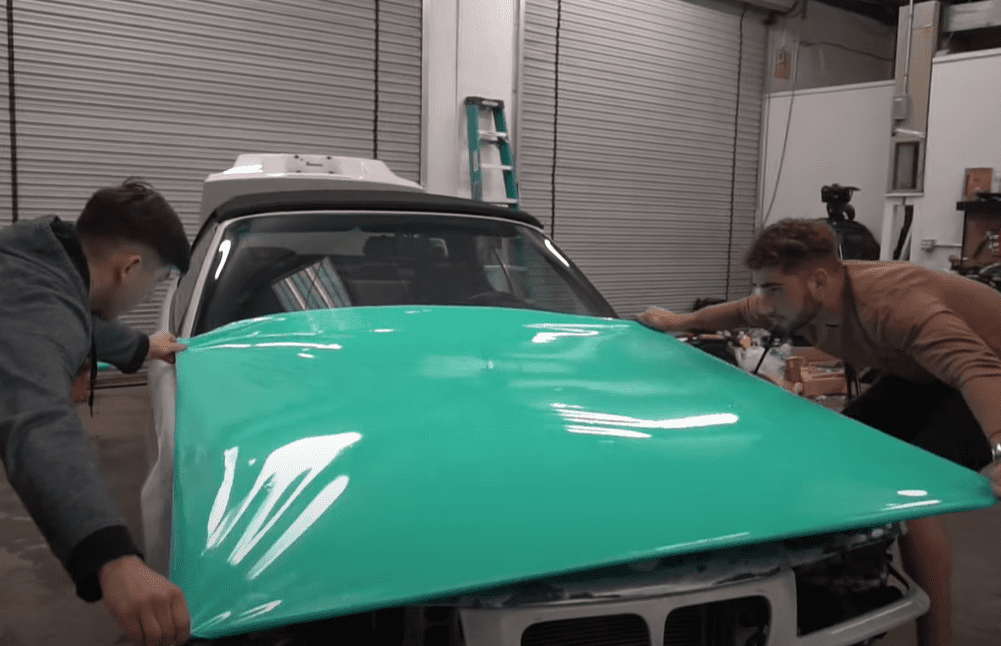
You might need a few helping hands for this step. Stretch the sheets a few inches above the area of installation and remove the backing from the sheets. Remember to exert equal tension on the backing to reduce wrinkles.
Once the backing is removed, place the vinyl sheet gently on the surface. Leave some extra sheets on the edges for handling. During the installation of vinyl sheets, it’s best to start with smaller areas to build up the confidence need.
Also, an important remember – once the surface and the working area are clean, always wear gloves while handing the surface and the wraps.
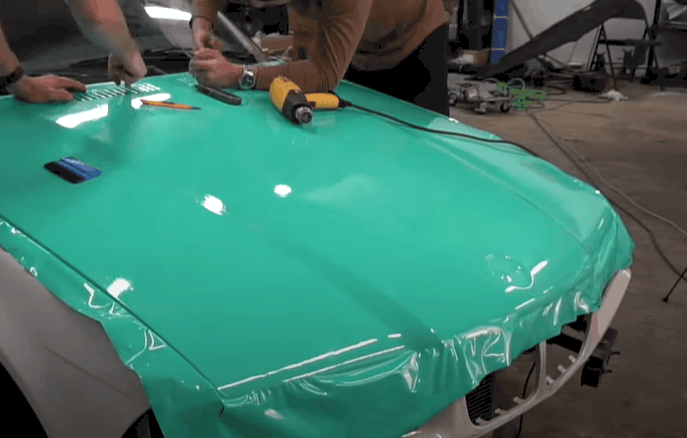
Step 8. Managing stuck air and wrinkles
To manage air bubbles and wrinkles, gently peel the vinyl off the area, blow some mild heat, no more than 120 ºF, and apply gentle pressure to stretch the sheets.
Step 9. Making seams
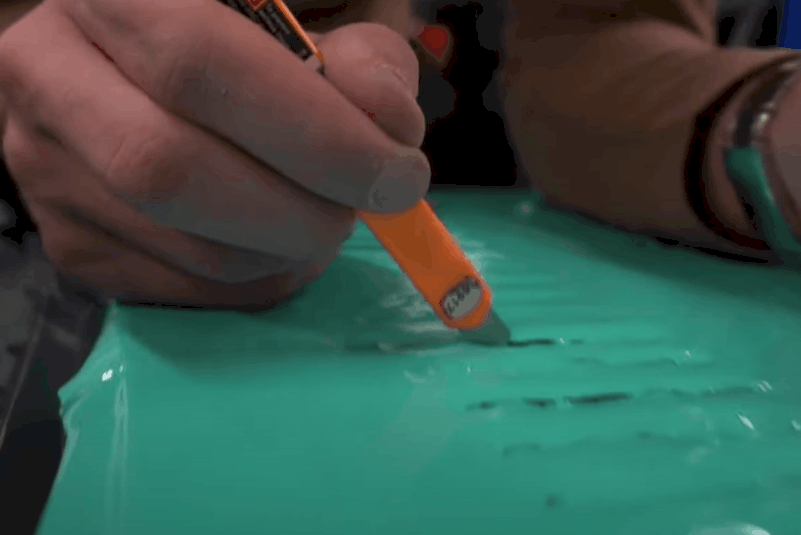
Seams look hideous only when done improperly. If done with brilliance, you cannot even notice one. Overlap two vinyl pieces and, using knifeless cutting tape, create a perfect seam. In case you have to cut using a knife, make sure that knife is sharp and your handles gentle.
Step 10. Finishing the wrapping DIY
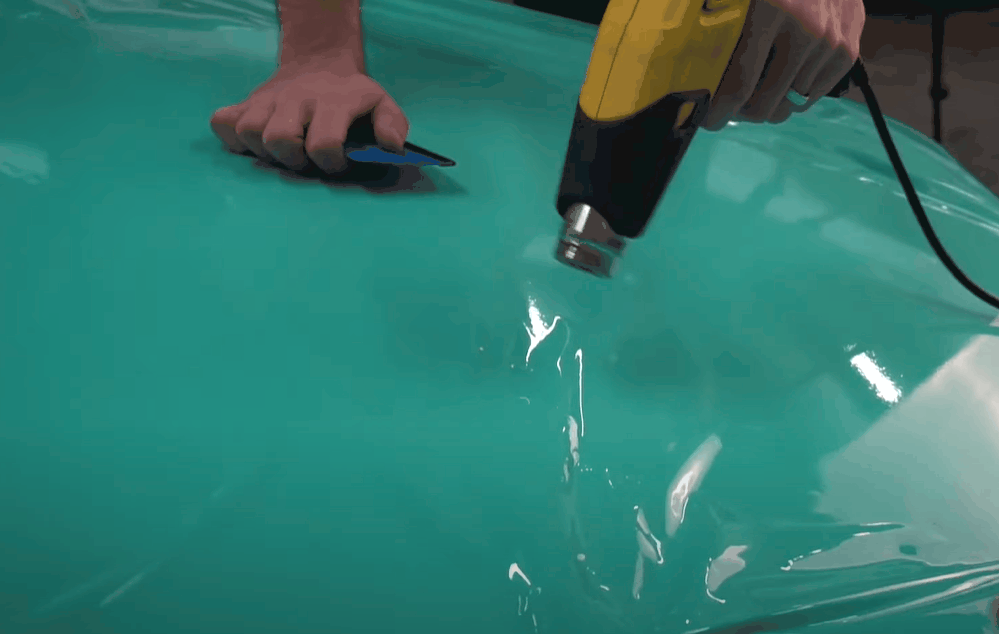
Trim the extra sheets on the edges, leaving a 2-3 mm margin from the edge. Activate the adhesive on the edges using a heat gun and firmly seal the edges to the panels.
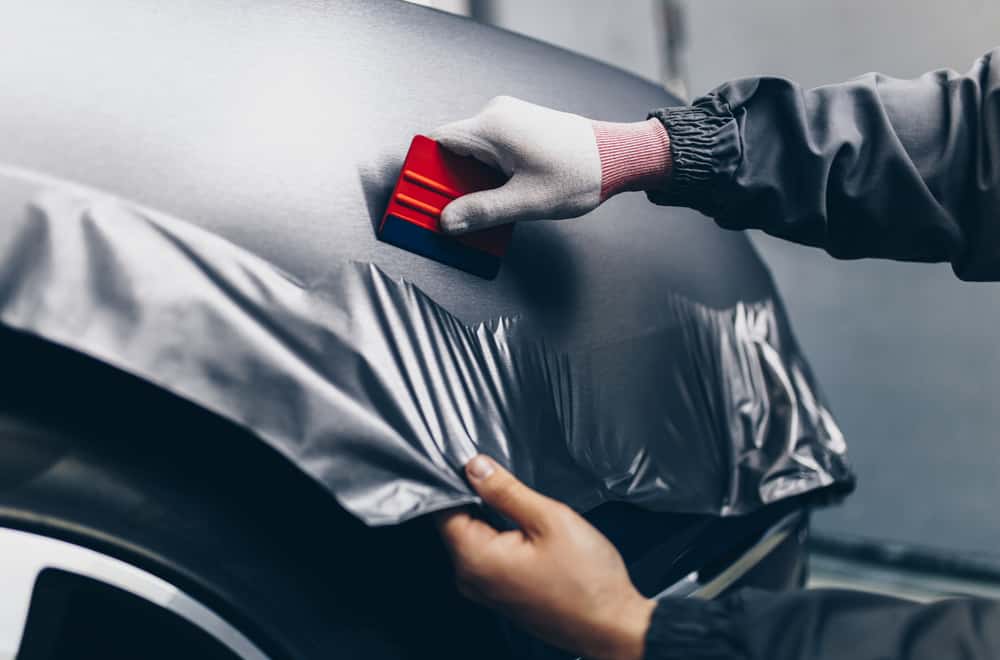
Once all the edges are set, use a heat gun to activate adhesives on the rest of the vinyl sheets. Using squeegee and hands to bond the sheets to the surface and take care of bubbles safely with a pin, if necessary.
Post-wrap Cleaning
Gentle cleaning with hands is recommended for vinyl-wrapped cars. Never scrub the surface using brush car washes, as it might lead to scratching and peeling off of vinyl wraps.
Also, use a pressure washer at a right-angle to the surface and ensure that the pressure is gentle, i.e., under 2000 psi. If you notice some stubborn spots, target the spot with isopropyl alcohol to get rid of them.
Moreover, not all wax and polishes can be used on vinyl surfaces, as they often lead to the hazing of matte-finished vinyl sheets. So, only use vinyl-safe waxes for a showroom shine.
How To Remove Vinyl Wrap from a Car?
To your good news, if you ever get bored of the vinyl wraps, you can easily get rid of them. In order to remove the vinyl wraps from a car, start by peeling off the edges using a scrapper or your fingernails.
At this point, don’t try to strip the wraps using unnecessary force. Gently, heat the surface to about 120 ºF using a heat gun to loosen the adhesive. Now, peel off the wraps; it should come off pretty easily.
You might notice adhesive resides underneath initially. But that generally comes off with mild cleaning. You can use alcohol-based cleaners for better results and then wax the car to add newness.
Summary
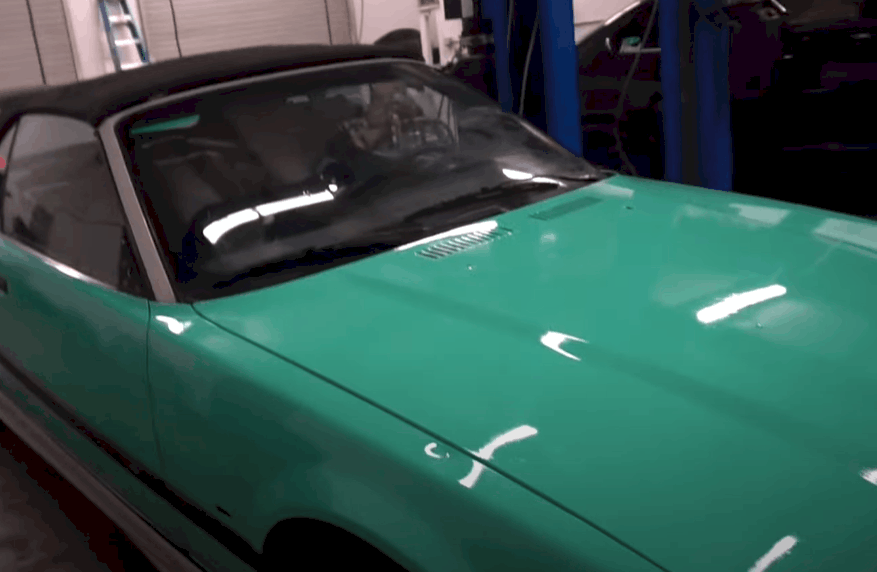
Choose classic shiny and metallic single-colored vinyl wraps for sophistication or go trendy with the stylistic prints and designs; the choice is yours!
With all this information regarding vinyl wrapping your car, we believe you can easily perform this DIY using a proper set of tools and skills.
But in the meantime, if you have any queries regarding the DIY installation, after-care, or the removal of vinyl wraps, drop a comment down below. We’re all ears!
Really nice post good infromation
instead of full panel wraps, can i do large pieces? the edge of the wrap wont lift? example a flagish or flamed skull graphic piece, is there no problem with the edge? where are these libraries to choose, i assume just vinyl stickers are not the same or rite wrap material