When you buy a new bicycle, one of the things you will be looking to do is to shield the paintwork from scratches, stone chips, and other damage. As such, one question that will likely cross your mind frequently is, “Can you vinyl wrap a bicycle?”
Yes, you can. Bicycle wrapping is just as common as vehicle wrapping with the added advantage that it is quicker and less expensive. It will not only protect your bike but also make it stand out from the rest. Here is more information about bicycle wraps.
Table of Contents
Why You Should Vinyl Wrap Your Bike
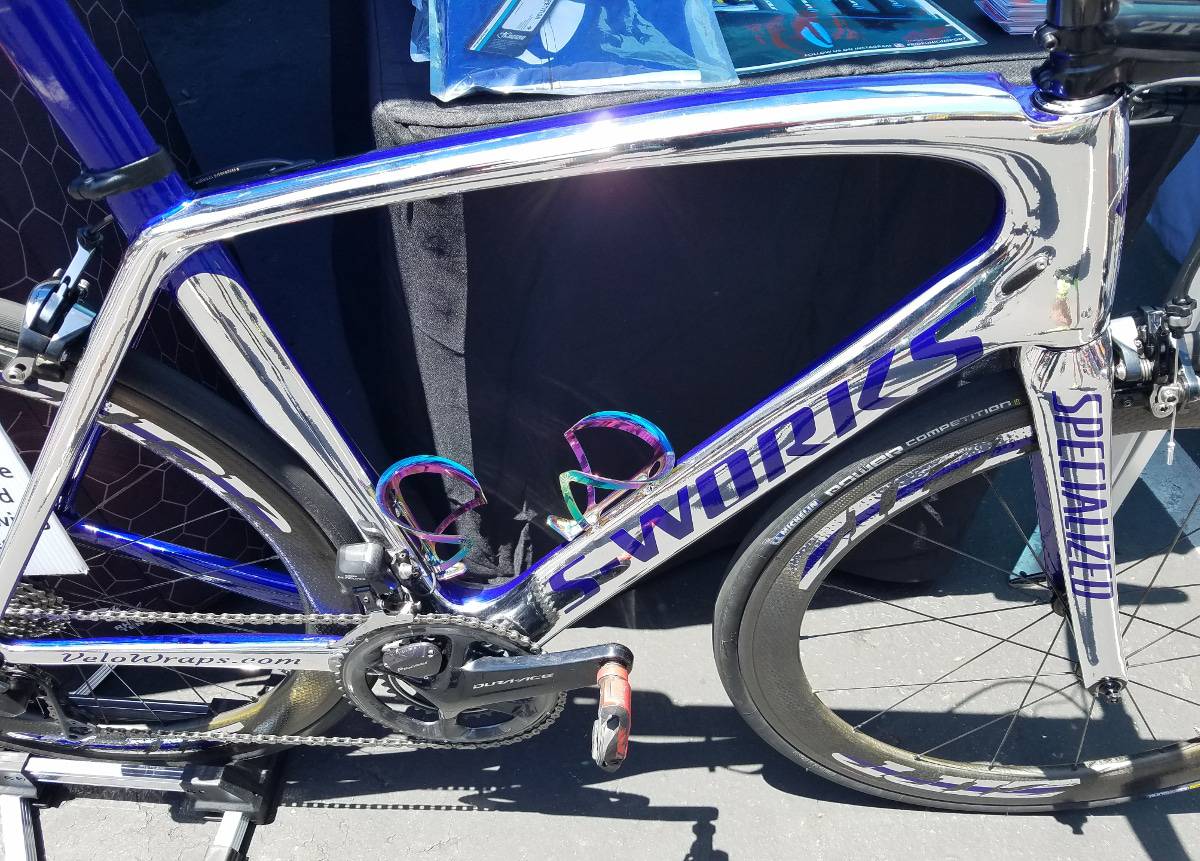
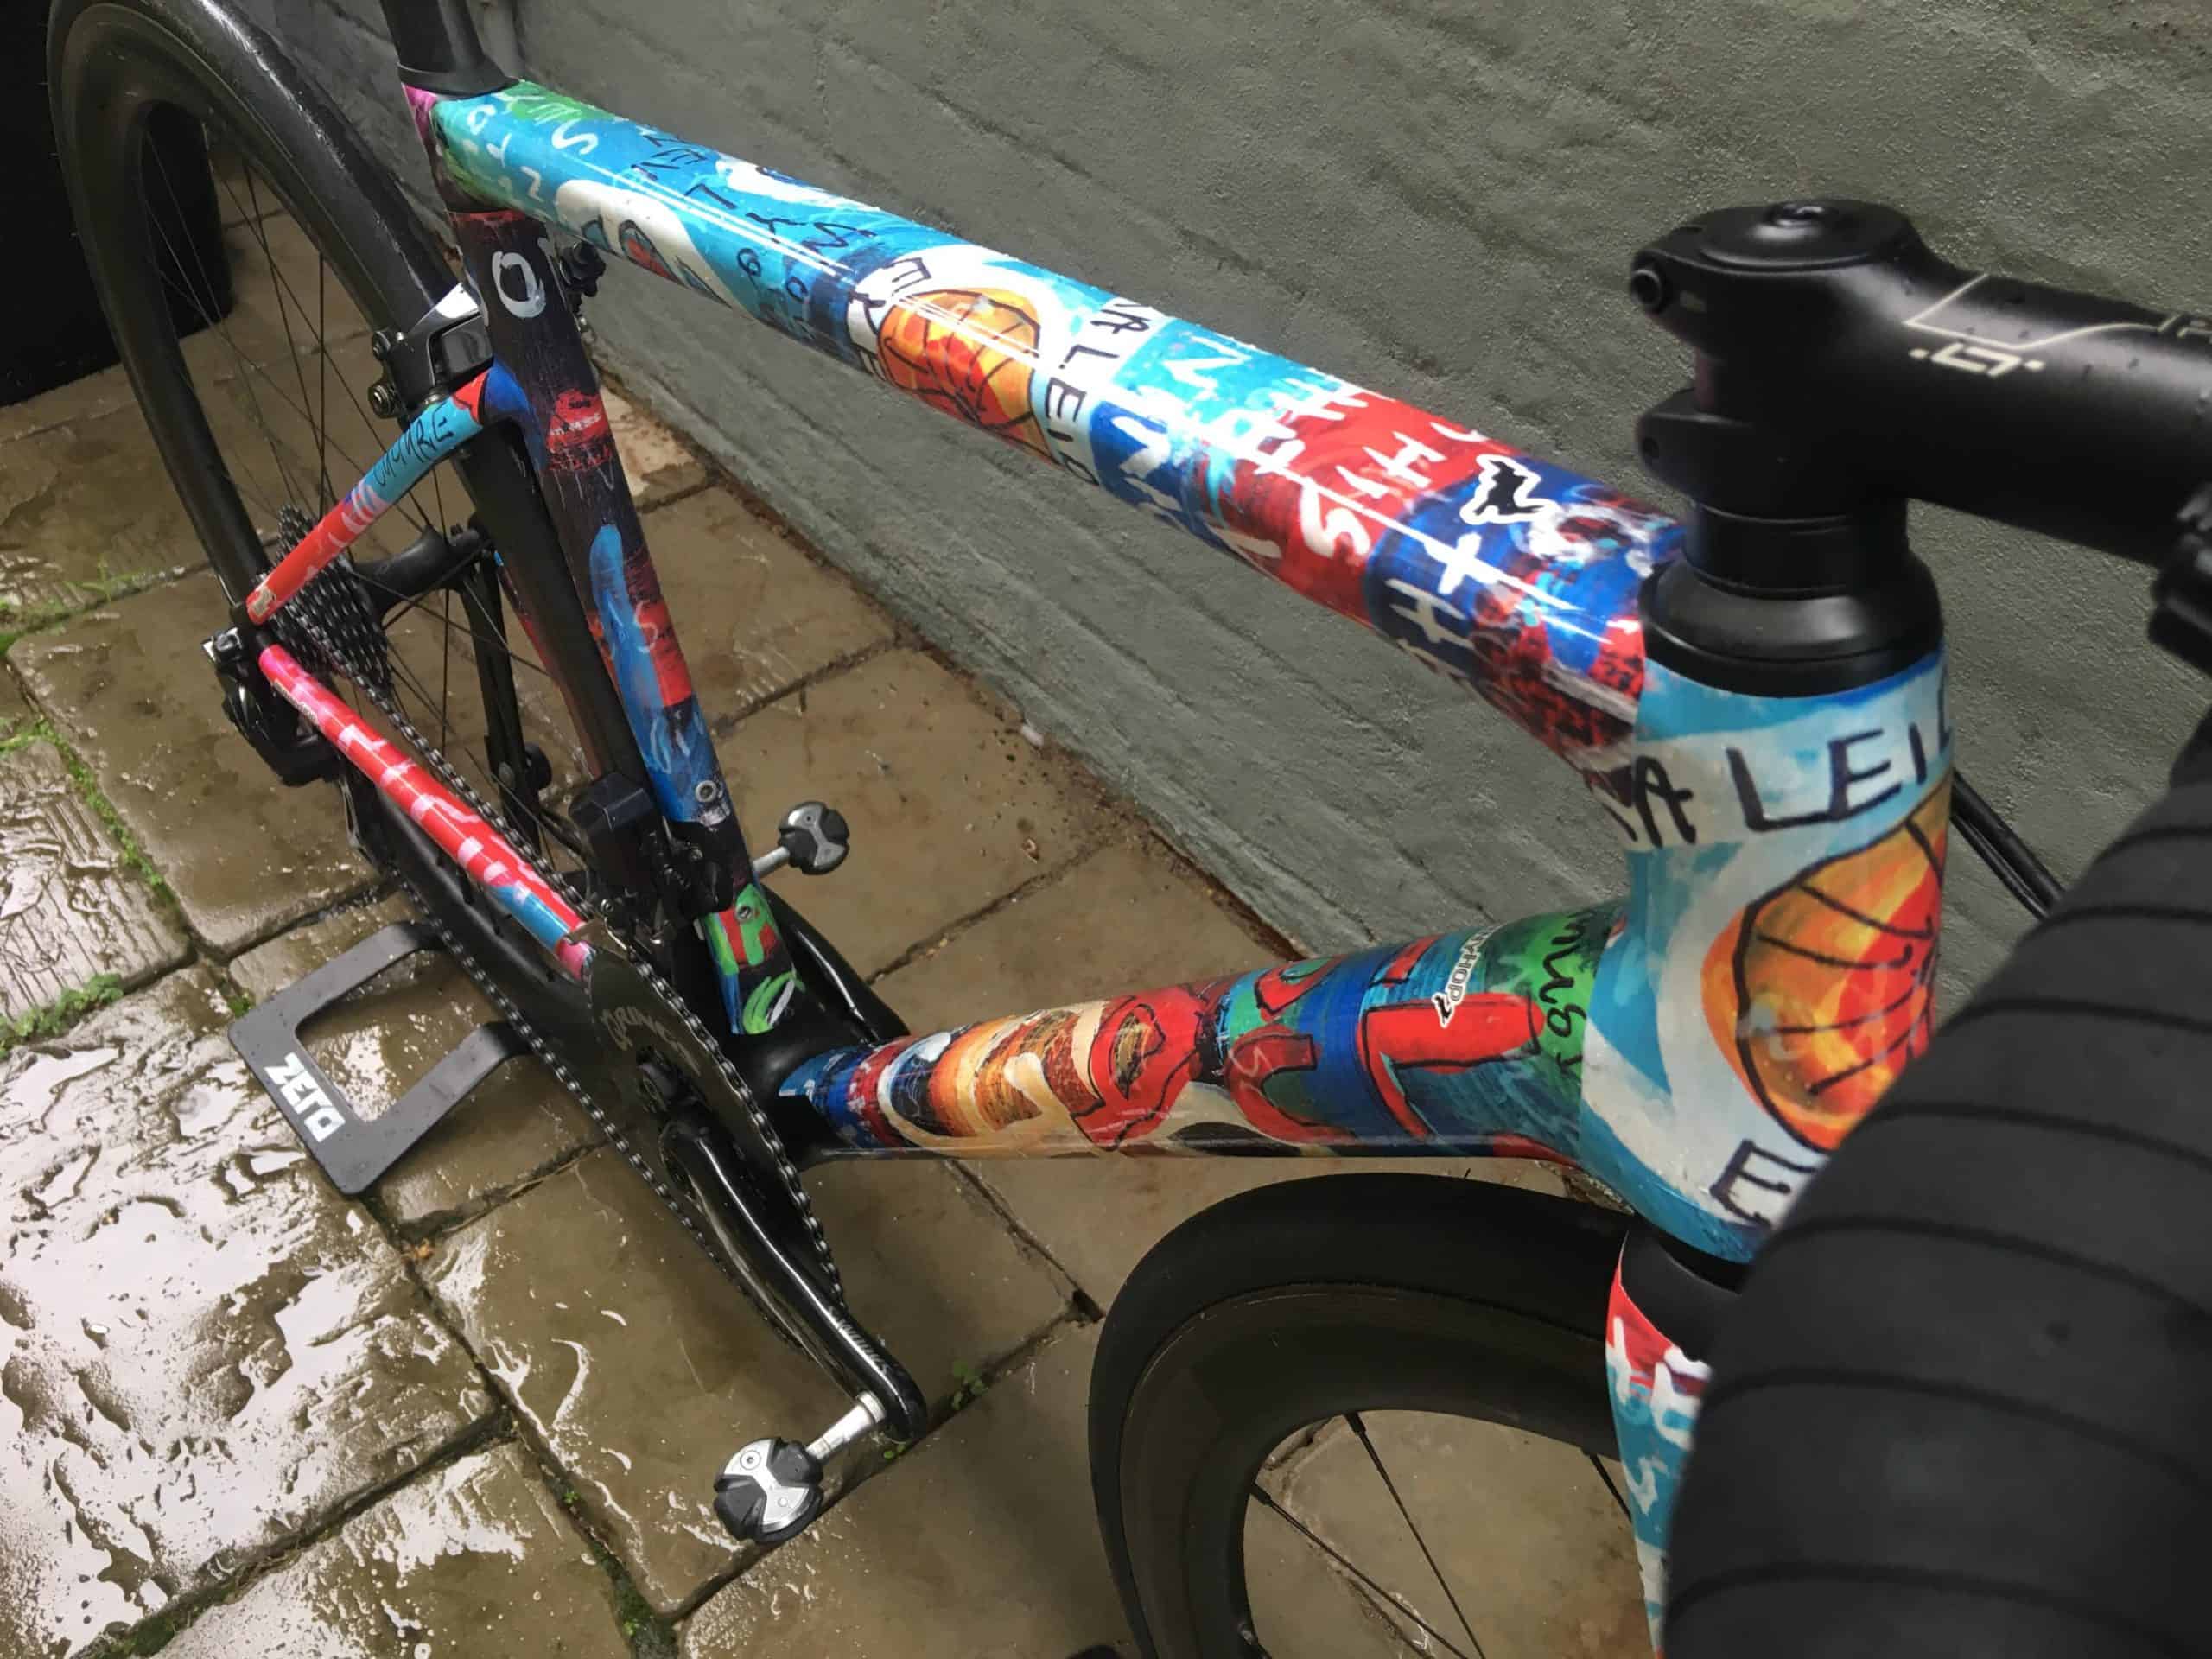
One of the major reasons many people vinyl wrap their bicycles is to add some personalization so the bikes can stand out. Vinyl gives a unique touch to your bike, transforming it into a fine piece of art.
Whether you want to change the frame of a race bike to match the color of your team or update the original paint to something new and sparkly, a vinyl wrap enables you to make a statement with bold patterns and designs.
Apart from personalization, vinyl wrapping also protects your bicycle. With bike prices going higher and higher every day, having a protective shield on your bike can help prevent chips, scrapes, and dents from things like rocks and chain slap. This can save you from expensive repairs.
Lastly, a vinyl wrap ensures your safety. Riding a bike can be dangerous especially when done at night or in heavy vehicle traffic. Luckily, these days, you can find vinyl wraps that are highly reflective, making your bike visible, and keeping you safe.
Retroreflective materials used for vinyl wraps contain small glass beads installed on the surface to reflect light and bounce it back to where it came from. Normally, the surface appears to have a solid color but as soon as light shines on it, it turns bright white.
Reflective vinyl wrapping is a good thing to have for any biker especially if you are a person who loves to ride their bike to work.
Many vinyl wrap manufacturers offer pieces specifically made for bikes or you can buy a larger sheet and cut it to your desired shape.
How Much Does Vinyl Wrapping a Bicycle Cost?
Depending on your bike size and type and the quality of vinyl you choose, vinyl wrapping a bicycle can cost anywhere between $100 and $250 when doing the job yourself. This price can, however, be affected by the amount of work that needs to be done prior to the installation.
For, instance, if you have neglected your bike care and maintenance for a while and you now need to do some repairs, you will obviously spend a little more. But the price will definitely not be higher than enlisting the services of an expert. If you decide to have your wrapping done professionally, the cost can go up to $500 or more.
Now, whether to do the work yourself or hire a professional will be totally up to you. If you have no prior experience working with bikes and have some bucks to spend, you can take your bicycle to the nearest bike shop. But if you are a rider who doesn’t mind getting their hands dirty, read on to learn how to apply vinyl wrapping on a bicycle.
How to Vinyl Wrap a Bicycle (3 Easy Steps)
Even before you start, please keep in mind that every bike frame is unique. As such, you may find that some of the steps illustrated below work a little differently for you. However, you may be able to find resources with instructions that work for your specific type of frame.
For this specific project, you will need:
- Mild degreasing dishwashing liquid
- Water
- Sponge/a piece of cloth
- Rubbing alcohol
- Bucket
- Fabric measuring tape
- Scissors/utility knife
- Squeegee
- Heat gun/hairdryer
Step 1: Do Enough Preparation
The bike will be much easier to work with if you disassemble it first. So, remove the wheels and any attachments and keep the fixtures safe. Do not forget the stickers and decals. Remove these first with rubbing alcohol. You want the surface to be as free of obstacles as possible so the vinyl can adhere firmly.
Next, prepare a solution of mild degreasing dishwashing detergent and water, dip a sponge or soft cloth in it, and scrub your bike. Rub gently to avoid ripping the paint.
This would also be a great time to clean the bike chain. It’s not just part of good bicycle maintenance; a dirty bike chain can also quickly grime and grease over your new vinyl wrapping. Watch this video on how to properly clean your bike chain.
Make sure all parts of your bike on which the wrapping will be applied are completely dry before starting your installation.
Step 2: Measure and Cut Your Vinyl Wrapping
To make sure all the parts you intend to cover are fully wrapped, measure your vinyl accurately before cutting. As a rule of thumb, allow for excess, preferably 2 inches on all sides.
For instance, if the section you want to cover is 7 inches by 3 inches, cut a piece that measures 11 inches by 7 inches. This will not only provide enough coverage but also give you something to grip on to as you press the vinyl down to the surface.
It’s best to use a fabric measuring tape than the ordinary carpenter’s tape; the former is more flexible and would make it easier for you to measure around curves and bends.
Also, keep in mind that vinyl may not install well around larger bends. So if your bike has plenty of curves, it would be wise to cut smaller sections of vinyl instead of working with one large sheet.
It’s important that you label the pieces you cut too so you don’t end up having more than one piece for each section and wasting material. Moreover, do not do all the measurements then the cutting. Measure and cut one section at a time to avoid confusion and inaccurate cuts.
Step 3: Install the Vinyl Wrap
With all your pieces of vinyl wrapping ready, you can now start the installation. It doesn’t matter which part of the frame you begin with. However, if you haven’t applied a vinyl wrap on a bicycle before, it would be a good idea to start with the straighter sections so you can get the hang of things.
Wipe down the sections with a clean, dry lint-free piece of cloth one more time before you lay the vinyl. Remove the backing and install the wrapping pieces from end to end, pressing each piece firmly to the surface.
Once you have installed each piece, run a squeegee over it to remove any air, wrinkles, and creases. Then grab your heat gun and blow hot air over the vinyl to further smooth out crinkles.
An important thing to remember as you lay the wrapping is to not stretch it out too much, as this will only cause more creases and distortions. It may also shift the material from its initial position, which could affect the coverage.
Avoid touching the adhesive too and do not remove the backing from the vinyl until you are ready to install it. Doing this can contaminate the glue, preventing it from sticking properly to the surface.
Extra Tips for Vinyl Wrapping a Bicycle
- After installation, clean your vinyl wrapping regularly so it can retain its luster. A wet soft cloth or sponge will get most of the dust and dirt off the wrapping. For tough stains, use a mild detergent or rubbing alcohol. Avoid scrubbing the vinyl, and if you must, use a soft-bristled brush and rub gently so you don’t scratch the material.
- If a section of the wrapping is scraped or dented, just remove it and install a new piece. However, if the damage is too small, patching would make much more sense than replacing the entire piece. Also, before you patch or install a new piece, make sure to thoroughly clean and dry the area to get rid of dirt and moisture.
- Before applying your vinyl, check what your bicycle warranty says about installing wrapping. Some bike manufacturers may void a warranty if the frame of the bike is altered.
- Make sure your vinyl wrap is installed correctly especially if you bike in the snow, rain, and other wet environments. Without proper application, water will seep through the seams, compromising the adhering power of the glue and causing the vinyl to warp or peel at the edges.
The Takeaway
If you use your bicycle frequently, say, to run errands, go to work, or hit the trails, then it would be nice to have it vinyl wrapped not just for aesthetics but also for safety and protection.
Depending on your budget, you can hire a professional or do the job yourself by following the simple steps we have highlighted in this article. Either way, your wrap must be applied correctly, as it’s the only way to ensure it lasts longer and serves its purpose.
I love this idea! I’ve always wanted to do this!