Painting vinyl flooring is a cost-effective way to make old, outdated floors look brand new again, without having to go through the trouble of pulling them up. This solution is not only quick but also versatile, as you can implement it any time you want to give your room a fresh update.
And you don’t need to hire a professional to do it for you! With the right supplies and a little bit of guidance, this little project should be a cakewalk. Here is a simple guide on how to paint vinyl floors to get you started.
Table of Contents
Materials Needed to Paint Vinyl Floors
Before you begin, make sure you have all the tools and supplies you need from start to finish. At the bare minimum, you will need:
- Warm water: This will help you get rid of any dirt and stains on the floor much faster.
- Detergent: Use mild laundry soap or a recommended vinyl floor cleaner.
- Bucket: You can use the regular cleaning bucket, basin, or any large container.
- A piece of cloth: Use this or a mop to scrub the floor
- Sandpaper: Get 220-grit sandpaper for a medium-sized floor. For a large area, get an orbital sander.
- Dust mask: Any dust mask will work, but we recommend masks rated as N95, as these are guaranteed to block 95% of airborne particles.
- Paint roller: Get one with an extendable handle; it will be much easier to roll.
- Liquid deglosser: You can buy this from any paint or hardware store.
- Primer: Like the deglosser, you can get this from any paint store.
- Enamel floor paint: This is the best paint to use on your vinyl floor because it is hard-wearing and does not get marked easily.
- Mixing stick: You will need this to stir your paint before application.
6 Easy Steps to Paint Vinyl Floors
Having gathered the appropriate materials, you can now go ahead and start your paint project, following these quick steps.
Step 1: Clear and Clean the Room

Remove all the furniture and appliances from the room and take them to the garage or any other place where they can stay dry and secure. This will help you do the job without any obstructions.
Next, put warm water in a bucket and mix with mild detergent. Then, dip a clean cloth into the solution and give the floor a quick scrub. Spend a little more time on scuff marks and other stubborn stains. Once you are satisfied with the results, leave the floor to dry before proceeding to the next step.
Step 2: Sand the Floor
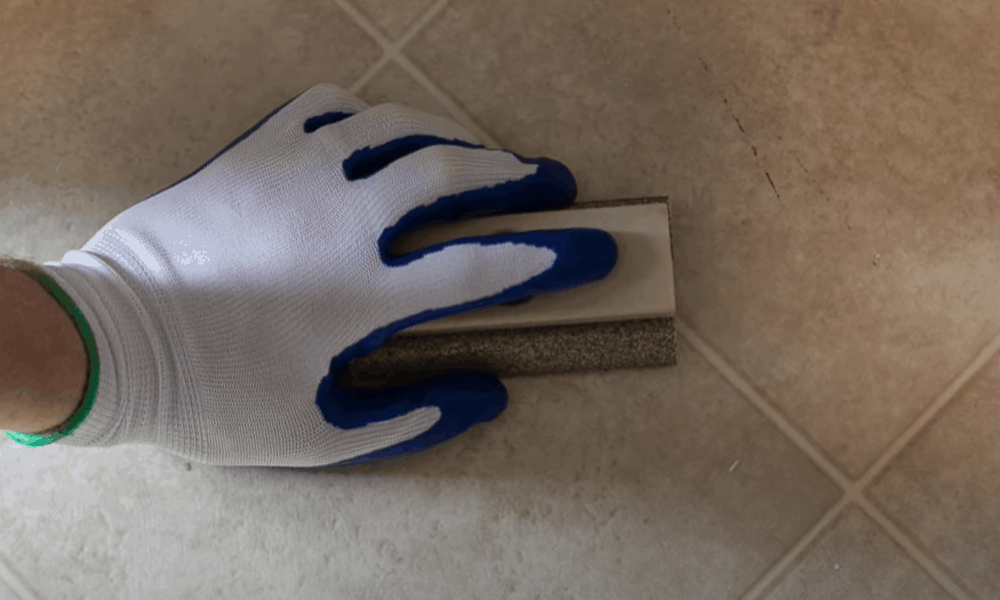
Vinyl floors have a glossy topcoat that may prevent the new paint from properly adhering to the surface. You must remove this finish before you start painting.
Use sandpaper to do this, putting a considerable amount of pressure on it. Work your way across the entire flooring until all the shiny topcoat is gone. If the sandpaper loses its coarseness, get a new piece. If you are sanding a really large area, consider getting an orbital sander. Also. make sure to wear a dust mask when you sand; it will keep you from inhaling the dust particles.
Step 3: Remove Excess Dust
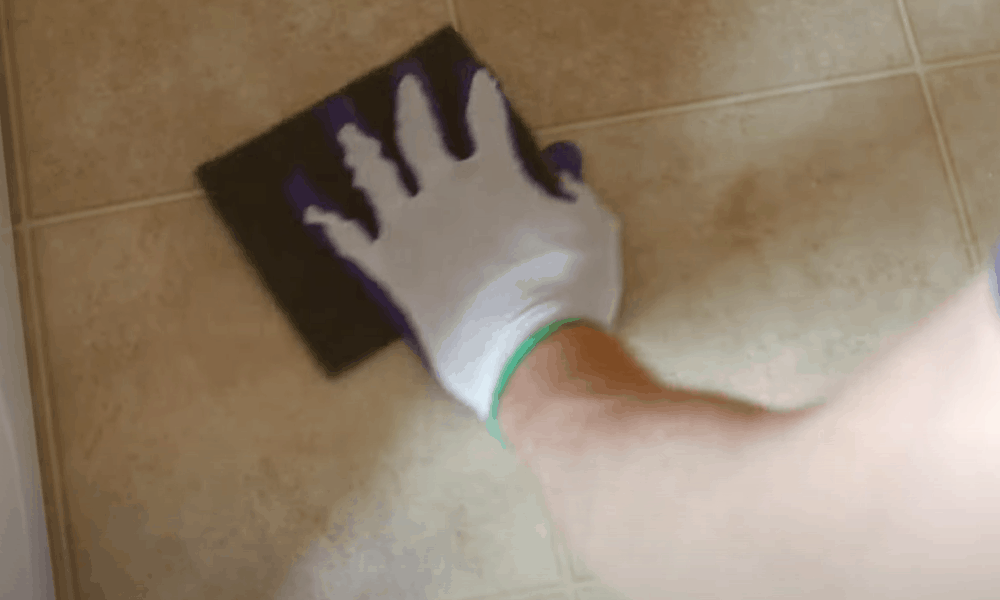
Now, wipe the area with a wet piece of clothing to get rid of excess dust. Move the cloth in circular motions; it will pick up the dust faster. Removing the dust after sanding helps the paint look smooth.
A microfiber cloth, in particular, will work exceptionally well in this step, and if you see it smearing dust over the floor, rinse it in clean water, then continue dusting.
Step 4: Apply a Deglosser
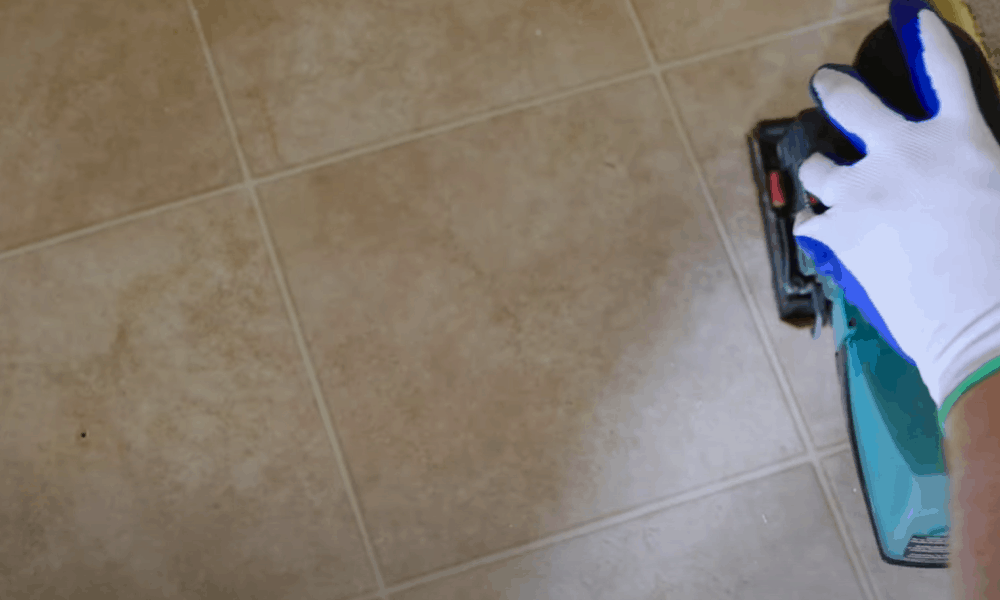
A deglosser will help make the surface more adhesive so the paint and primer can stick properly. Use a paint roller to apply and spread the deglosser on the floor.
Start at the corner opposite the door and work your way back to the entrance. You don’t want to do it the other way around, as this could get you trapped in one of the corners of the room you are painting.
After deglossing, leave the floor to dry for about 12 hours so the liquid can stick to the floor and harden. Make sure to keep kids and pets away from the room so the wet deglosser isn’t marked.
If the floor is still sticky after this period, leave it for a few more hours. You want it to be completely dry before moving to the next step. As with sanding, make sure to wear a mask when applying a deglosser to avoid inhaling the fumes.
Step 5: Apply a Primer
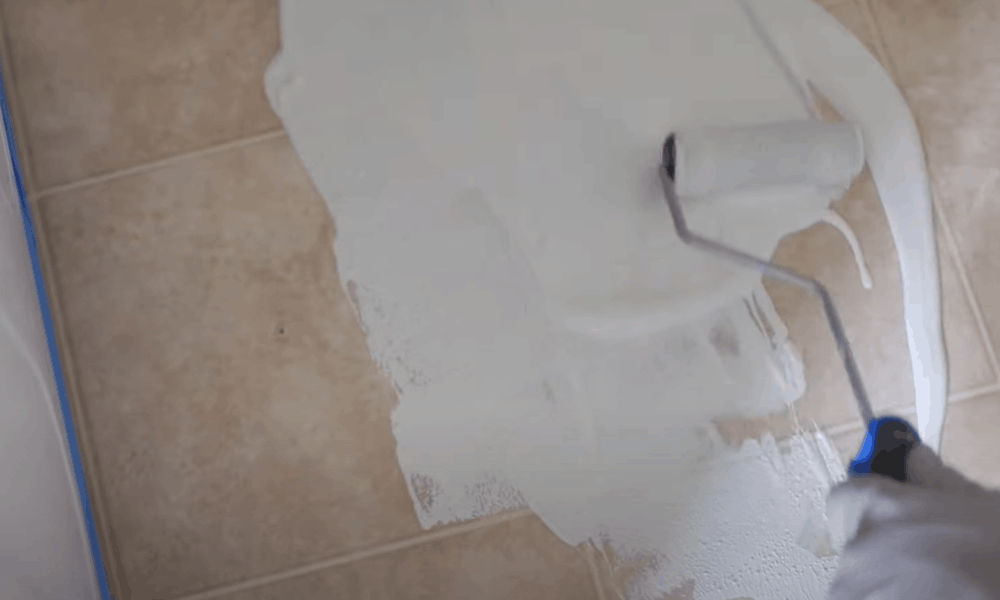
A primer offers a smooth surface over the deglosser so that the paint adheres properly and lasts longer. Apply it using the same technique you used to roll the liquid deglosser.
Once done, give the room about 12 hours to dry; it will prevent the primer from smudging or getting marked when you start applying the paint. Keep doors and windows open to allow fresh air into the room. It will help make the smell of the primer less strong.
If you live in an area with hot, dry weather, you may not have to wait for twelve hours; the floor will likely dry much faster. Touch the primer with your finger to see if it has dried. If it smudges, it means it needs a little more drying and hardening time.
After the primer has completely dried, apply a second coat, using the same technique you applied to do the first coat. Smearing a second layer of primer may seem a little daunting, for sure, but it will give your floor a more professional look and make it much more long-lasting. Now, allow this last coat enough time to dry.
Step 6: Apply Enamel Floor Paint
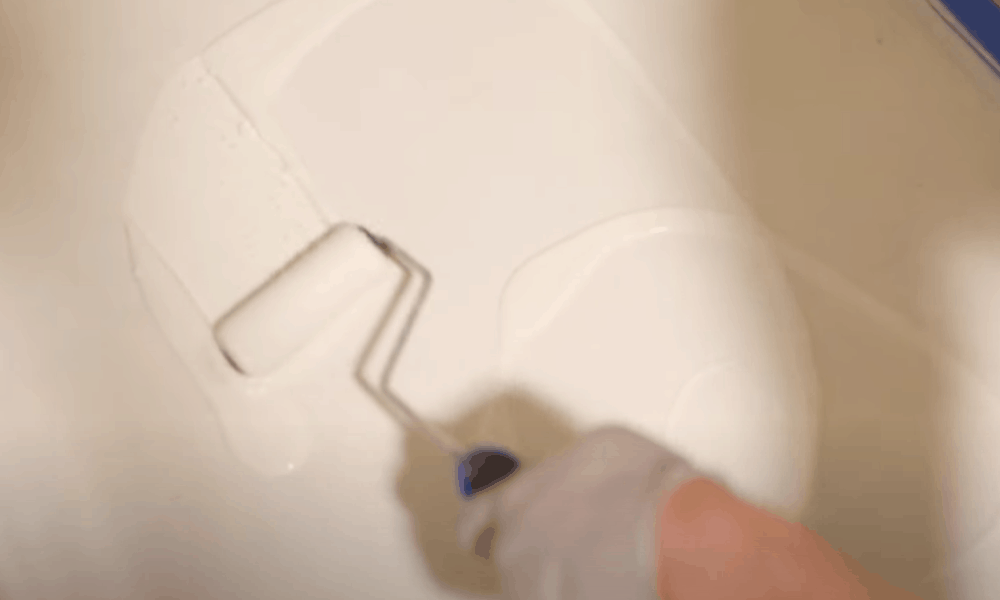
Now that you have the paint base all set up, you can go ahead and apply your first layer of enamel floor paint to the vinyl. But before you do, grab a mixing stick and stir the paint for 2 to 3 minutes. This will help blend the binders and pigments so the paint adheres to the surface properly.
Next, dip the roller into the paint and apply the paint to the vinyl using long, even strokes. Do not use chalk paint; it is not hard-wearing and will easily get marked when people walk on the floor.
Allow the paint enough time to dry. Depending on how warm or cold the weather is, you can give it 12 hours or less. If there is too much dust outside, keep doors and windows closed so the floor doesn’t get dusty. You will also want to keep kids and pets away from the room so they don’t walk over the paint before it dries.
If you like how the paint looks after it has dried, you can leave it as it is. But if you are looking for stronger, deeper color, simply roll on a second layer of paint. This extra coat will also make the floor look smoother. Just make sure it is completely dry before bringing your furniture and appliances back into the room.
Above is all you need to do to give your old vinyl floor the much-needed makeover.
Additional Tips for Painting Vinyl Floors
- When sanding your vinyl floor, consider using kneepads; they will offer extra padding for extended kneeling. Alternatively, use a sanding pole.
- Talk with a professional about the best products to use; not all deglossers, primers, and paints can withstand foot traffic.
- Do not just rely on what the paint store staff tell you. Read the can labels and do your own research to make sure you are doing things right.
- Keep pets, kids, and dust out of the room; you don’t want any pesky hairs and dust being stuck in the fresh paint.
- As cumbersome as it may be, do not skip any prep work. Cleaning and sanding the room before applying your paint will help the paint firmly hold to the floor.
- Wear a mask when sanding and applying paint to the floor so you don’t inhale dust and chemical fumes that may put you at risk of respiratory diseases.
- After you have painted your vinyl floors, use mild cleaners, and avoid dragging appliances across the floor to keep it looking new.
The Takeaway
Painting is an easy project that anyone can do to give their vinyl floor an upgrade. For best results, make sure to spend a little more time in the preparation stage. You want to start with a floor that has been properly cleaned, sanded, deglossed, and primed to give the paint strong adhesion.
One layer of paint is enough to give you the incredible transformation you seek. But you can always do a second layer if you want rich color. Just make sure to give each coat enough time to dry.